My Creative Blog [Search results for flowers]
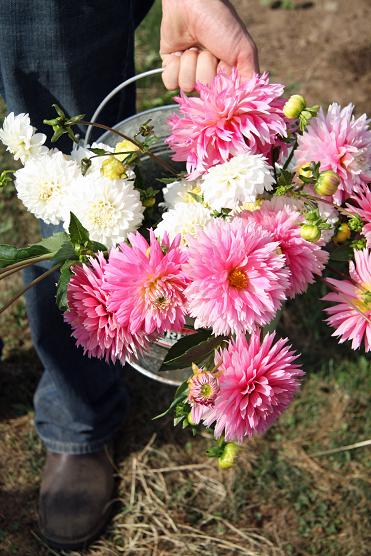
First Farm Cut Flowers

DIY Fabric Flower Bouquet {My Girlish Whims}

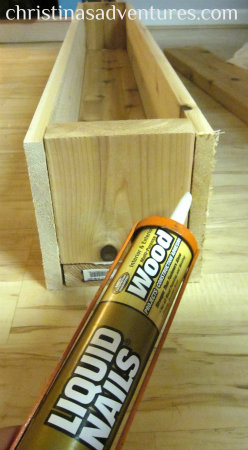
DIY Decorative Flower Trough {Christina's Adventures}
Petaled Friends
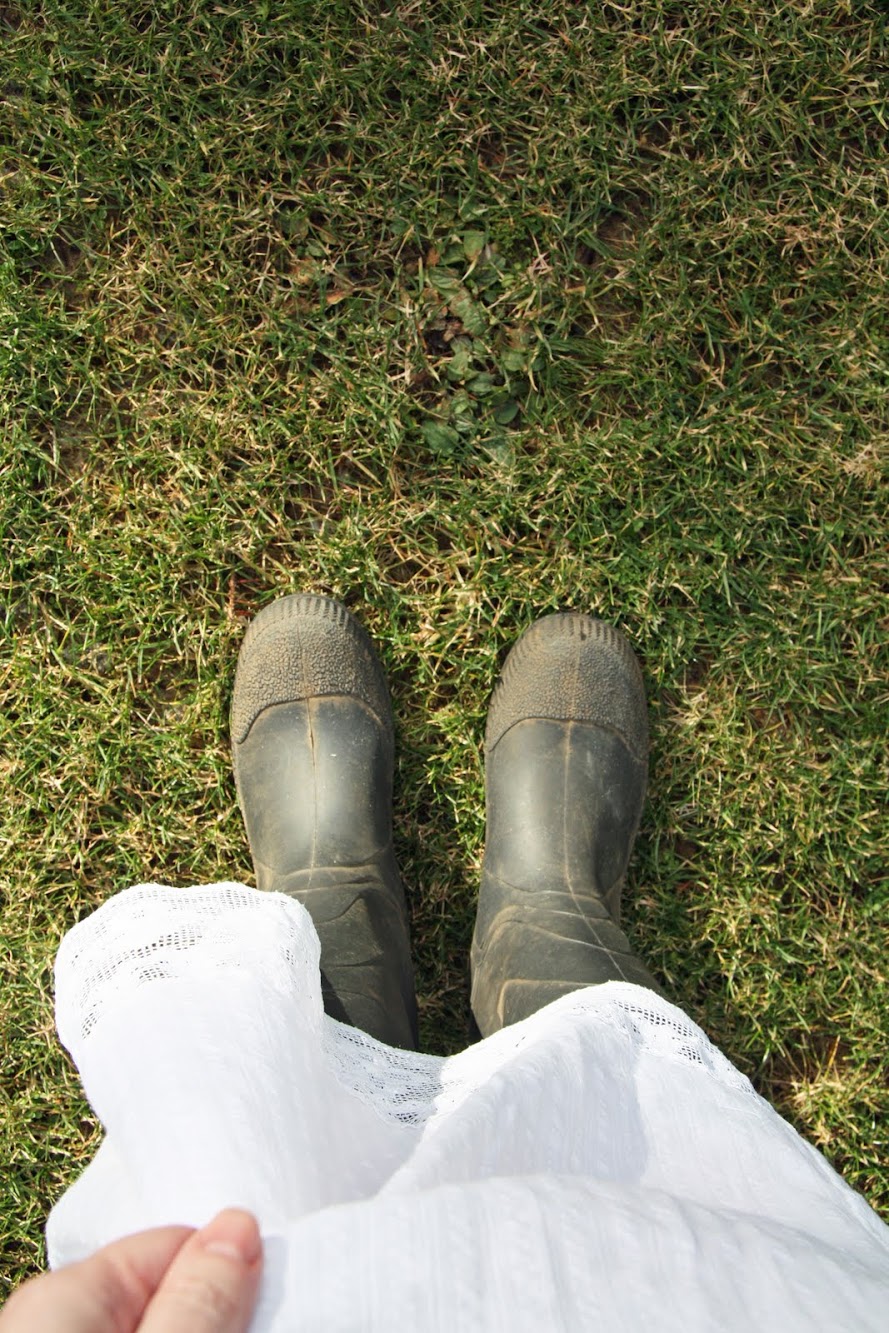
Green Thumb or All Thumbs?
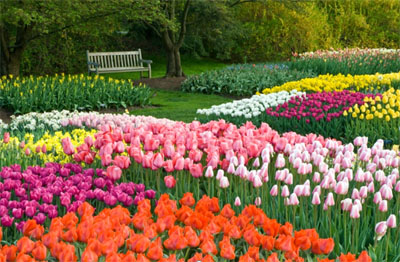
The Flower Farm
The First Peonies of Spring

Journey to a Vertical Garden Part 2 {Home Depot #Dig In}

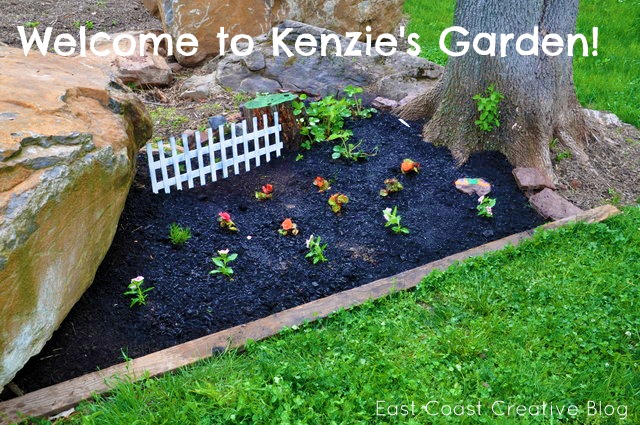
Gardening for Kids {Kenzie's Garden}
How To Turn an Old Cabinet into a Planter Box

Journey to a Vertical Garden Part 3 {Home Depot #DigIn}
Sugar & Spice {And Winner of Giveaway}

DIY Tiered Planters {With a Little Southwest Flair!}

The Green Winter
From Rain, To Peonies

HGTVGardens: Everything a Girl's Gotta Know!
Indoor Garden

Travel-Inspired Design {Part 1}

Let there be colour

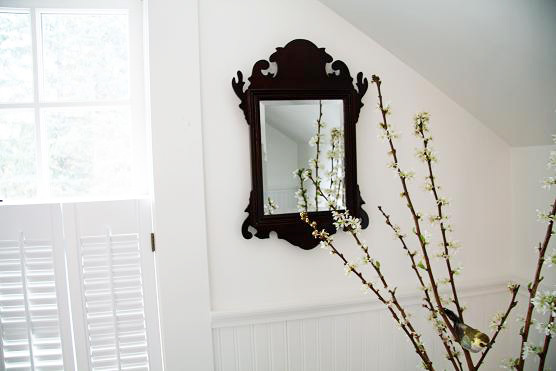
House Snooping {Oxford, Maryland Vacation}


