My Creative Blog [Search results for dining rooms]
Dining Room — After

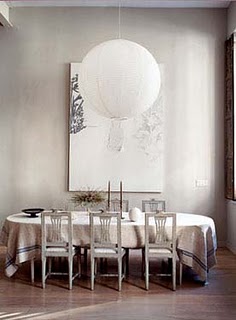
awesome gray dining rooms...
Rugs, Rugs, Rugs

Our Home Goals for 2013

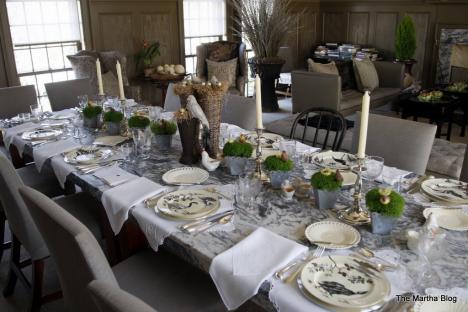
Company's Coming! AHHHH! {Entertaining Part 1}
The Living Room: Before and After

Modern Country Designs…Say What?
Tips for Accessorizing your Space {SuperFab Room Redesign}

Colorful Kitchen Renovation {Knock It Off}

Creating with the Stars Round 1 Voting

Veranda: Life in Ruins

Dreary to Cheery Family Room Makeover {Knock It Off}

Faux Sofa Table {Tutorial}

Green Painted Piano {Annie Sloan Chalk Paint}