My Creative Blog [Search results for craziness]
Fabric Thankful Tree Canvas

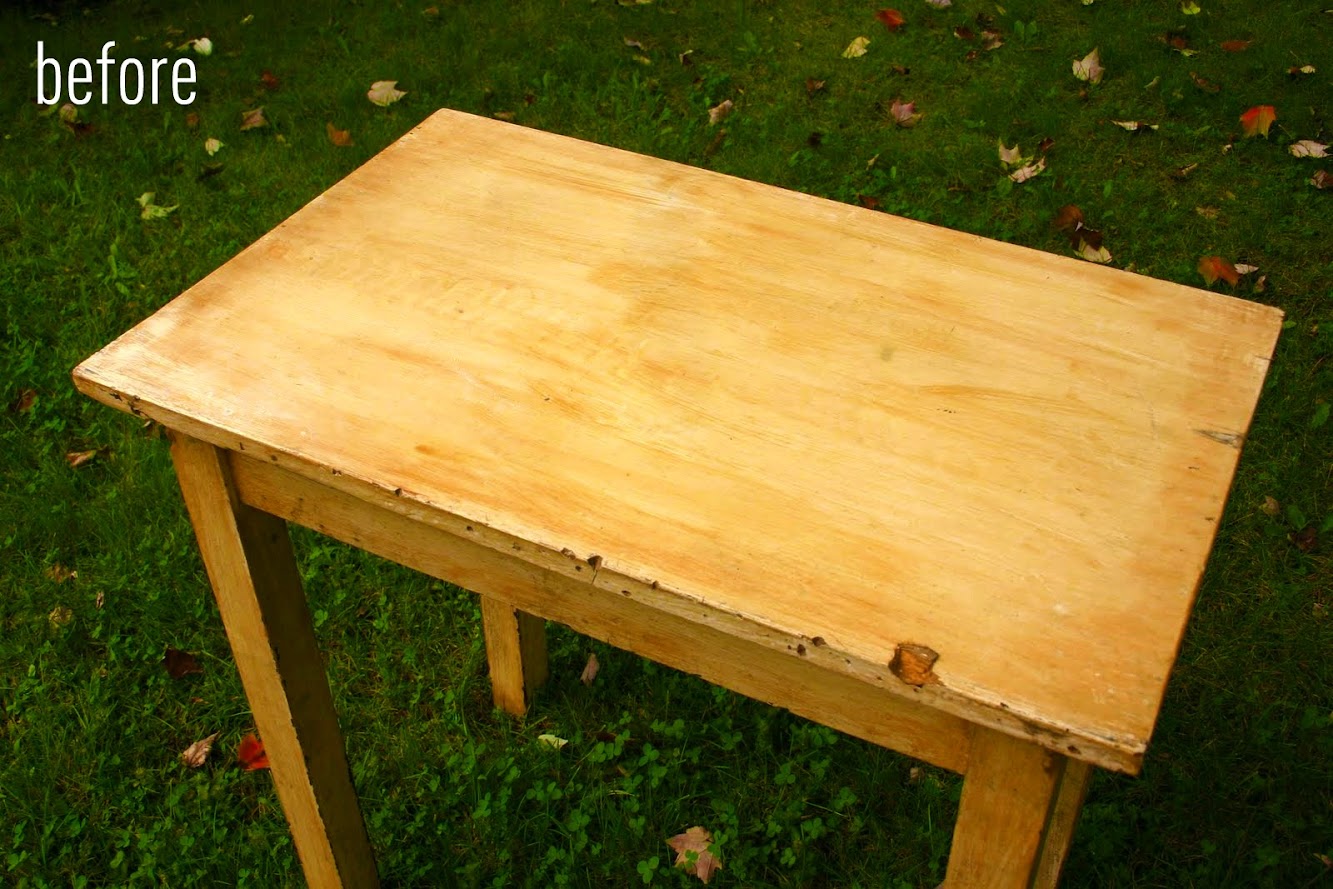
Antique Table Turned Vanity {Bathroom Redesign Update}
A little of this, and a little of that…

{Happy Halloween?}

Thanksgiving #1 and Dining Room Update!
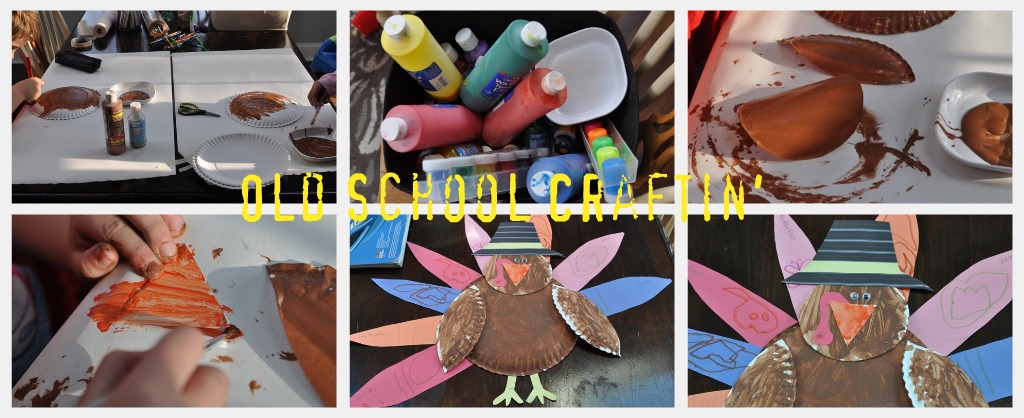
Photo Stripping

Photobooks

I'm just Gonna Eat My Words

Free Canvas for You!

Fall Mantel 2013
Spring Things {All things Spring 2012}

Brass Fireplace Update

Curb Appeal

