My Creative Blog [Search results for awesome]
Projects Not to Miss

Ladies Night Out DIY White Box Challenge!

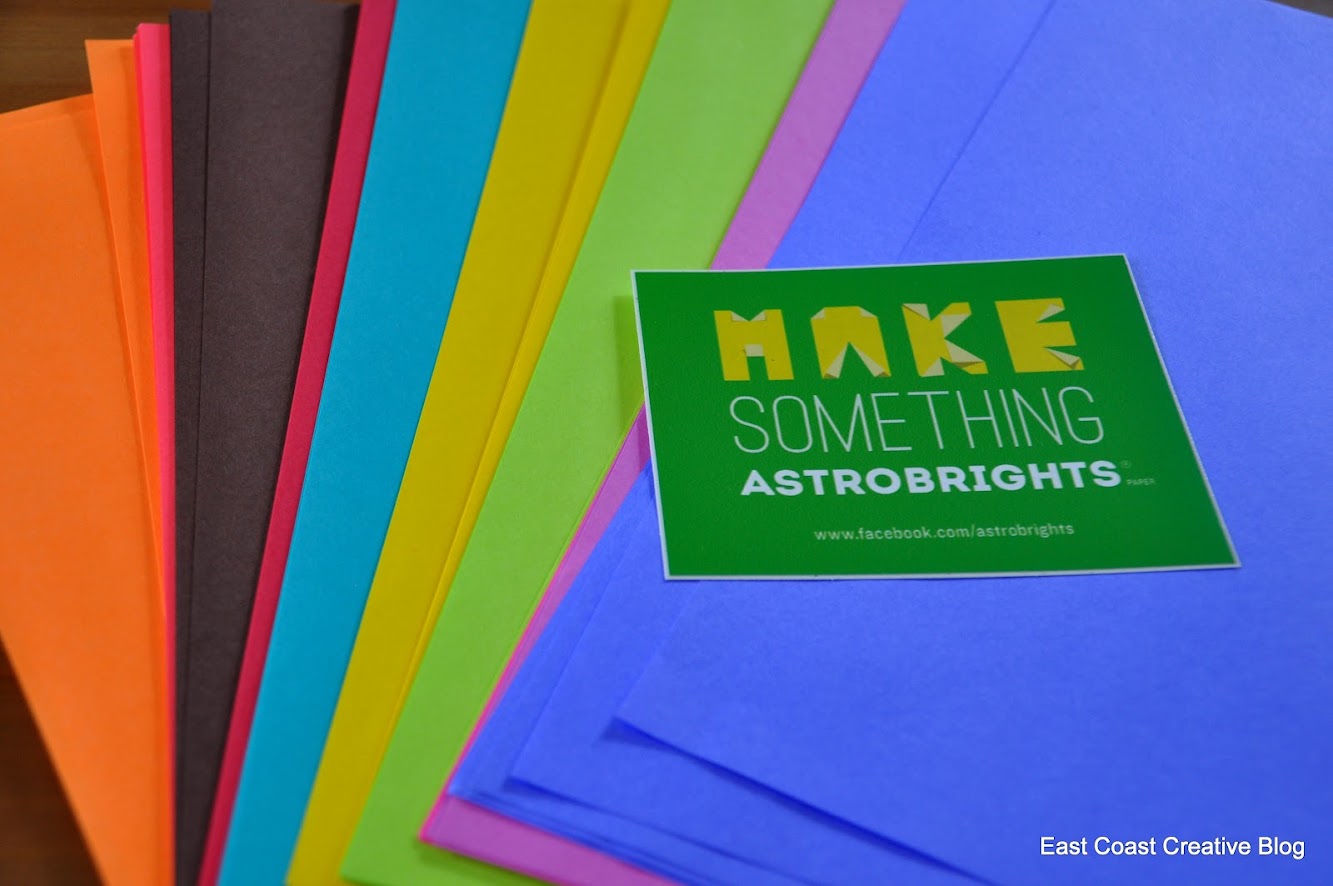
DIY Neon Locker Memo Board {Astro Brights}
Creating with the Stars on EC2!

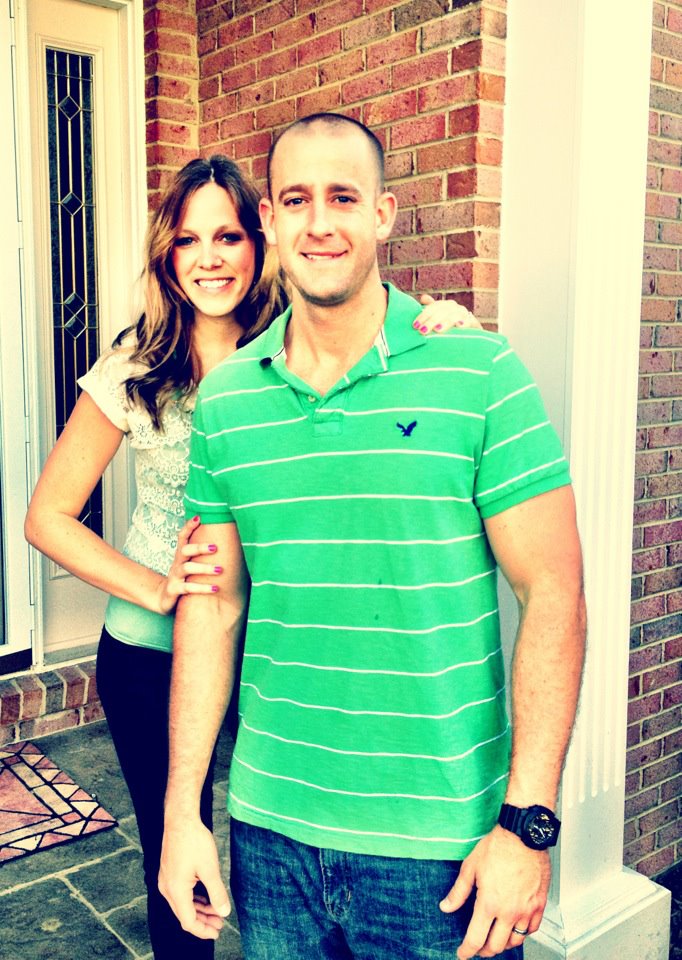
A Pinteresting Home! {Meet Kelly}
Distressing Granny (How to Distress Frames)

12 Awesome Fabrics {Arrows, Stars, and Narwhals Oh My!}

True Confessions of a Blogger {and a Giveaway}

Journey to a Vertical Garden Part 2 {Home Depot #Dig In}
Early Retirement & Leaps of Faith {Real Life}
Make your own Cube Puzzle {Jamie from C.R.A.F.T}

Guest Room Spoilers!

Wood Grain Christmas Countdown 2012

The Worst Date Night Ever
Create Art from Anything {Nate Show Wall Panels}

Green Thumb or All Thumbs?

Top Projects 2012

Merry & Bright Christmas Inspiration

The Countdown is On! {CWTS 2013}
Want vs. Need