My Creative Blog [Search results for art]
Free Printable Art Round-Up

Creating Custom Artwork

12 Free Nursery Printables

Art

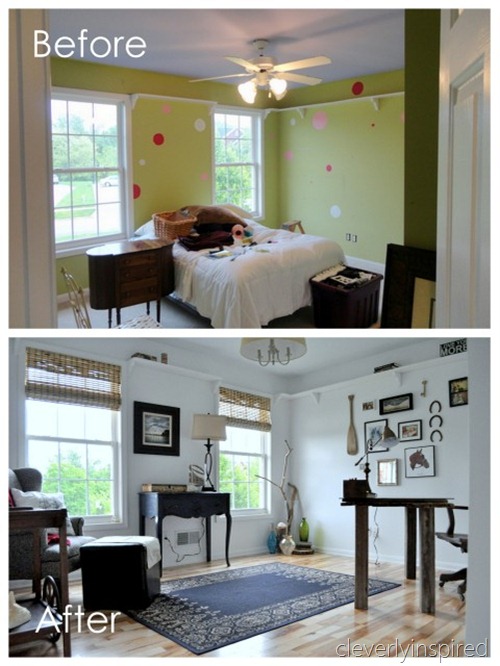
Repurposed Art into Bulletin Board {Cleverly Inspired}
Fabric as Art {The Nate Show Artwork}

Marbled Paper Art

stacked art...

11 DIY Christmas Gift Ideas
Family Room Art & How To Add Grommets!

Wood Shim Wall Art {Crafting for Charity with Homes.com)

Create Art from Anything {Nate Show Wall Panels}

Limited Edition Designs

Doggy Style…

Illuminated Deer Art

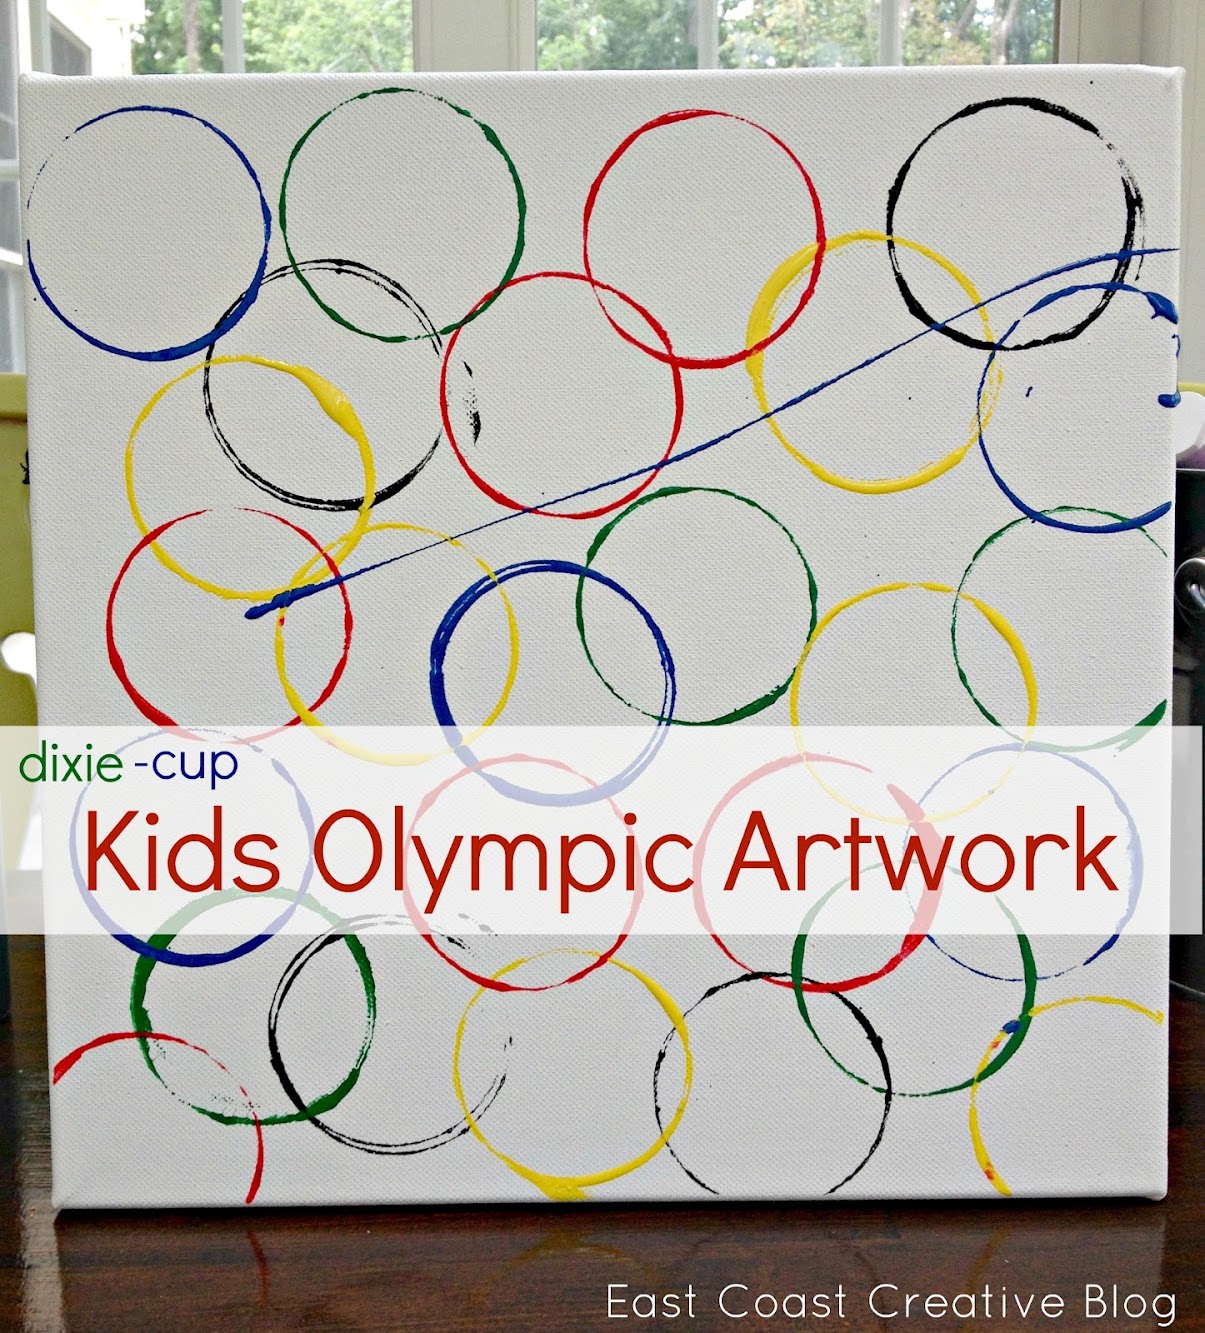
Olympic Crafts for Kids {2012 Olympic Games}
25+ Upcycle Ideas & Ikea Hacks

Collecting habit: Tassels

Acquired Objects: The Whimsical Human Form

Nate's 12 Days of Holiday DIY's {Day 11: The Details}

