My Creative Blog [Search results for accessories]
Tips for Accessorizing your Space {SuperFab Room Redesign}

Colorful Kitchen Renovation {Knock It Off}

SuperFab Room Redesign REVEAL {Guest Room}
B2S Fashion

Creating with the Stars Round 4 Voting {The Final Round!}
Formal Living Room Makeover {Knock It Off}

Helping Hobbies…

Jewelry Organizer {The Ugly Duckling House)
How to Paint a Whiteboard Wall

She's Gone Country…

thanks for comin' through for me....!
Fab Find Friday

Fab Find Friday {The BEST One Yet!}

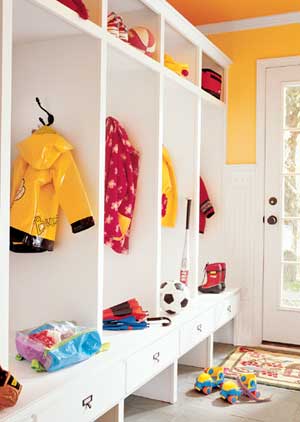
Mudroom Tour
Design Icons {of the Blogosphere}

Something to Celebrate {B2S Day 4}

{Blossoming Business} Guest Blogger

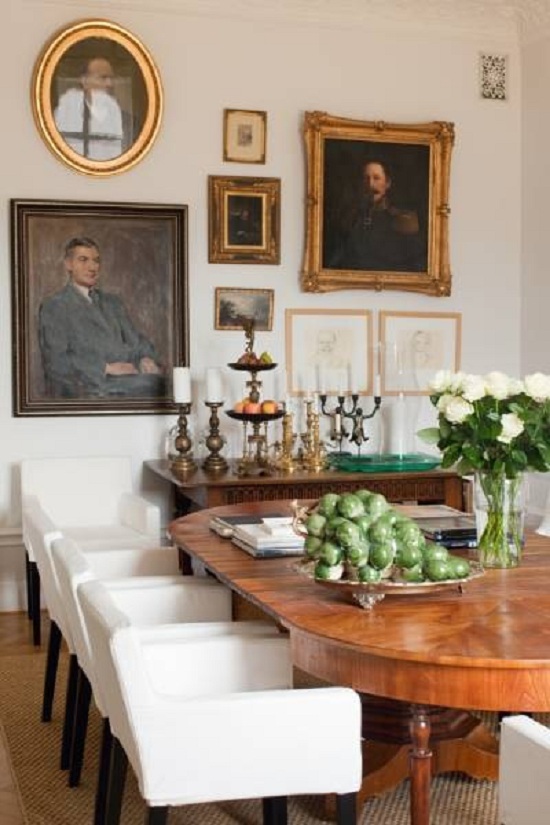
Designer Profile: Victoria Hagan

Fab Find Friday {Contact Us- Help a Reader Out}

Loads of Color


