My Creative Blog [Search results for accent wall]
How to Paint a Mosaic Accent Wall {Bedroom Makeover}

Temporary Accent Wall with Grass Cloth & Nailheads {Sarah M. Dorsey Designs}

Planked Wall with Exposed Stud Shelving {Tutorial}

Top Projects 2012

Gallery Walls {We Love Them}

How to Cut a Perfect Mohawk using Frog Tape!

How to Paint a Whiteboard Wall
How to Build a Custom Headboard with Arms {Sarah M.Dorsey Designs}

Wallpaper Wednesday

Colorful Stenciled Accent Wall {Knock It Off}

Modern Houndstooth Stencil
Dreary to Cheery Family Room Makeover {Knock It Off}

East Coast Creative 10k Fan Giveaway!

Creating with the Stars Round 3 Voting
Our Home Goals for 2013

Creating with the Stars Round 3 Results!

How to Make a Headboard {Shutter Headboard}
Best DIY Projects of 2012
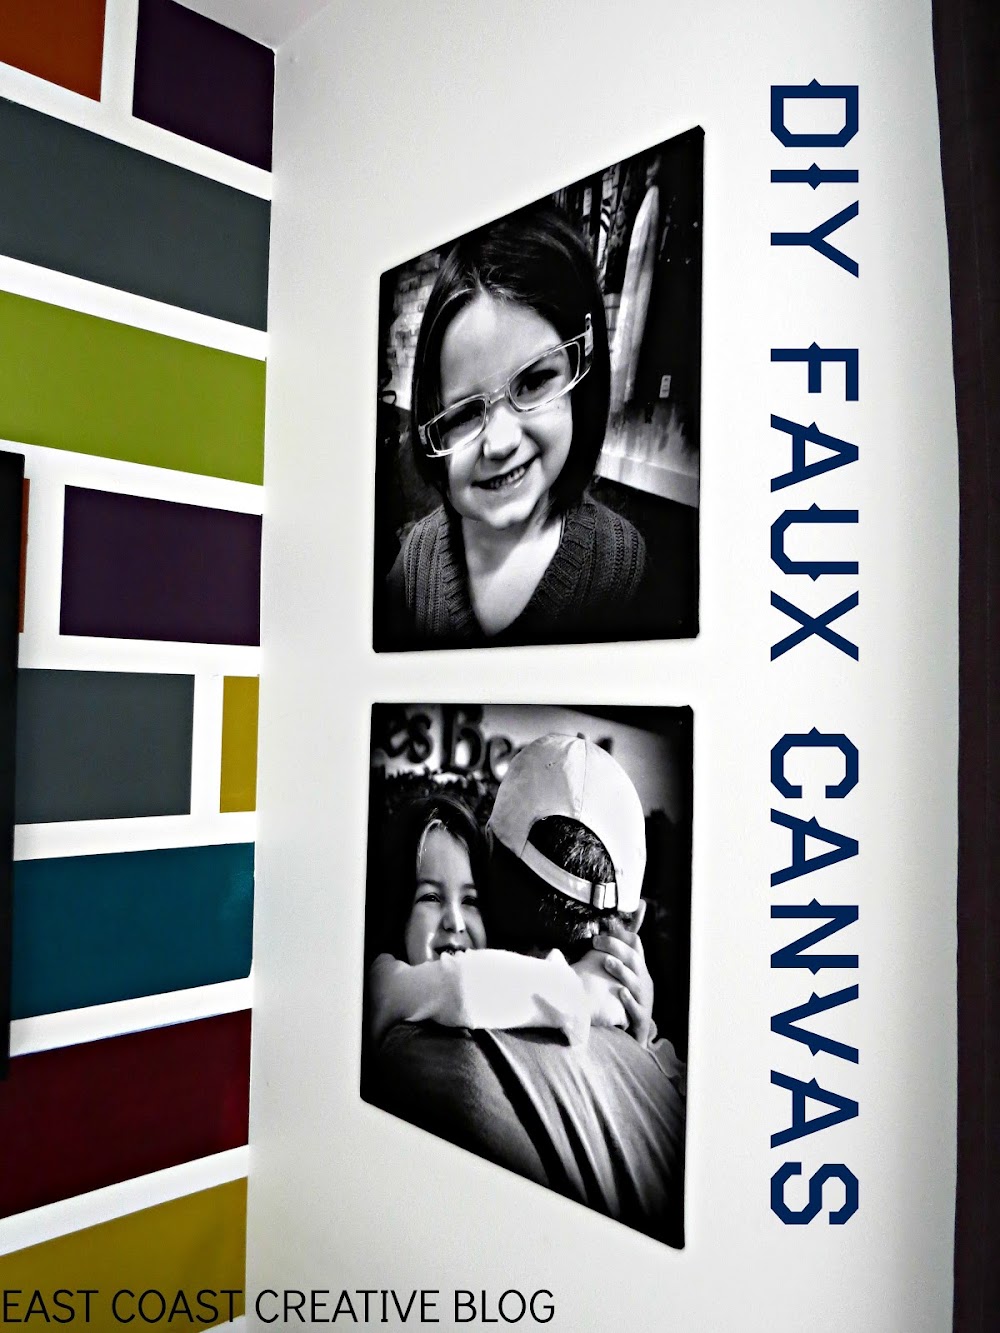
DIY Faux Canvases {Kira's Room Makeover}
Colorful Bedroom Makeover {KJ's Bedroom}

