My Creative Blog [Search results for Wallpaper]
Wallpaper Wednesday

Temporary Accent Wall with Grass Cloth & Nailheads {Sarah M. Dorsey Designs}

How to Remove Wallpaper the Easy Way!

Fabulous Fabric Wallpaper

20 Hours and Counting…

hey, that's my wallpaper!

Dreary to Cheery Family Room Makeover {Knock It Off}

The Original Funkmaster… My DIY Dining Room and CWTS Updates!

Mirror Mirror on the Wall…
Thanksgiving Scramble

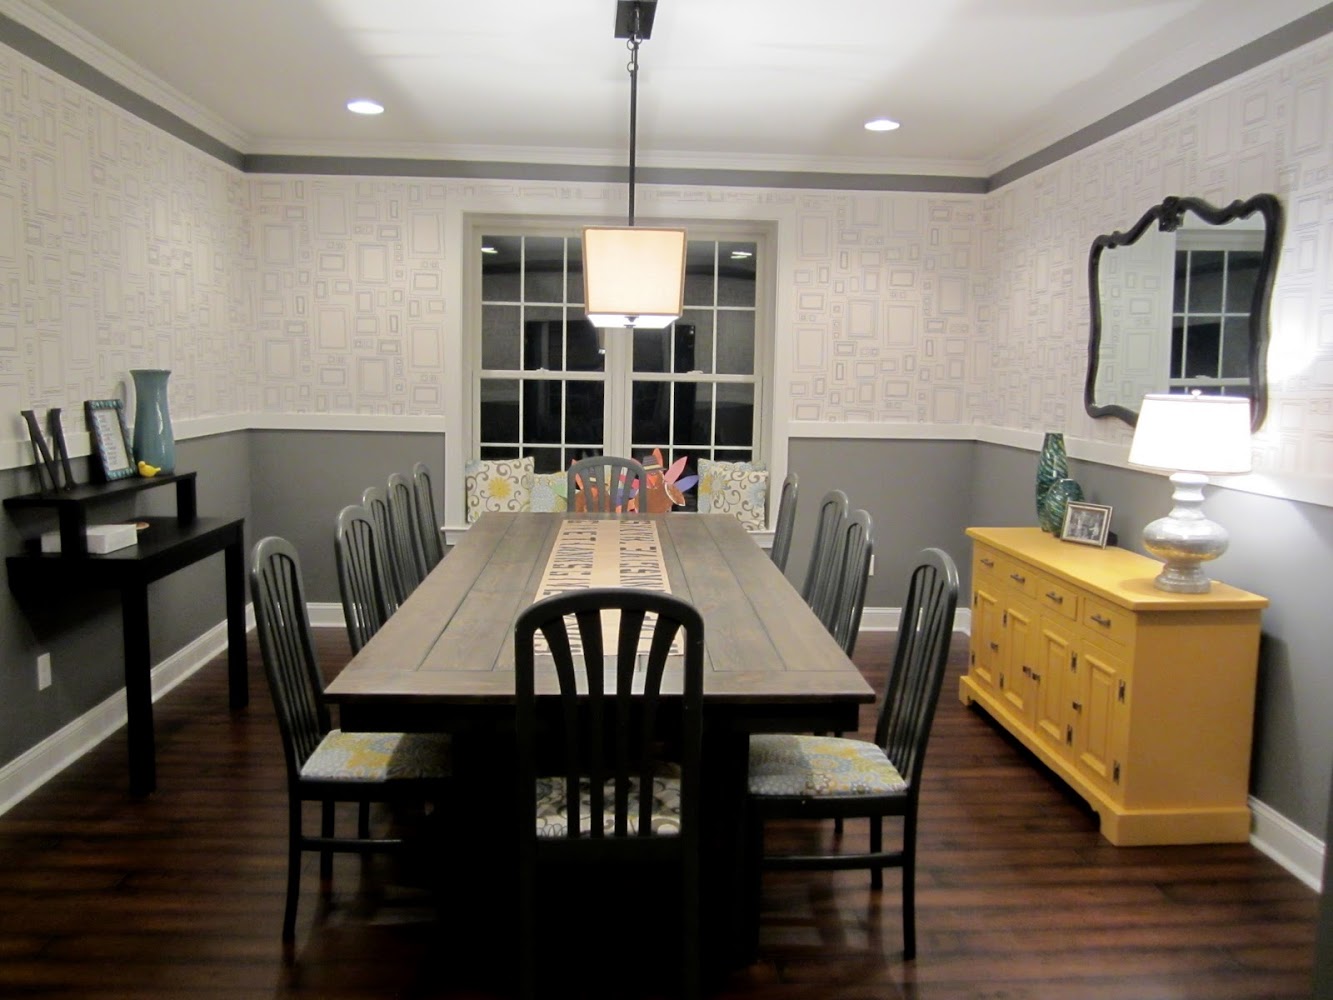
Granny Frames! {Dining Room Update}

A Big Day!

Top 11 projects from 2011 {Monica's Recap}

Colorful Stenciled Accent Wall {Knock It Off}

And just for the sake of it.
Dreamy Anna French collections
EC2 Home Tour — Welcome to My Foyer!
When Irish Eyes are Smilin'

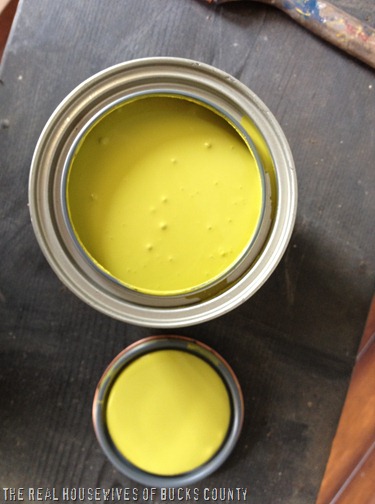
Welcome to the Real Housewives of Bucks County U Create Readers!

Good-bye September…Hello October!


