My Creative Blog [Search results for Twitter]
HTC OneX Smartphone {Giveaway!}

DIY Glitter Placemats {Tulip Shimmer}
Tie Dye Pennant Banner & Sign

Where to Buy your Holiday Project Supplies {Consumer Crafts}

Halloween Foyer Facelift {With Scrapbook Attitude}

Monster Mash Candy"Bowl" with Martha Stewart Crafts

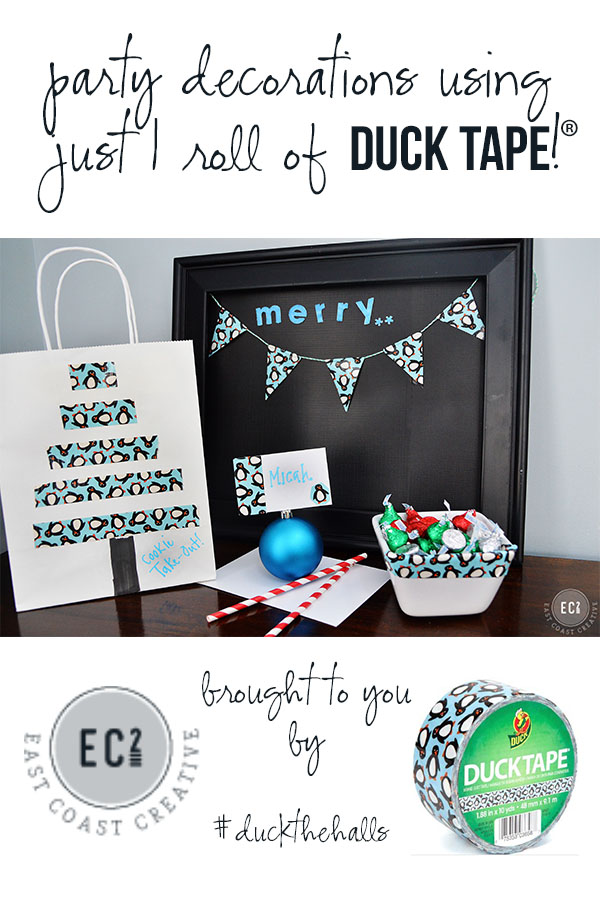
Decorate for a party using just 1 Roll of Duck Brand® Tape: Cookies & Carols
Ikea Lack Ottoman {Ikea Hack}
.jpg)
Jewelry Organizer {The Ugly Duckling House)

True Confessions of a Blogger {and a Giveaway}

Shape Tape™ Painted Lamp Shade DIY

Last Giveaway! {Royal Design Studios}

Las Vegas Wedding {Amateur Photography}
Moen Kinzel Kitchen Faucet

EC2 Snail Mail {UPrinting Postcards}

How to Display Instagram Photos {Instagram Wreath}
How to Cut a Perfect Mohawk using Frog Tape!

Summer Porch Makeover
Planked Wall with Exposed Stud Shelving {Tutorial}
DIY Shutters and Window Box


