My Creative Blog [Search results for Staples]
Staples Engineer Print Artwork {Garage Mudroom Makeover}

Frame your own HUGE Photo for Under $20!
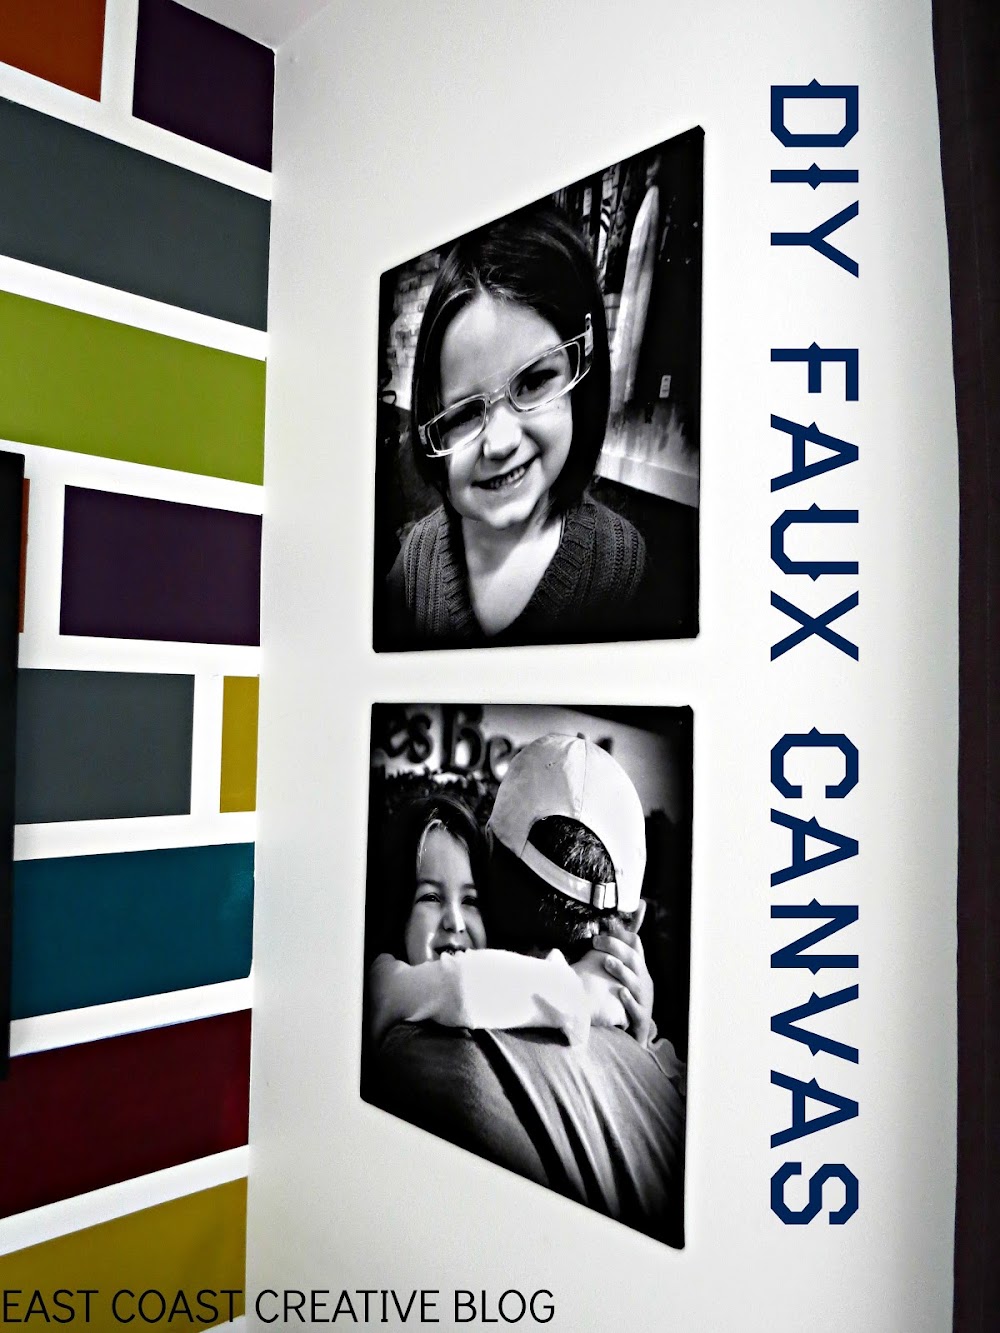
DIY Faux Canvases {Kira's Room Makeover}
Kid-Friendly Design: A Gallery Wall With Staples Engineer Prints

Fall Mantel 2013

Ginormous Family Art {With an Industrial Flare}
Nate's 12 Days of Holiday DIYs {Day 3}

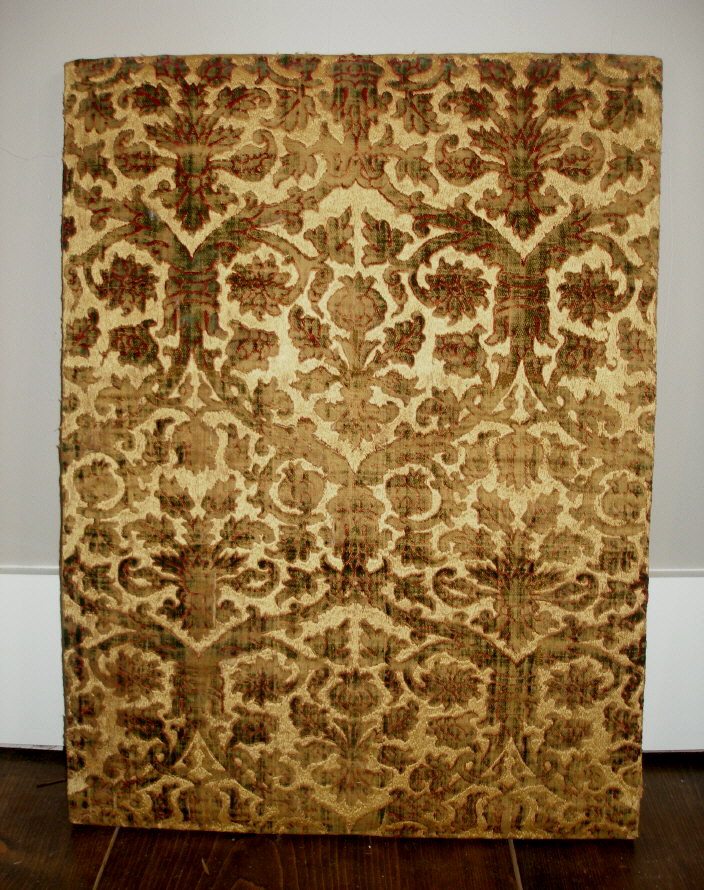
Fabulous Fabric Wallpaper

DIY Hanging Frames {Tutorial}

Ikea Lack Ottoman {Ikea Hack}
.jpg)
Reindeer Artwork {Nate Berkus Blast From the Past}

How to Build a Custom Headboard with Arms {Sarah M.Dorsey Designs}

Top Projects 2012

Layered Upholstered Headboard {Knock it Off DIY Project}

Fabric Thankful Tree Canvas

Fingerprint Artwork {Meaningful Art}

Design it How you Like it {EC2 House Tour Update}
Creating with the Stars Round 2 Link Party
A Worthwhile Evening {Recap}
Project Time!