My Creative Blog [Search results for Paint]
Striped Hat Rack {DecoArt Glass Paint}

Anthro-Inspired Ikat Console {5 Foot 12 Creations}

How to Paint Cabinets White

Brass Fireplace Update

Creating with the Stars Round 3 Voting

Simple Fireplace Upgrade {Annie Sloan Chalk Paint}

Stenciled Faux-Tile Fireplace {Tutorial}

Ombre Painted Dresser {Knock It Off DIY Project}
Curb Appeal

Summer Porch Makeover

Modern Houndstooth Stencil
How to Paint a Mosaic Accent Wall {Bedroom Makeover}

Green Painted Piano {Annie Sloan Chalk Paint}

Interactive Playroom Wall {Five Foot Twelve Creations}
Painted Kitchen Cabinets {Knock it Off Project}
Wood Grain Christmas Countdown 2012

Creating with the Stars Round 3 Link Up Winner
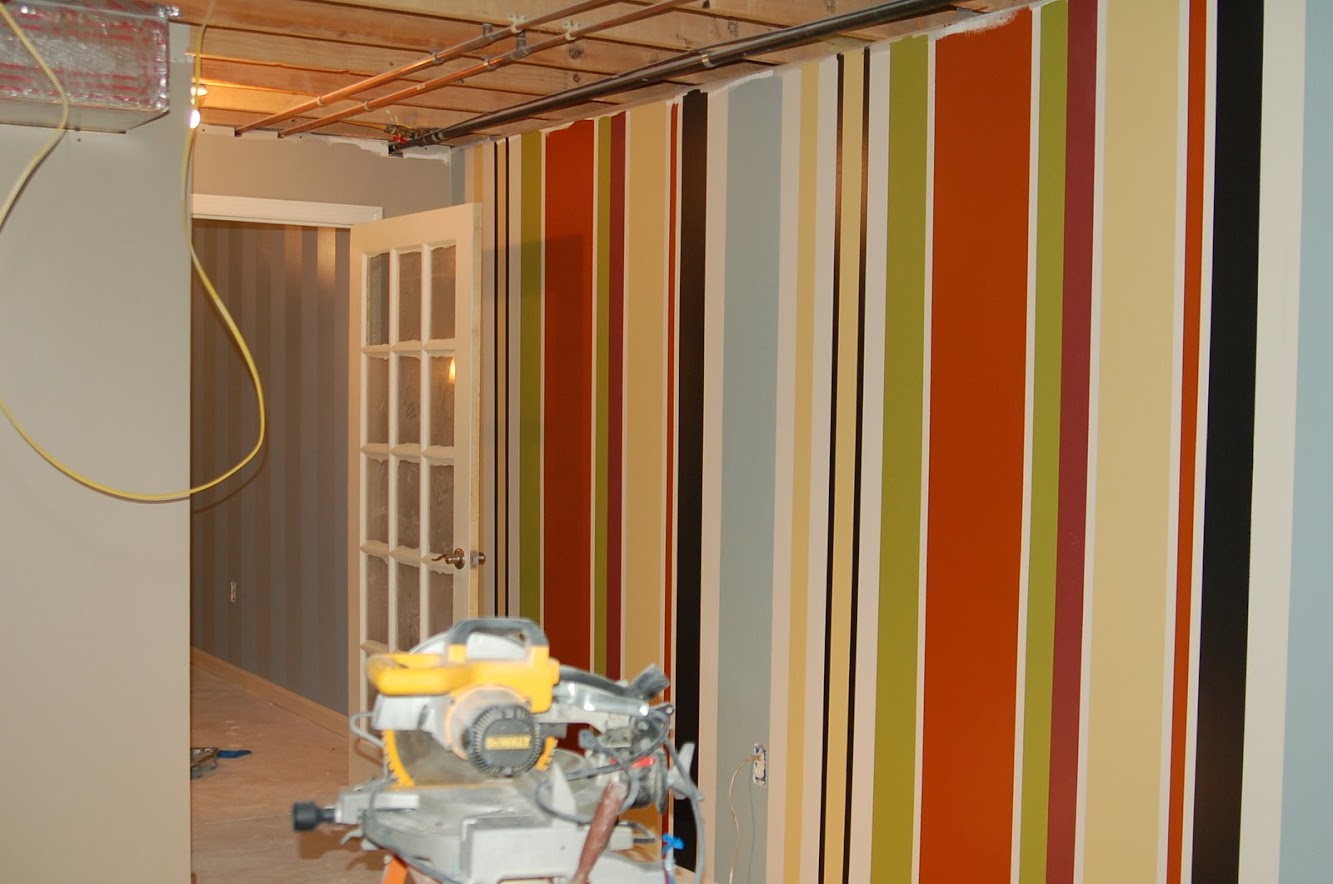
Journey to the Perfect Stripe
Outdoor Furniture Upcycle
Shape Tape™ Painted Lamp Shade DIY