My Creative Blog [Search results for Love]
Spring Things {Spring Mantle Inspiration}

Perfect Valentine's Gift {The Game of Love}

12 Awesome Fabrics {Arrows, Stars, and Narwhals Oh My!}

Five {Non-Cheesy} Dates for Valentine's Day

October Sponsor Love

Design Icons {of the Blogosphere}

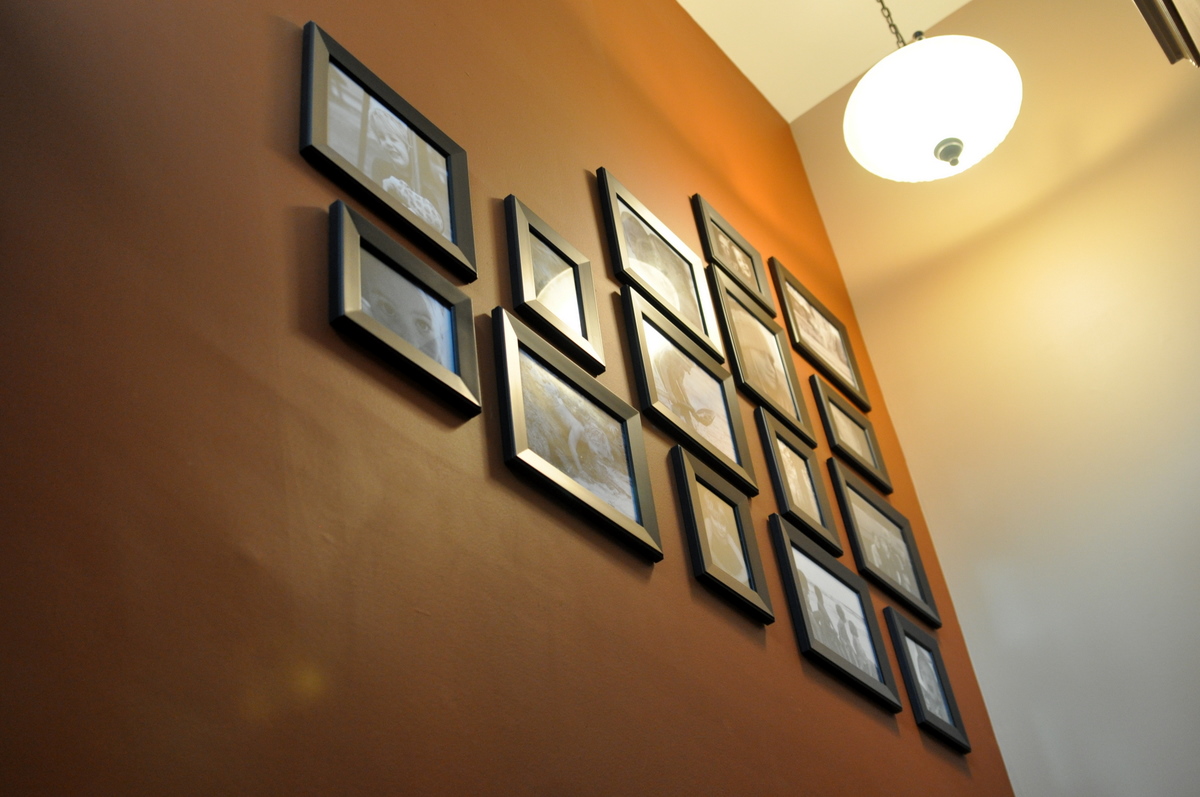
Gallery Walls {We Love Them}
Spring Must Haves
Fab Find Friday {What We're Crushing on!}

Creating with the Stars Round 3 Voting

Green Painted Piano {Annie Sloan Chalk Paint}
Top Projects 2012

Top 11 Projects of 2011 {Jess' Recap}

A Love Affair with Frames

DIY Patio Reveal {It's Finally Here!}

These Are a Few of My Favorite…Pins!

Monica's Christmas House Tour 2012
Creative Pumpkin Decorating Ideas 2012
Fab Find Friday {Contact Us- Help a Reader Out}

Summer Sponsor Spotlight


