My Creative Blog [Search results for Inspiration]
Merry & Bright Christmas Inspiration

The Inspiration Board

Sources of inspiration — Etsy

Creating with the Stars: Link Up Winner {Round 2}

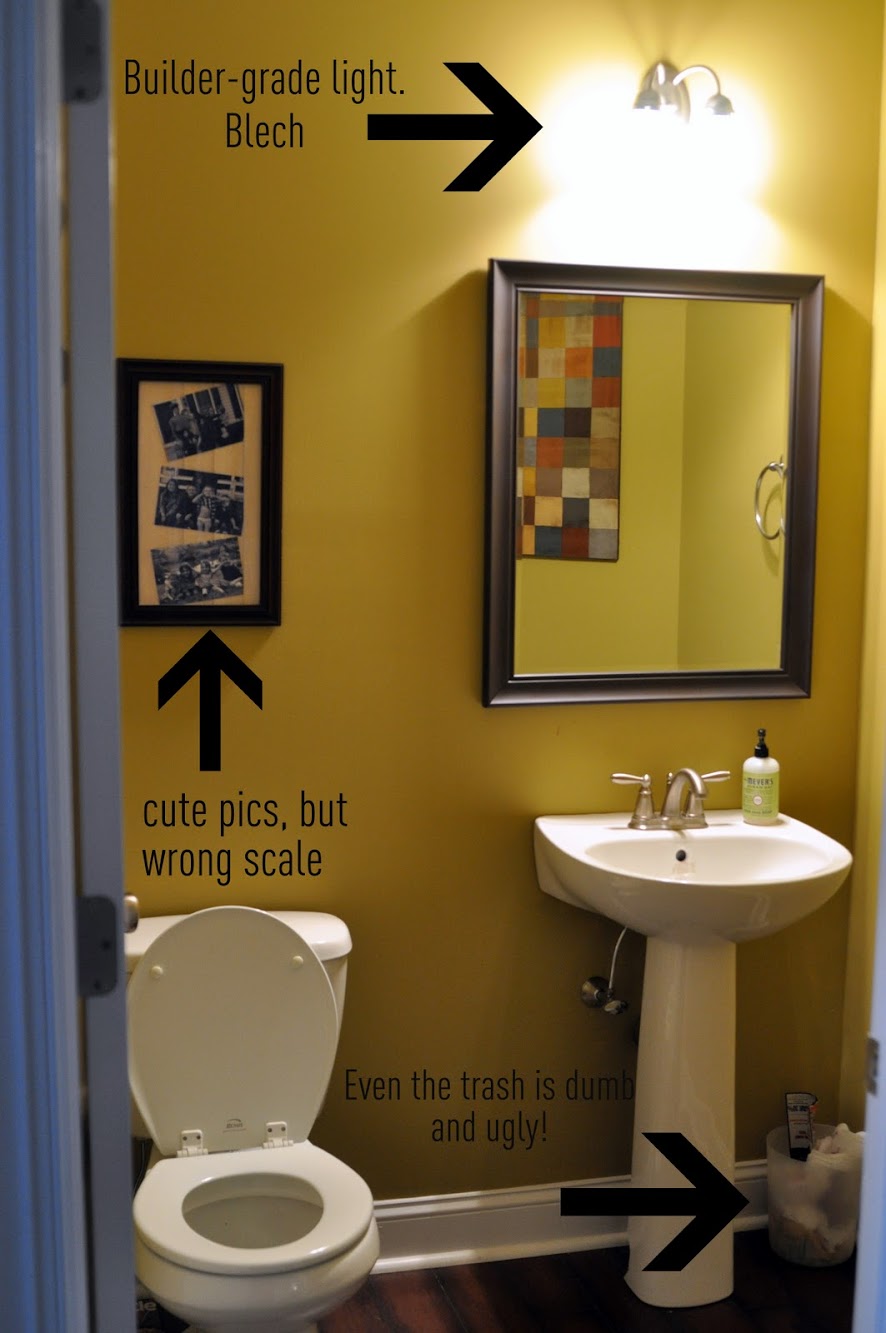
Ugly. Ugly. Ugly.
Refinished Dining Room Table {Furniture Makeover}

Custom Kids' Picnic Table {Knock It Off DIY Project}

Big Boy Room Inspiration

Pinterest Inspiration

inspiration and anxiety...

Christmas Inspiration Guest Post

Spring is FINALLY here! {The Home Depot Gardening Club}
Illuminated Deer Art

A Worthwhile Evening
Wedding inspiration

Anthro-Inspired Ikat Console {5 Foot 12 Creations}

Free Printable Art Round-Up

Paris weekend getaway

Pansies {Fall Container Gardening}

coffee