My Creative Blog [Search results for Halloween]
Vintage Halloween Postcards

Halloween Decorating with Sharpie Neon Markers

{Happy Halloween?}

Halloween Foyer Facelift {With Scrapbook Attitude}

Happy Halloween 2012

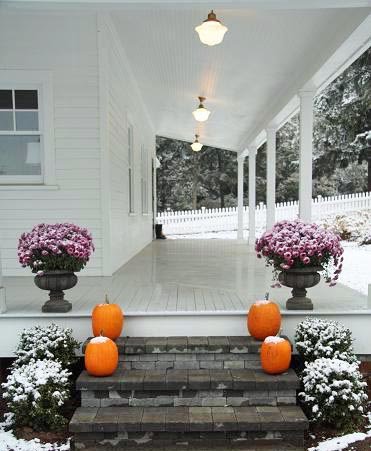
Dress up that Front Porch! {Fall-Lovers Series: Day 4}

Fall & Halloween Porch Decor
Halloween 2011- We Promised

Happy Halloween
Monster Mash Candy"Bowl" with Martha Stewart Crafts

Five DIY Fall Crafts

Halloween Decor 2012

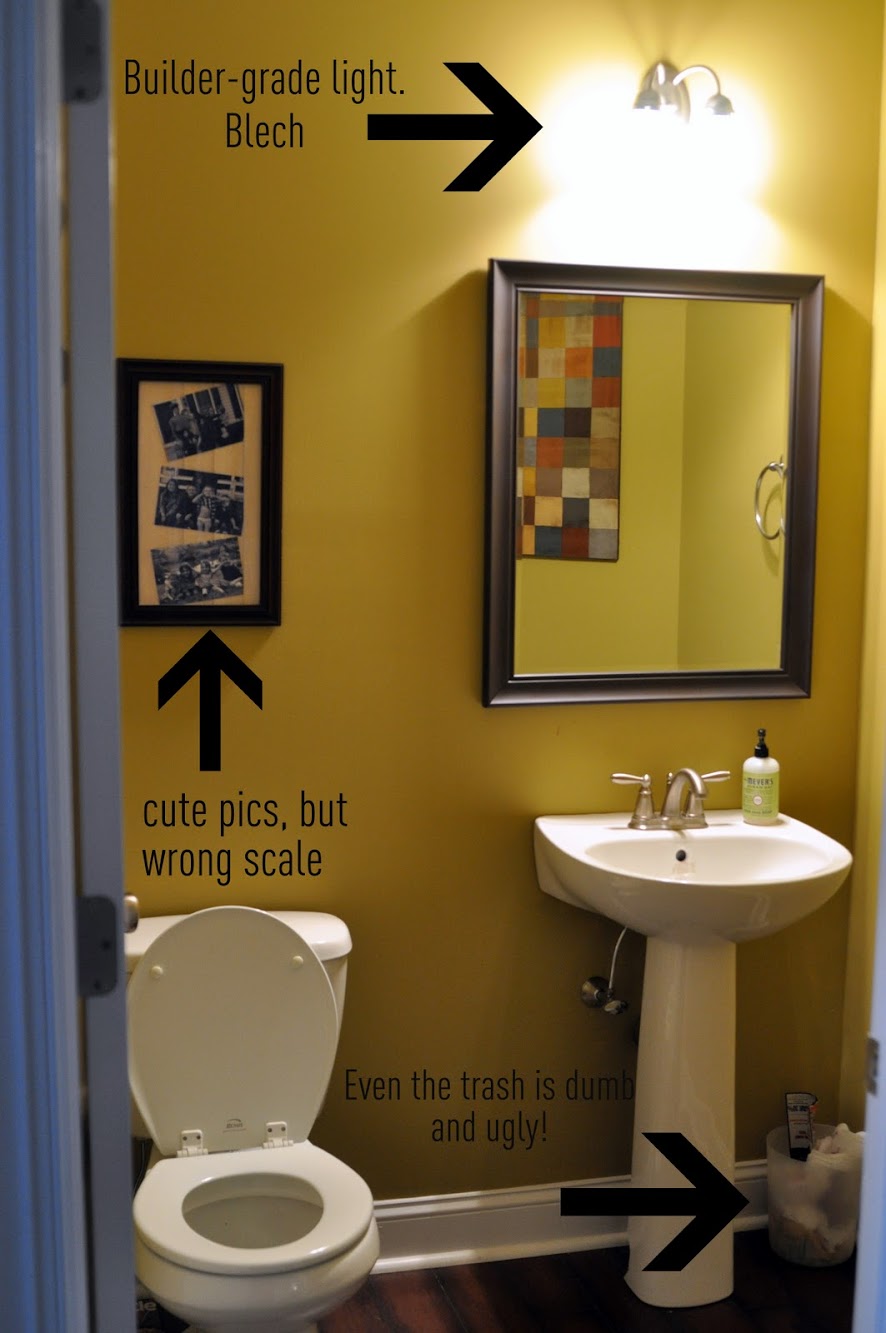
Ugly. Ugly. Ugly.
October Sponsor Love
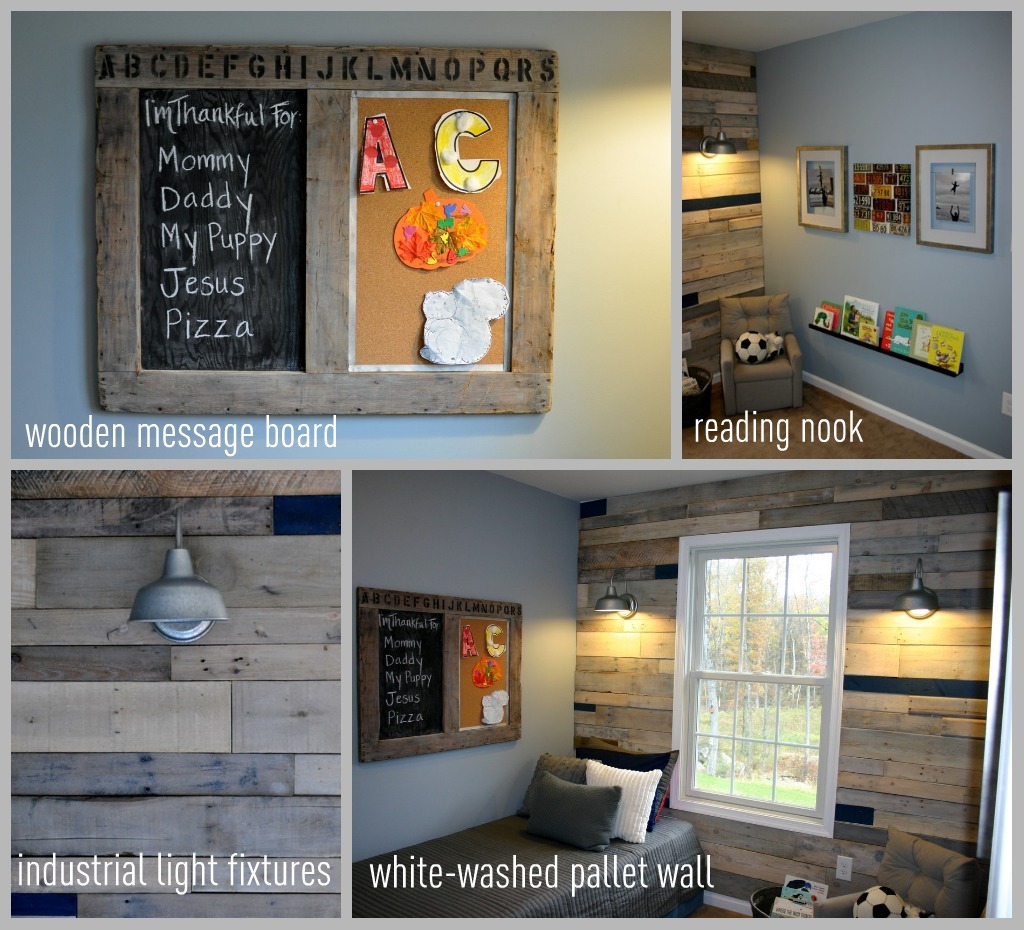
Wooden Memo Board
These are a Few of our Favorite Things {Sponsor Spotlight}

All-Hallows-Eve

Fab Find: Fall-Lover's Top Finds

Fabric Thankful Tree Canvas
Early Retirement & Leaps of Faith {Real Life}
