My Creative Blog [Search results for Garage]
Garage Mudroom Makeover {For the REAL Family}

Painted Wall Mural and Dresser {Love and Renovations}

Staples Engineer Print Artwork {Garage Mudroom Makeover}

DIY Mudroom Lockers {Garage Mudroom Makeover}

Custom Painted Runner Rugs {Garage Mudroom Makeover}

Chalkboard Door {Garage Entry}

How to Build the Easiest Coat Rack Known to Man

Best DIY Projects of 2012

DIY Wood Slice Wreath

Painted Secretary Desk & Accent Wall {Sarah M. Dorsey Designs}
Rustic outdoors

Planked Wall with Exposed Stud Shelving {Tutorial}
Mirror Mirror on the Wall…
Trendy Tire Table: {While They Snooze}

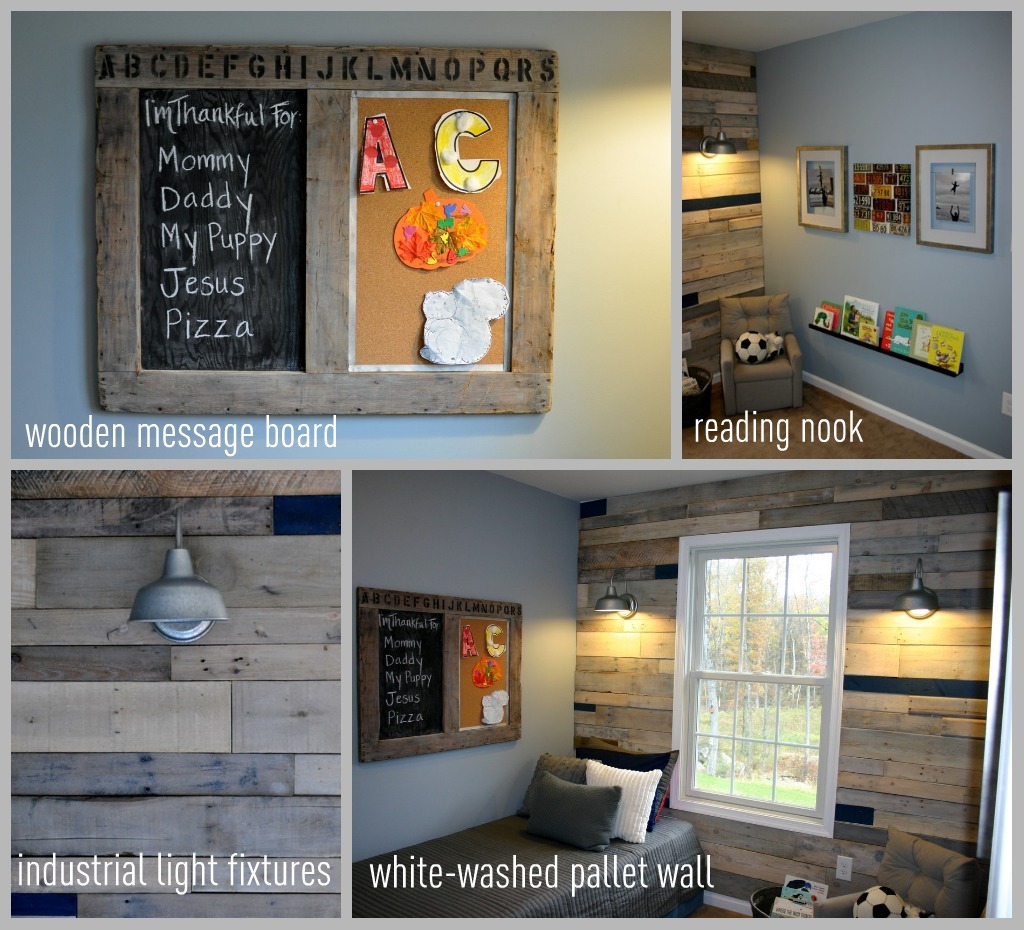
Nate's 12 Days of Holiday DIYs {Day 8: Pallet Wall Take 2}

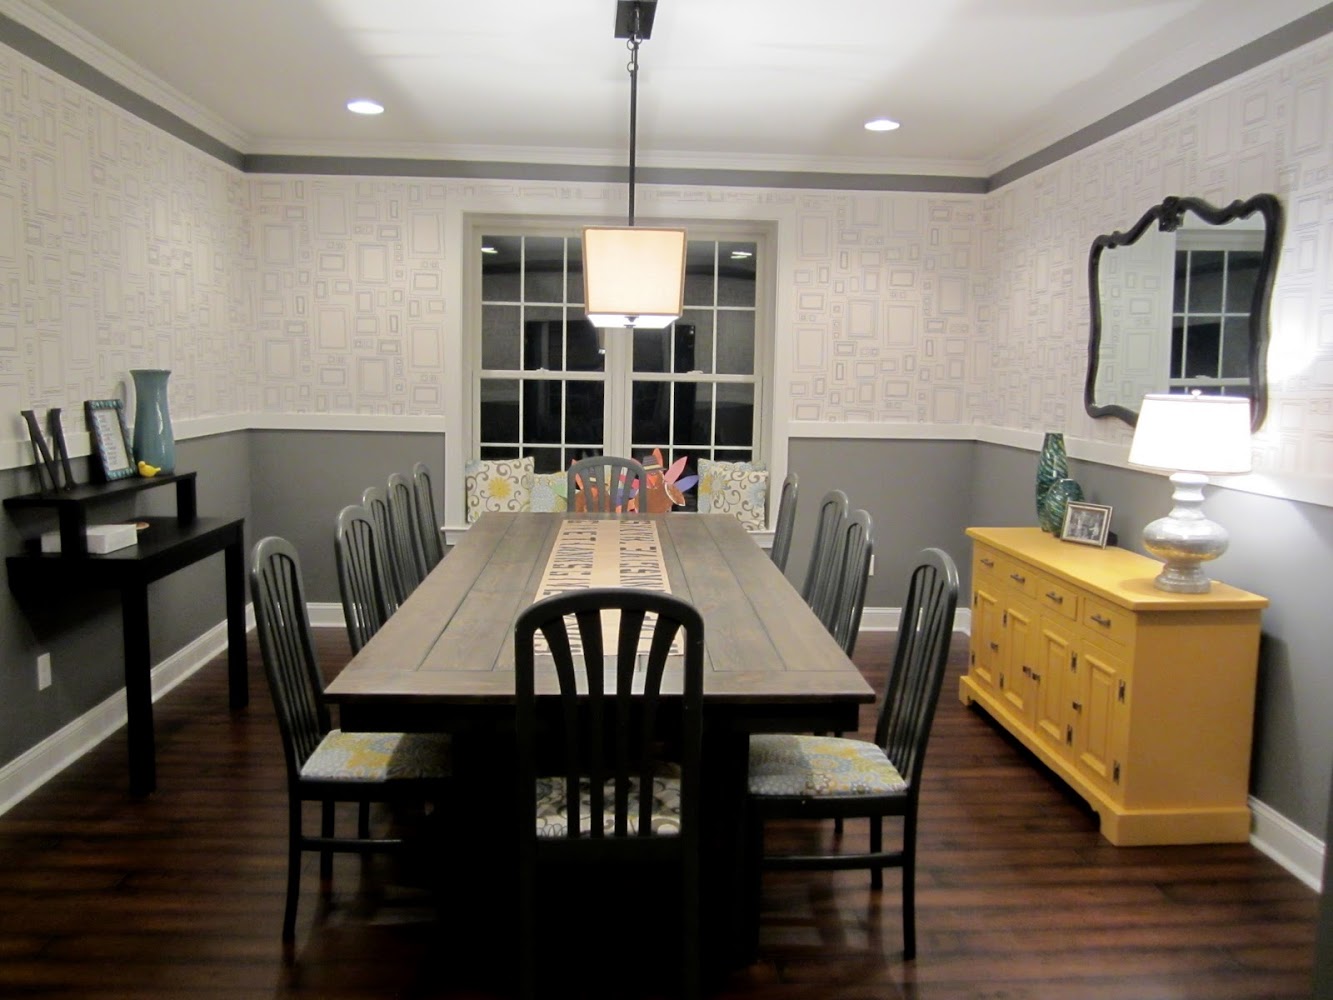
Dining Room Chairs- I Need Your Help!

CWTS Round 1 Link Party
Wooden Memo Board
Thanksgiving Leftovers Station

Adios Amigos Day 3 {Living with Lindsay}


