My Creative Blog [Search results for Crafting with the Stars]
Creating with the Stars on EC2!

Adios Amigos Day 4 {Sew Dang Cute Crafts}
Stencil Happiness {Royal Design Studio}

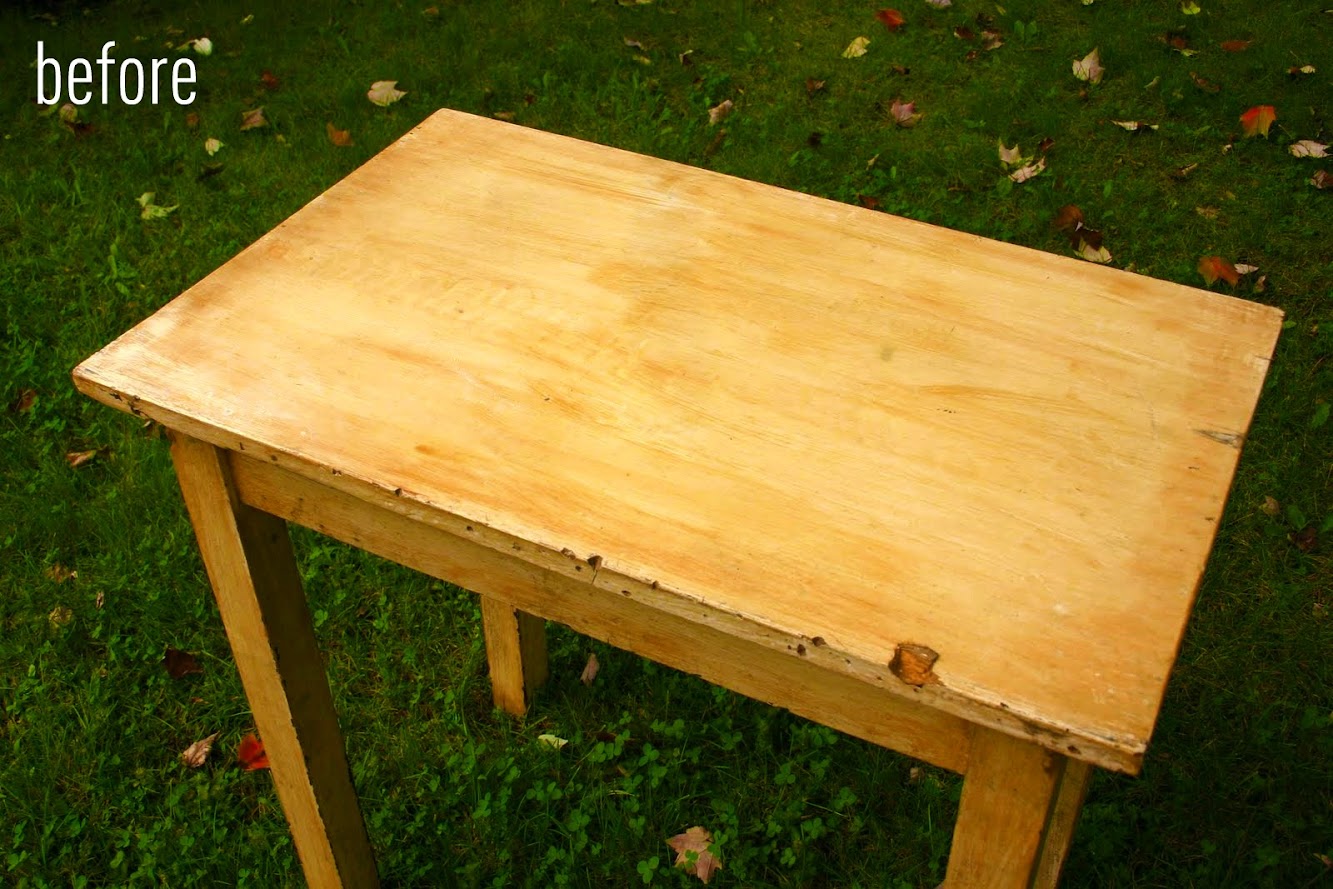
Antique Table Turned Vanity {Bathroom Redesign Update}
Fab Find Friday

Top 11 Projects of 2011 {Jess' Recap}

A Big Day!

At the Foot {Master Bedroom Redesign}

New Curtains {REAL Confessions}

79 Valentines & An Instagram Valentine's Idea

Pint Sized Picasso {I'm being buried alive by piles of papers}

Board & Batten Love

Christmas Shopping, anyone?

Doggy Style…

My Creative Blog

{Design it Forward}
Barnwood Artwork

The Part-Time Blogger's Dilemma {Let's Be Honest}

Heirloom Pumpkins

Short & Sweet


