My Creative Blog [Search results for Beautiful]
The New Gray?

A Beautiful Marble Frame

The Nursery

a beautiful old thing...

A beautiful picture

Fall Color New Hampshire Style

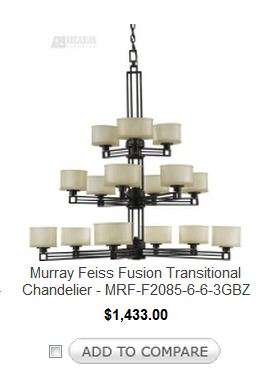
Dining Room Lighting {Lucent Lampworks}

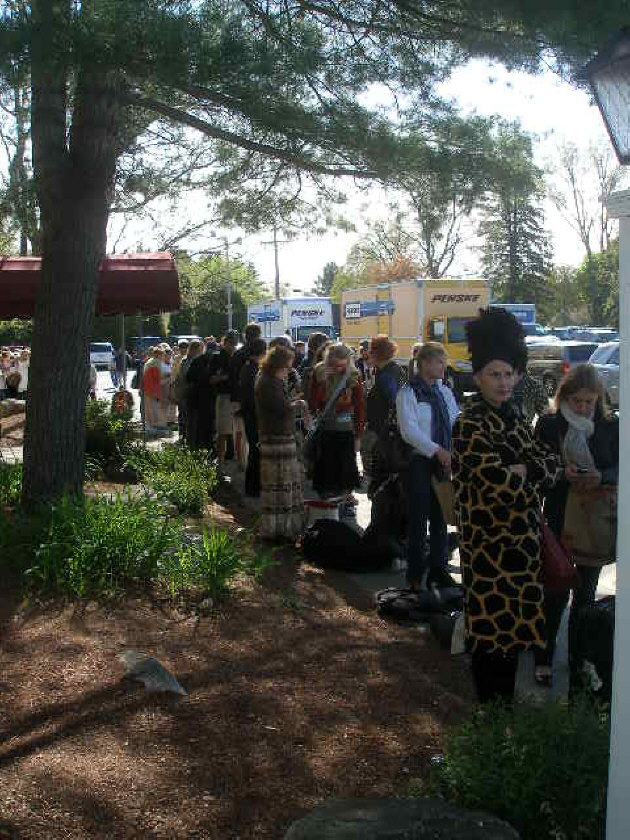
Exhausted, poor but happy!
Landscape Design

3 Blogs You Should Be Reading

a chair in the bath...

Art

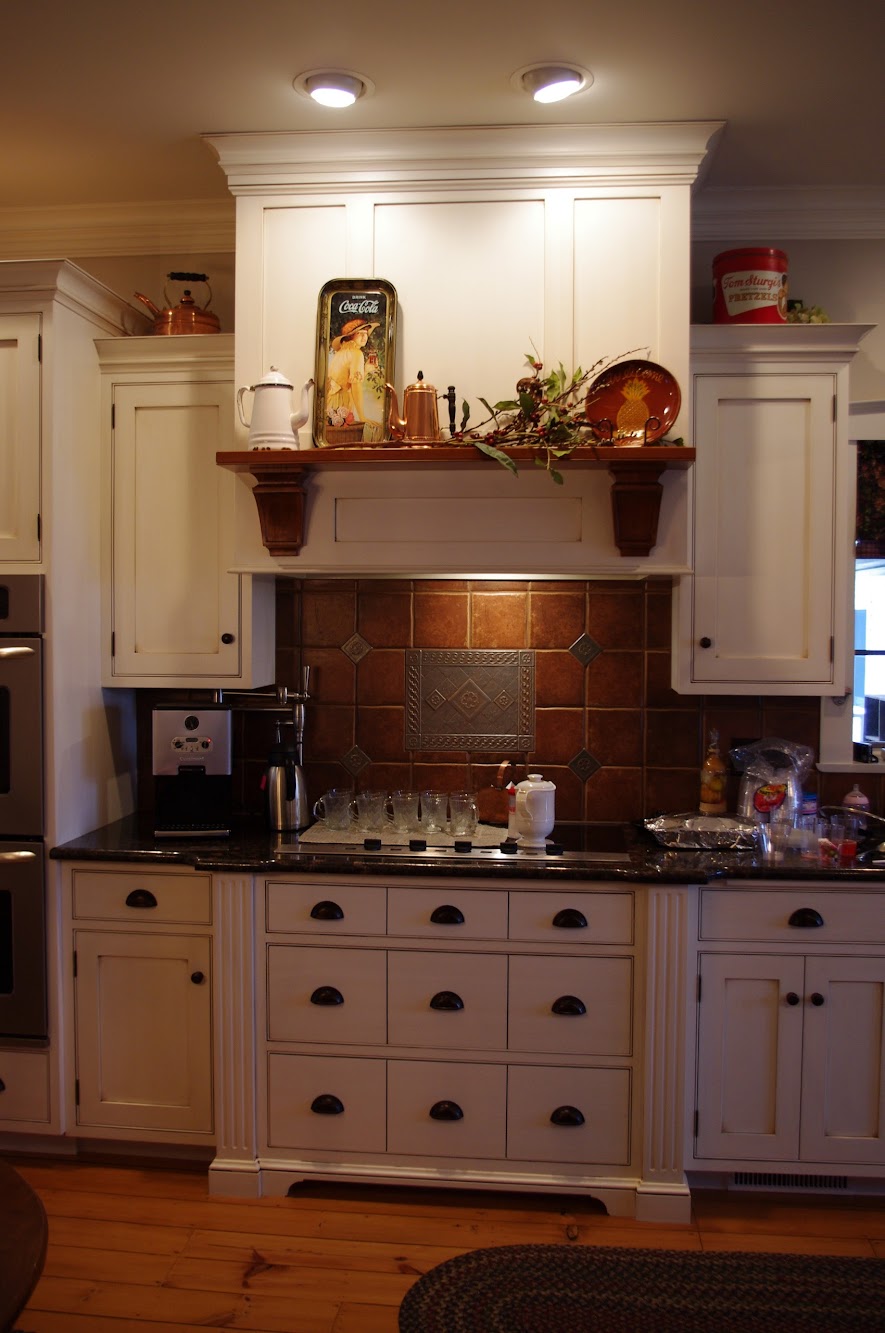
Kitchen Envy
How To Make Pysanky (Ukrainian Easter Eggs)

Modern Country Designs…Say What?
Travel-Inspired Design {Part 1}

A Victorian Chair

December top ten

A beautiful hallway

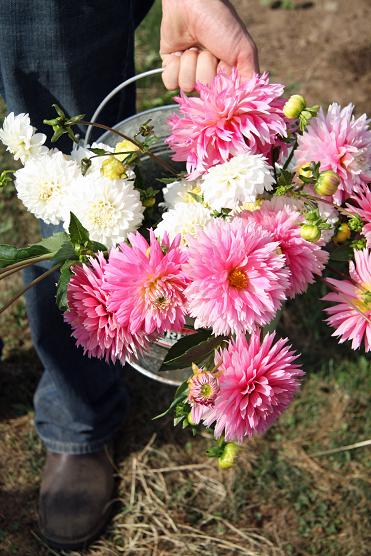
The Flower Farm