My Creative Blog [Search results for transformation]
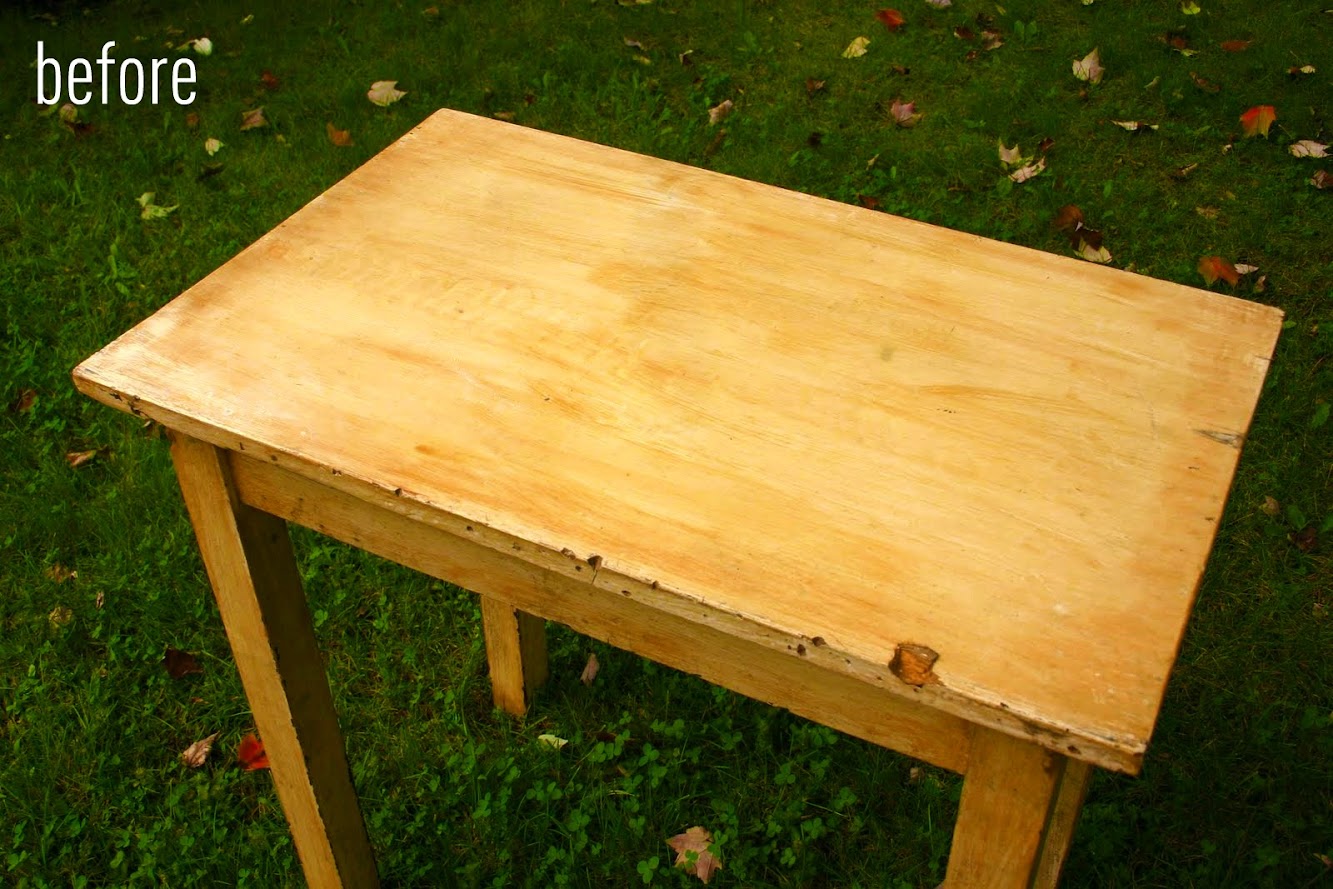
Antique Table Turned Vanity {Bathroom Redesign Update}
Knock It Off Premiere Party Recap!

Creating with the Stars Round 4 Voting {The Final Round!}
A Transformation Story {Be Intentional}

Barn Renovation Part 3: The Journey Continues & Thank you

Solar Terrarium Tutorial
Rustic Industrial Bedroom Makeover {Knock It Off}
Chalkboard Door {Garage Entry}

Top 11 Projects of 2011 {Jess' Recap}

Temporary Accent Wall with Grass Cloth & Nailheads {Sarah M. Dorsey Designs}

Treasure Map Wall Mural {Knock It Off DIY Project}
Striped Hat Rack {DecoArt Glass Paint}

The Last of the Roses

White Cabinet Reveal! {Kitchen Update}

Side Table Makeover {Annie Sloan Chalk Paint}

Modern Typography Meets Reclaimed Barnwood

Patio Furniture Update on a Budget! {and a giveaway}
Fab Find{s} Friday

Pirate Themed Bedroom Transformation {Knock It Off}
Out of Office


