My Creative Blog [Search results for stamp]
How To Make Awesome Hang Tags

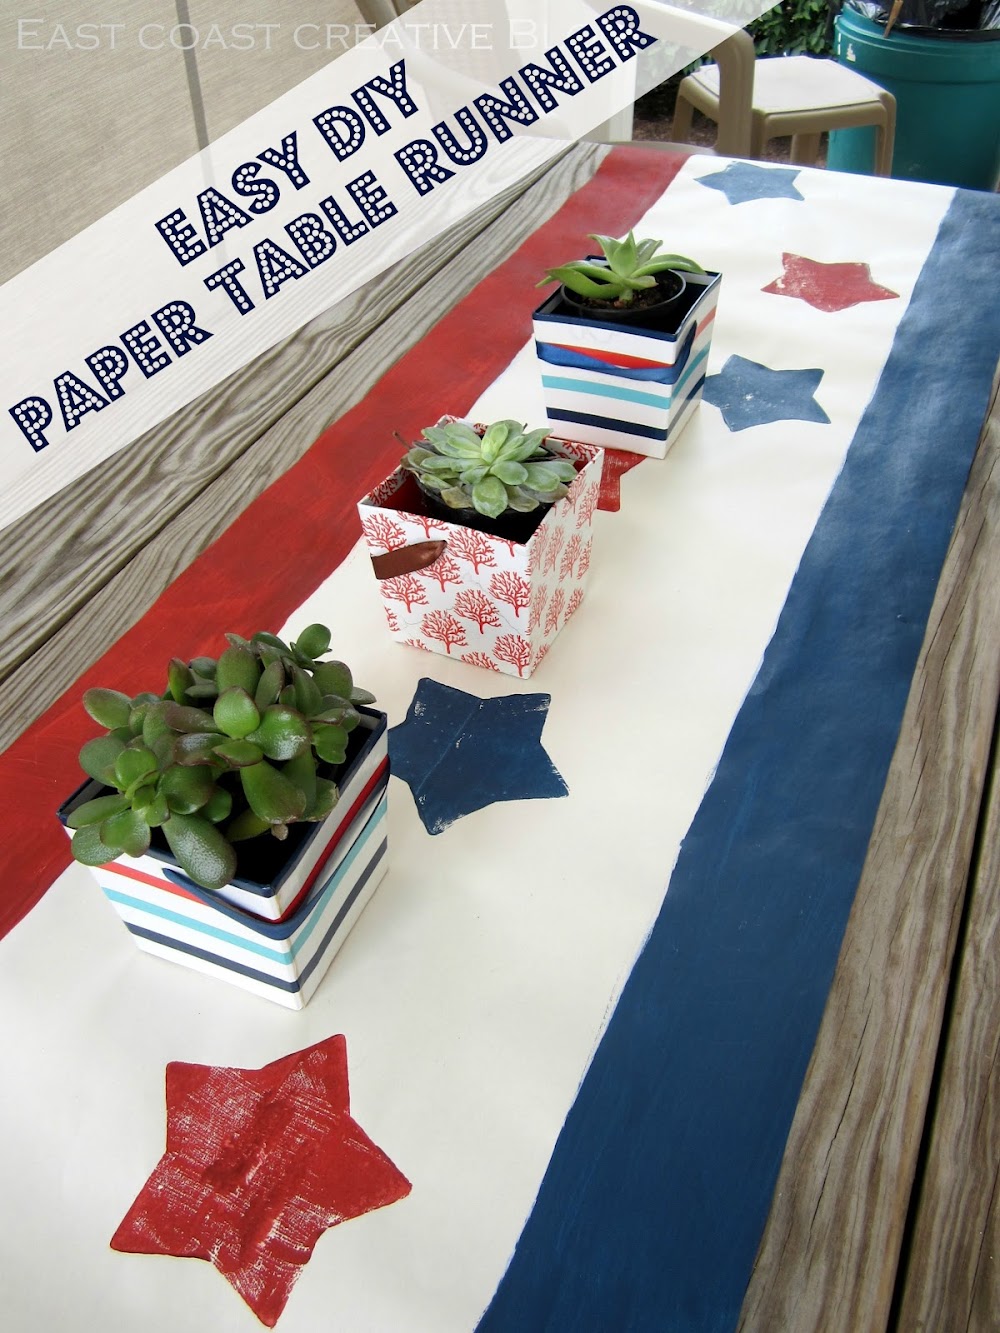
Easy DIY Paper Table Runner
Do you Vista?

Random Thoughts on Wednesday

Wood Grain Christmas Countdown 2012

Creating with the Stars Round 3 Voting

Colorful Bedroom Makeover {KJ's Bedroom}

How To Make Pysanky (Ukrainian Easter Eggs)

