My Creative Blog [Search results for real life]
This is How We Roll… {The Mangin Family}

Early Retirement & Leaps of Faith {Real Life}
Japan

Garage Mudroom Makeover {For the REAL Family}

Fall Eats {Fall Lovers Series-Day 3}

The Group Date

The Rock Gym
Adios Amigos Day 2 {Hannah Kate Flora}

How to Make a Pallet Crate {the space between}

How to Cut a Perfect Mohawk using Frog Tape!

DIY Fabric Flower Bouquet {My Girlish Whims}

Haven 2012 {Conference Recap}

The Nate Berkus Show {Sneak Peek}

How to Make a Wood Framed Mirror

Make your own Cube Puzzle {Jamie from C.R.A.F.T}

Distressing Granny (How to Distress Frames)

Advice for the Part-time-Blogger {Part-Time Bloggers Dilemma Part 2 }

Ladies Night Out DIY White Box Challenge!

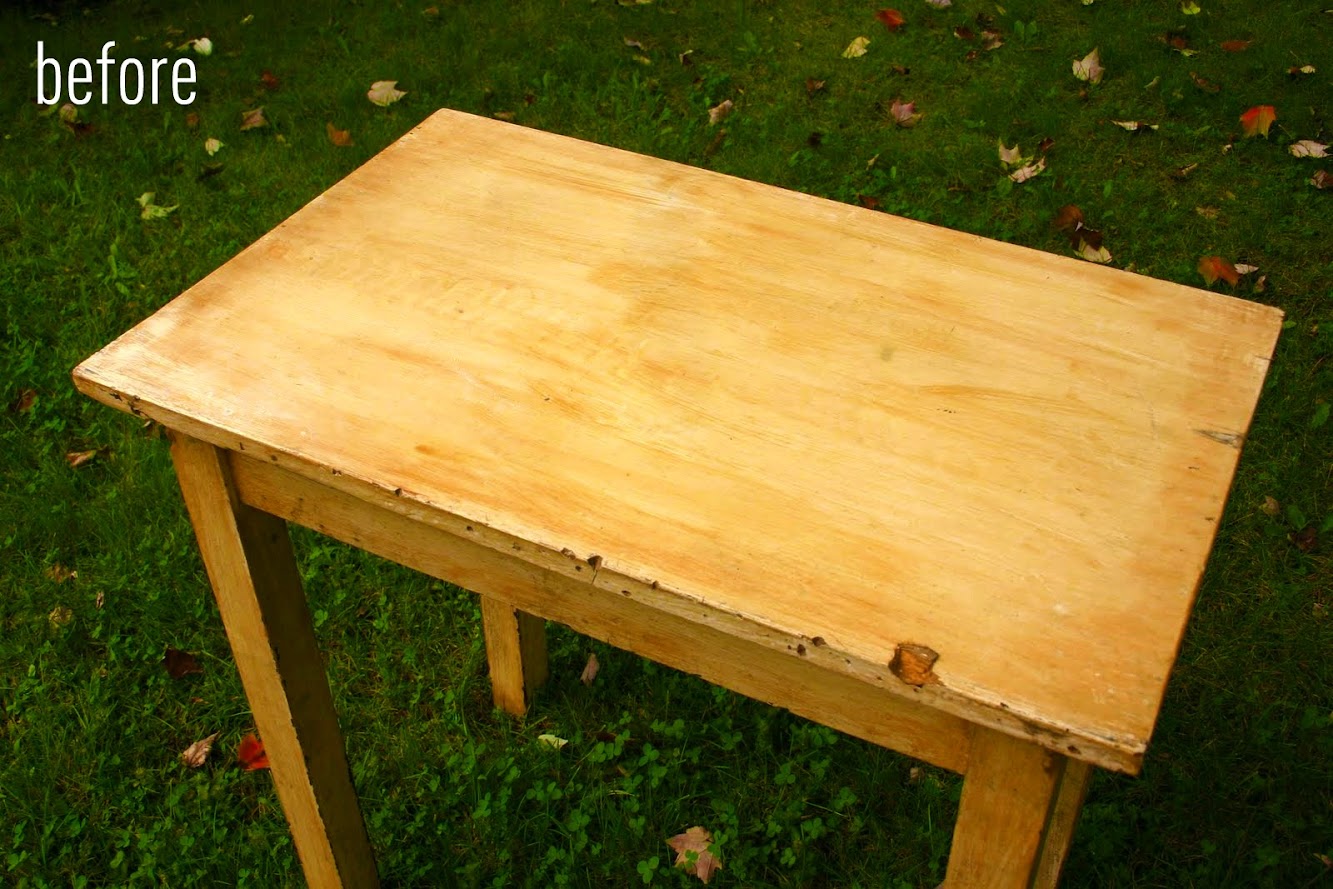
Antique Table Turned Vanity {Bathroom Redesign Update}
Bucks County Designer House & Gardens

