My Creative Blog [Search results for pattern]
Birds on Vintage China Patterns

Painted Hardwood Floors {Knock It Off DIY Project}

The Nursery

Wood Shim Wall Art {Tutorial}

Norwegian beanbag, for sure.

DIY Herringbone "Tile" Floor Using Peel & Stick Vinyl {Knock It Off}

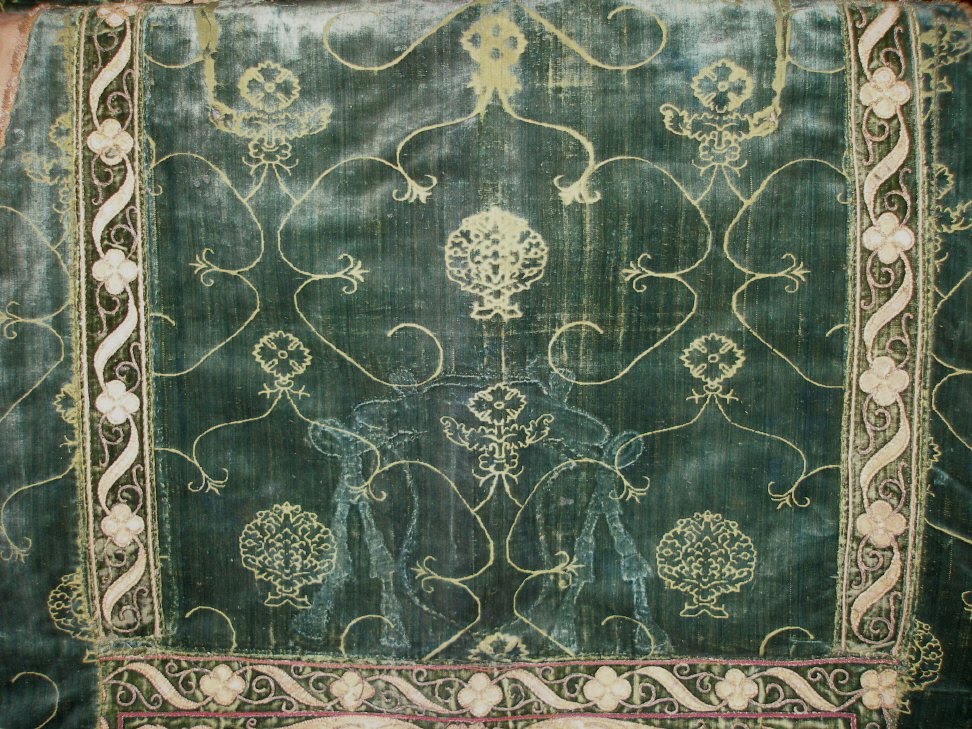
Italian and French silk velvets
Barnwood Artwork

Fall Gingerbread and Transferware

Free Printable Invasion

Chevron

Layered Upholstered Headboard {Knock it Off DIY Project}
Vintage Monogram China Made Into Jewelry!

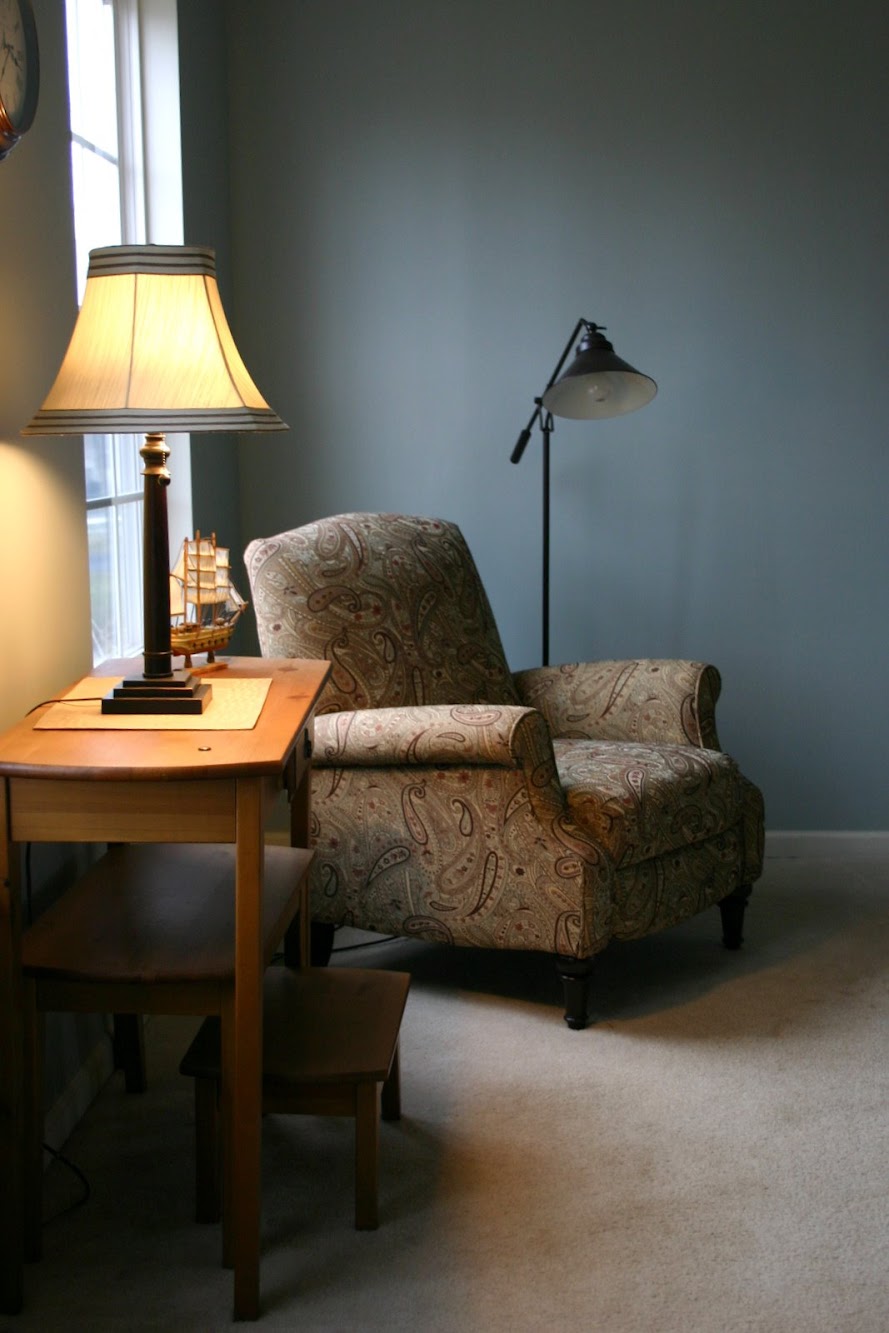
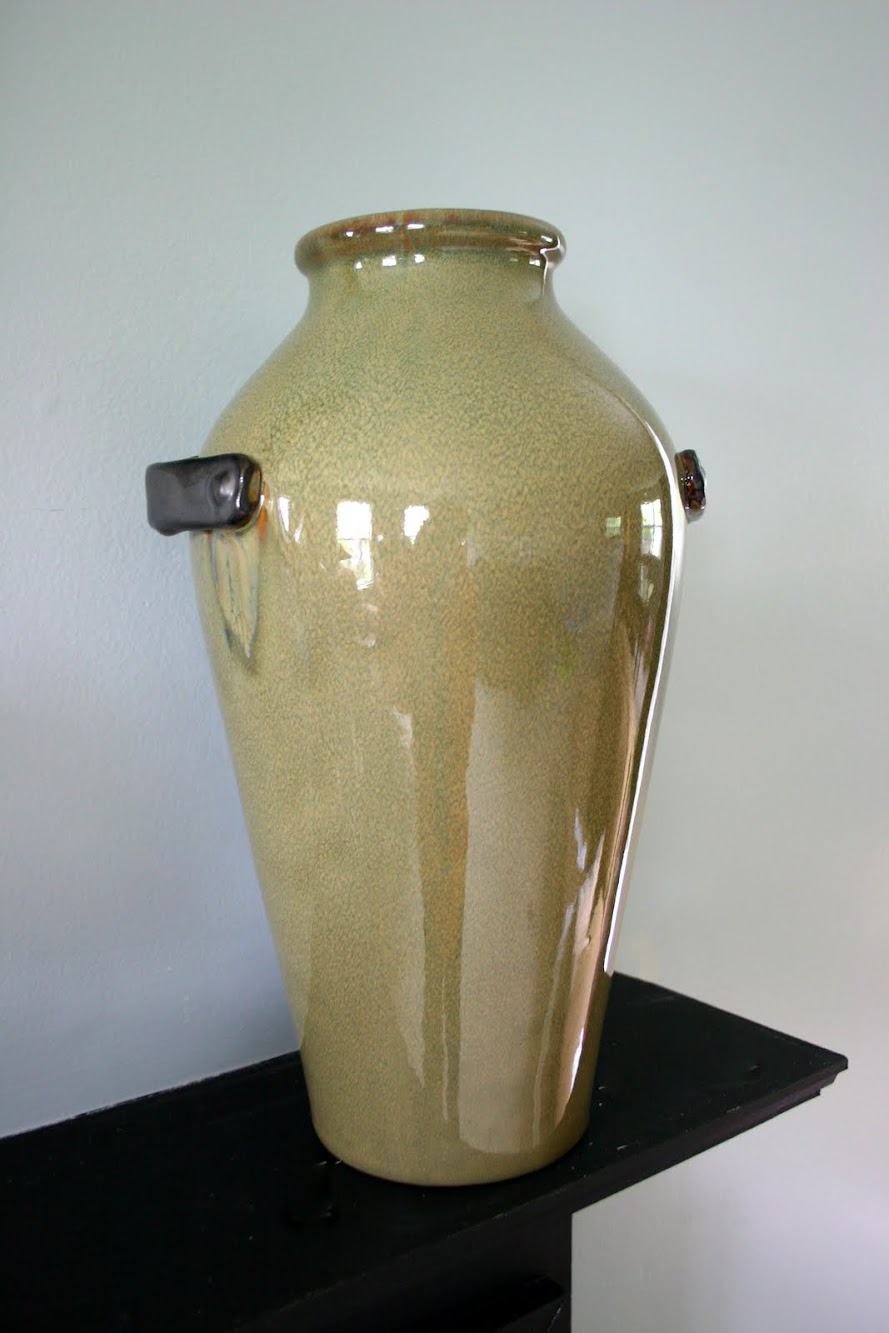
A Statement Piece
Stencil Happiness {Royal Design Studio}

Finding Treasures {Flea Market Hunt}
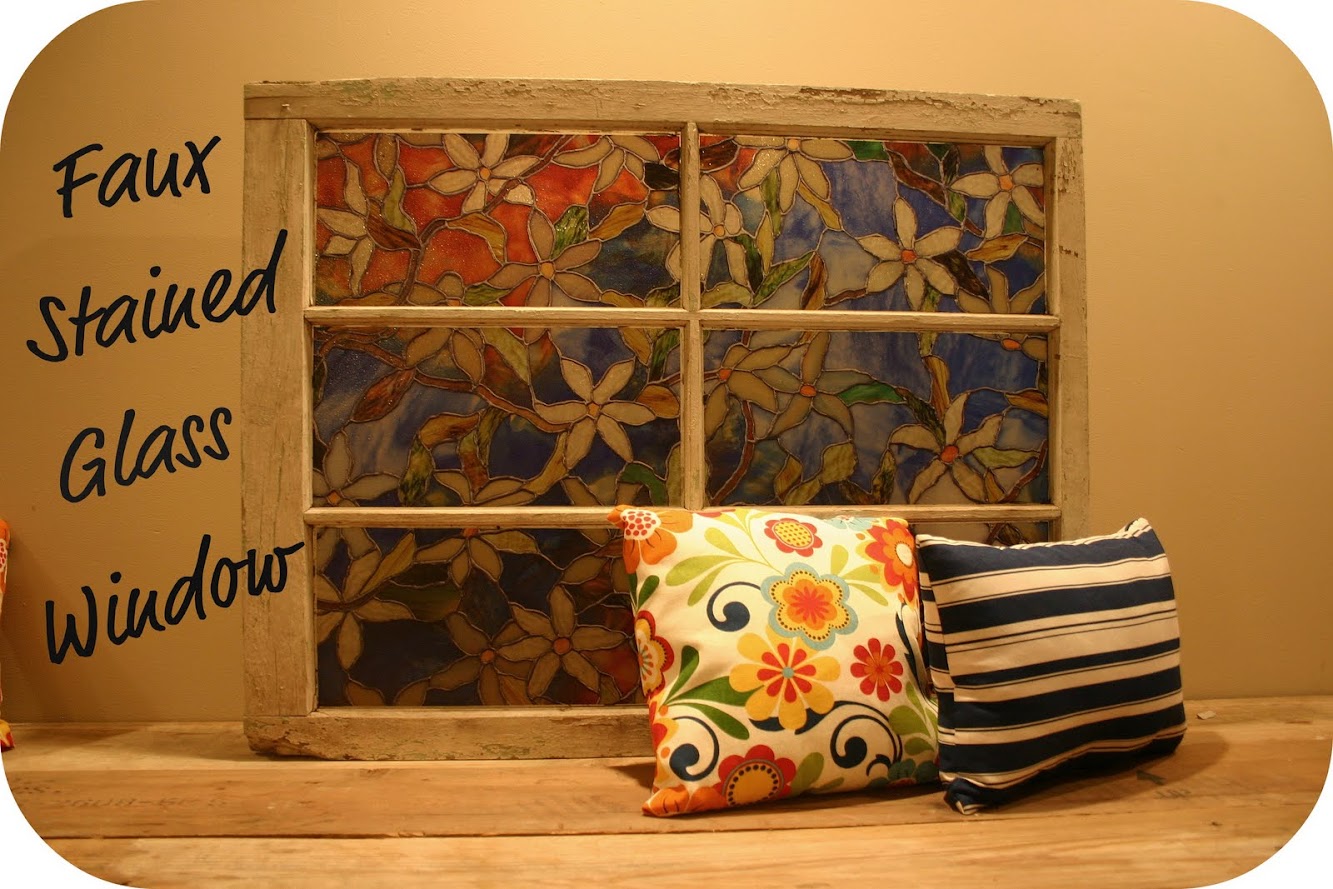
Faux Stained Glass Window {Tutorial}
Nate's 12 Days of Holiday DIYs {Day 8: Pallet Wall Take 2}

Mosaic: When Art Inspires Poetry

Modern Houndstooth Stencil

