My Creative Blog [Search results for old silver]
Silver or Black Jewelry Finish? Which Do You Prefer?

White, Silver and Wood

More Fun With Vintage Spoons: Stamped Spoon Bracelets

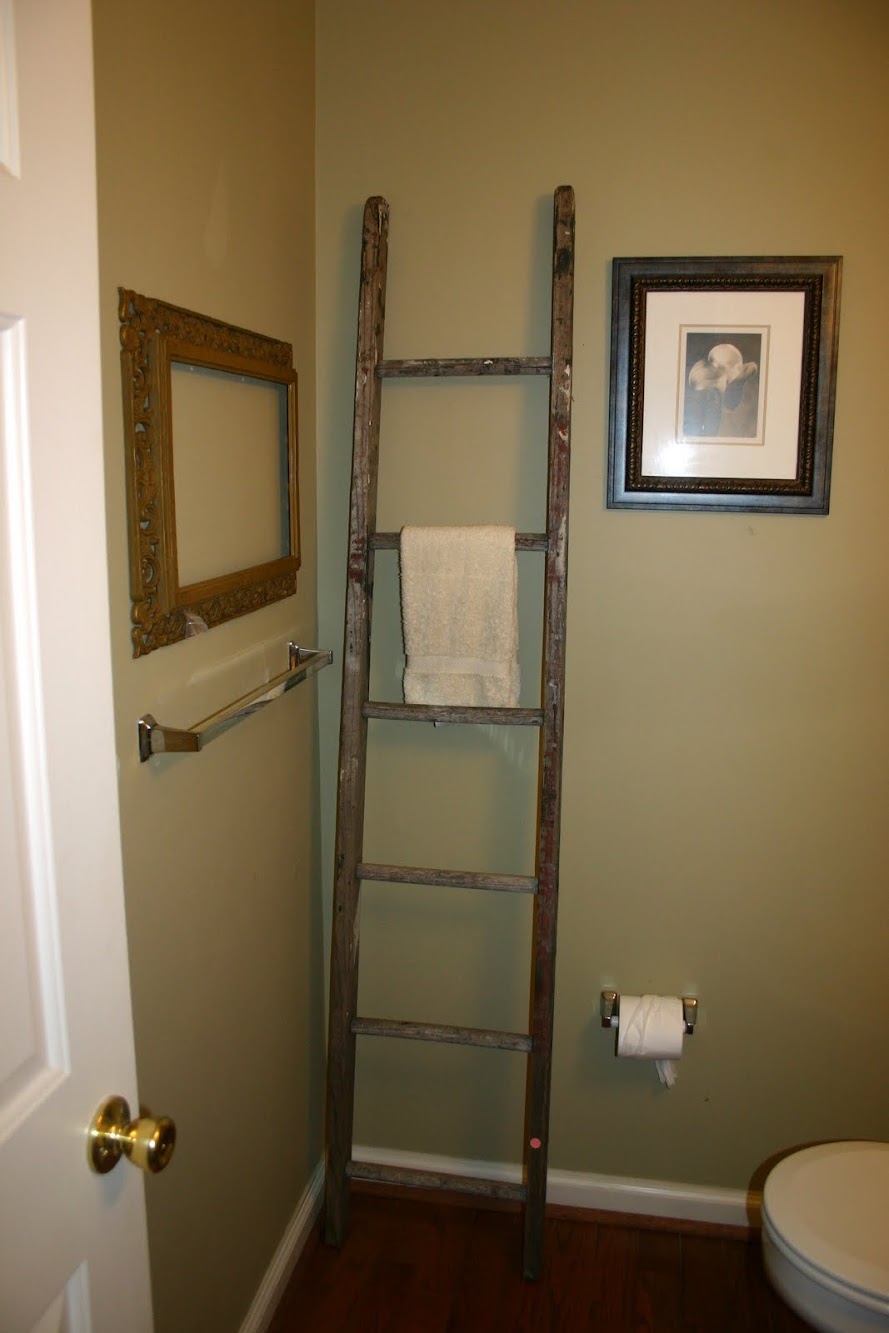
Moving Right Along {Bathroom Redesign}
someone else's initials...

Walk this way...

Pallet Love {And Giveaway Winner Announced!}

An Angelina Ballerina Birthday Party

79 Valentines & An Instagram Valentine's Idea

Solar Terrarium Tutorial
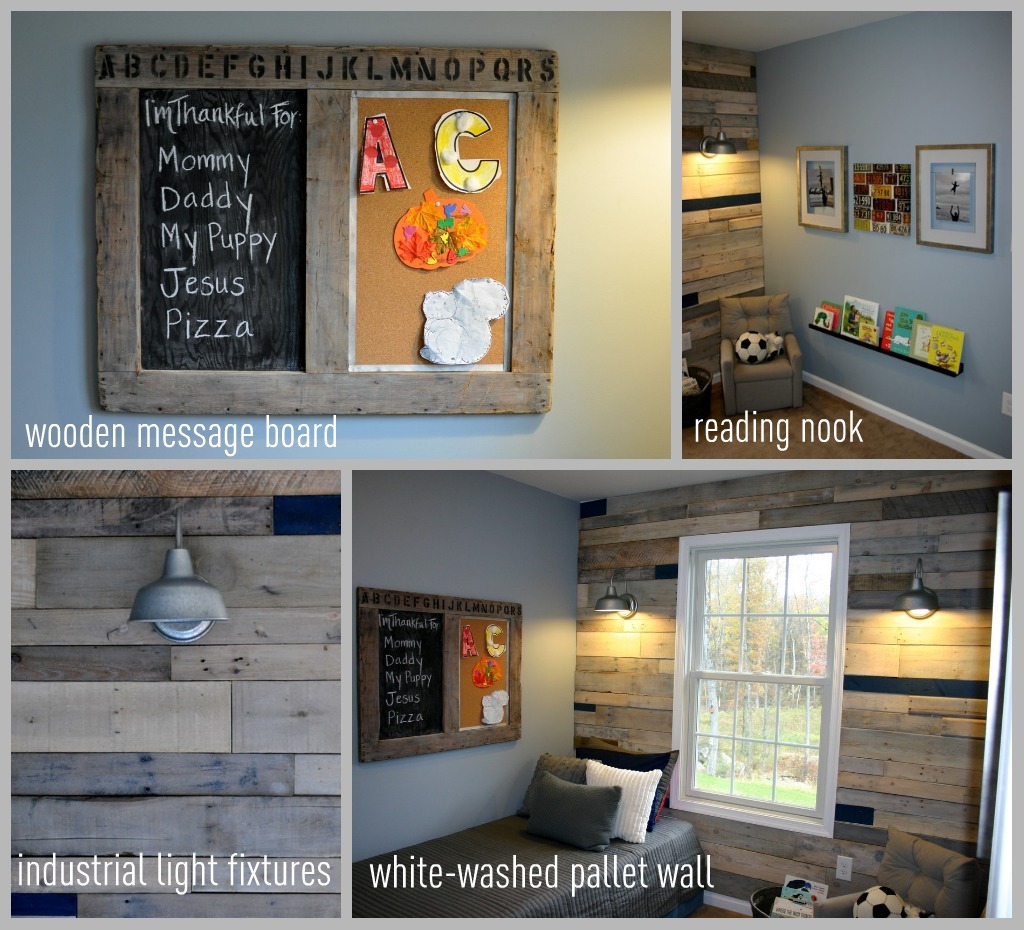
Wooden Memo Board
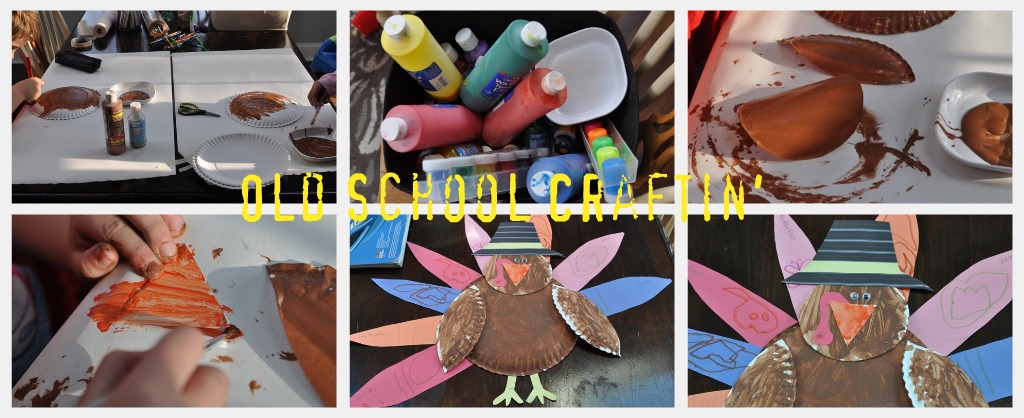
Thanksgiving #1 and Dining Room Update!
silverware collection

Vintage Monogram China Made Into Jewelry!


