My Creative Blog [Search results for nate berkus]
The Nate Berkus Show {Sneak Peek}
Nate Berkus: Take Three

Rope-Wrapped Hurricane Vase {Nate Berkus Knock-off}

The Bench

Top 11 Projects of 2011 {Jess' Recap}

Nate Berkus: Take Two

Reindeer Artwork {Nate Berkus Blast From the Past}

Houndstooth Chair Makeover {The Nate Berkus Show}

Come Meet Nate with Us! {Giveaway}

new york nate of mind...

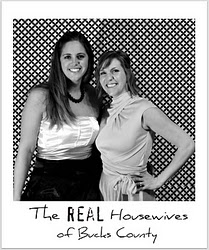
Who are the Real Housewives of Bucks County???

katie lee joel's NYC apartment by nate berkus

Backstage Pass {The Nate Show}

Hello World

Create Art from Anything {Nate Show Wall Panels}

Poe Inspired Mantle & DIY Fall Scrap Sign

Busy Girls {Nate Berkus Take 4}

Fab Find Friday {The BEST One Yet!}
Nate Berkus Show {Our Farewell Episode}
Barnwood Artwork


