My Creative Blog [Search results for industrial]
Creating with the Stars: Link Up Winner {Round 2}

Faux Industrial Metal Letters {Tutorial}

The {Bathroom} Game Plan

Fab Find Friday {What We're Crushing on!}

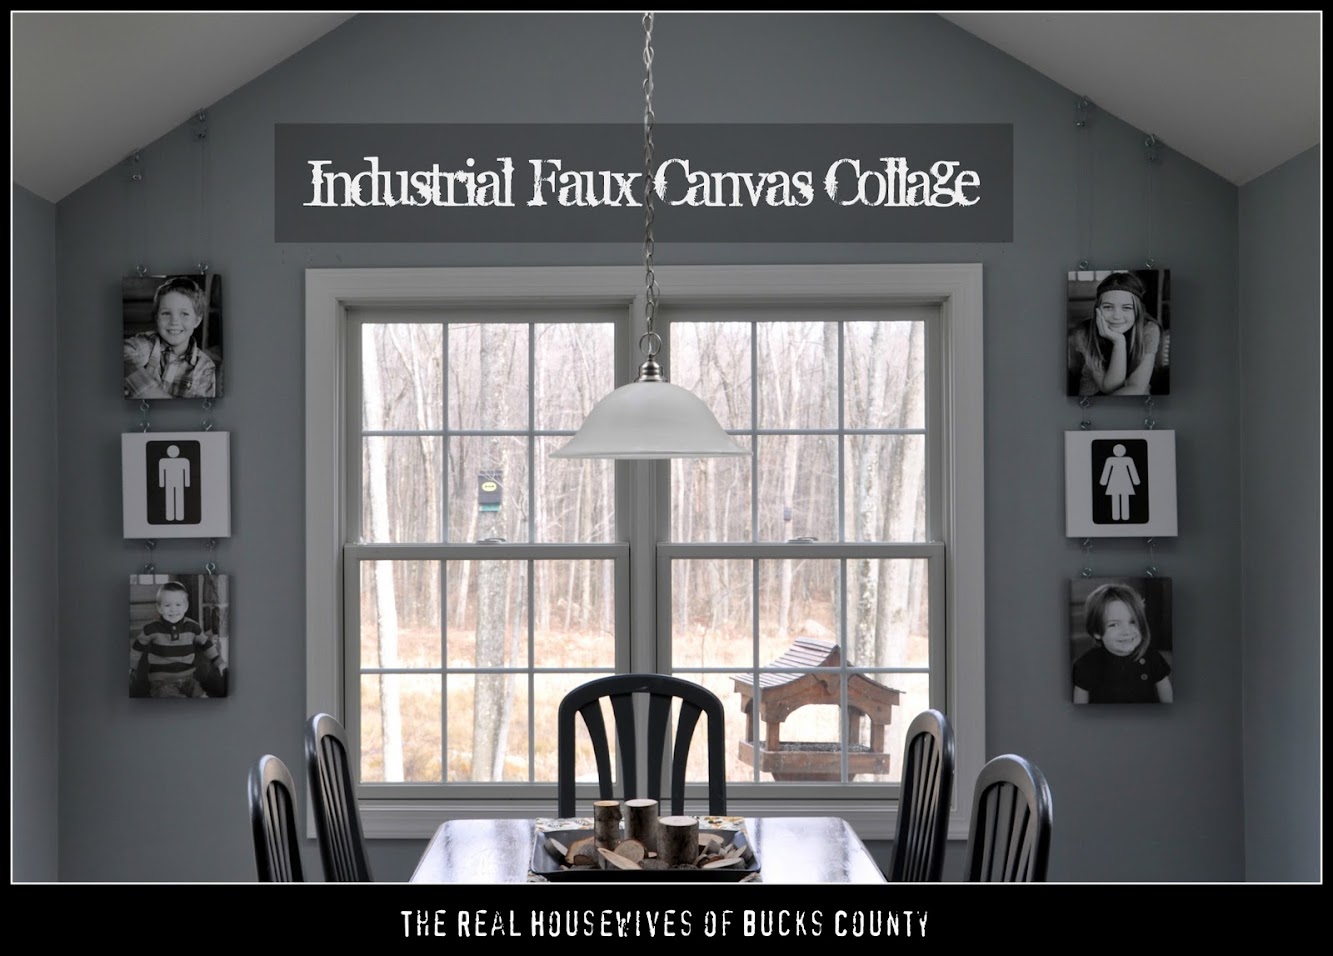
Industrial Faux Canvas Collage
Creating with the Stars Round 1 Voting

Rustic Industrial Bedroom Makeover {Knock It Off}

How to Add {Awesome} House Numbers
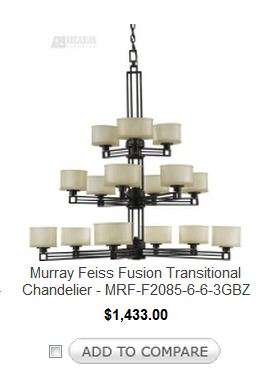
Dining Room Lighting {Lucent Lampworks}

Create Art from Anything {Nate Show Wall Panels}

Industrial inspiration

Modern Country Designs…Say What?
Blogging 2 Better Summer Challenge

Another Perspective...

Creating with the Stars: Link Up Winner {Round 1}

Outdoor Furniture Upcycle
October Sponsor Love

Wood Shim Wall Art {Crafting for Charity with Homes.com)

Wood Shim Wall Art {Tutorial}
Pallet Possibilities {How to Build a Wooden Pallet Wall}

