My Creative Blog [Search results for idea]
Do you Vista?

Fall Kickoff Giveaway! {FREE Canvas for You!}

A Plain Pot: 3 Ways

Pallet Possibilities

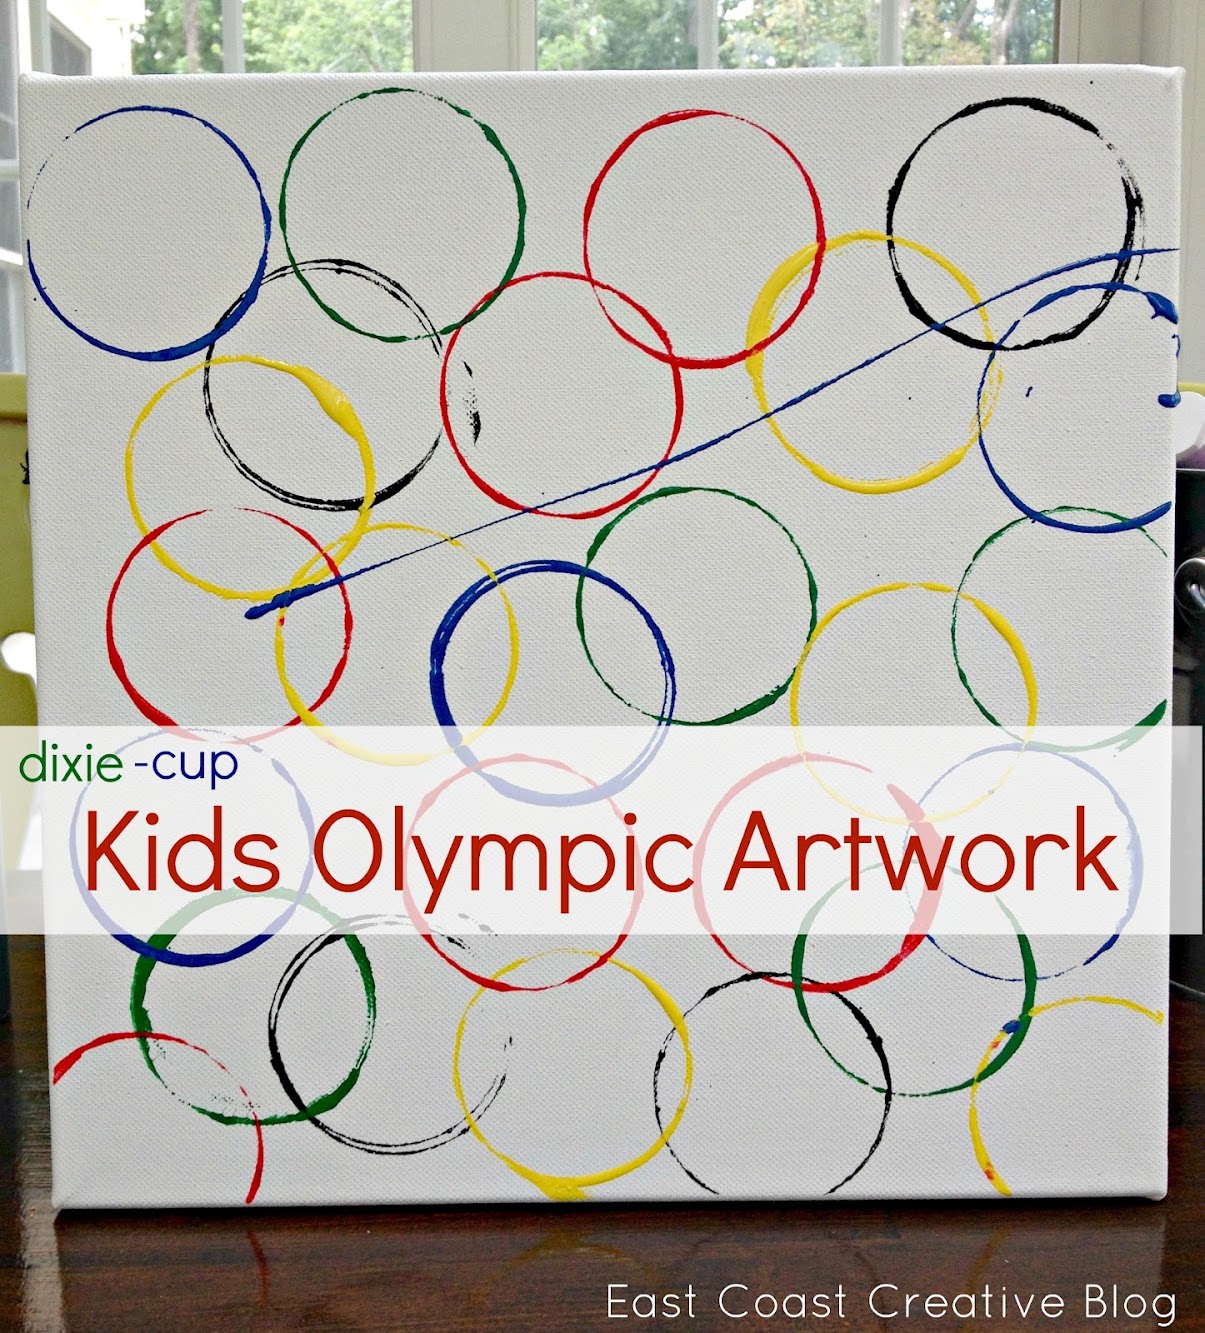
Olympic Crafts for Kids {2012 Olympic Games}
Monster Mash Candy"Bowl" with Martha Stewart Crafts

Fabulous Fabric Wallpaper

Thanksgiving Leftovers Station

Lost that Loving Feeling?

A Big Day!

Dating Divas- Hot Topics & a Special Announcement!

Make Homework Happy {B2S Day 2}

Christmas Shopping, anyone?

Fab Find Friday {Contact Us- Help a Reader Out}

{Be Intentional}

Christmas Card Display

Our Vegetable Garden

Thanksgiving Scramble
How to Add {Awesome} House Numbers
Doggy Style…


