My Creative Blog [Search results for facebook]
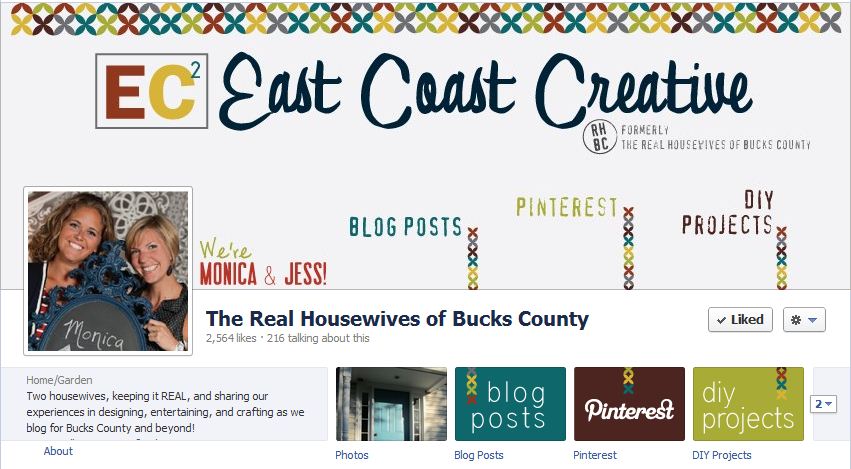
Do You Like Us? And Mark your calendars!
Match that Blogger! {A contest and Ryobi Father's Day Giveaway}

Wood Shim Wall Art {Crafting for Charity with Homes.com)

Tie Dye Pennant Banner & Sign

Going Green {Granny Frames Gallery Walls}

The Real Housewives- An Announcement!

Halloween Foyer Facelift {With Scrapbook Attitude}

Fab Find Friday {Pinterest Tutorial} and GIVEAWAY Winner!

{Blossoming Business} Guest Blogger

Nate's 12 Days of Holiday DIYs {Day 3}

4 Tips for Taking Fabulous Pics of your Kids {GIVEAWAY}

Christmas Card Display

HTC OneX Smartphone {Giveaway!}

A bunch of Fun Stuff

DIY Glitter Placemats {Tulip Shimmer}
Photobooks

Fab Find Friday {GIVEAWAY}

The END is Near…

What's New? And Design Challeng{ed} Contest Announced!

Candice Price Garden Designs

