My Creative Blog [Search results for diy]
11 DIY Christmas Gift Ideas

Creating with the Stars: Link Up Winner {Round 2}

Big Time DIY- Welcome to My Patio Project!

Pallet Possibilities

A Transformation Story {Be Intentional}

Wood Shim Wall Art {Tutorial}

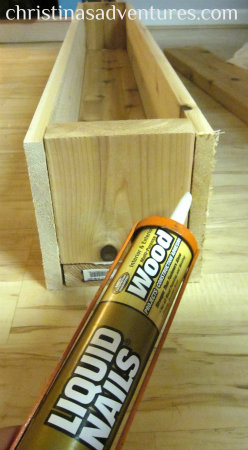
DIY Decorative Flower Trough {Christina's Adventures}
Wood Shim Wall Art {Crafting for Charity with Homes.com)
How to Make a Headboard {Shutter Headboard}
Doggy Style…

$300 Home Depot Giveaway with KILZ brand!

Not a Girly-Girl…But…{Oasis Nails & Day Spa}

Stenciled Outdoor Rug
SuperFab Room Redesign REVEAL {Guest Room}
Don't Try this at Home, but Do Try this…

DIY Patio Update #2
DIY-FO SHO! {Bench Renovation}

5 Tips to Make DIY-ing Easier

DIY Planters
Barn Sale Treasure! {DIY Chalkboard Mirror}


