My Creative Blog [Search results for decorations]
Nate Berkus: Take Three

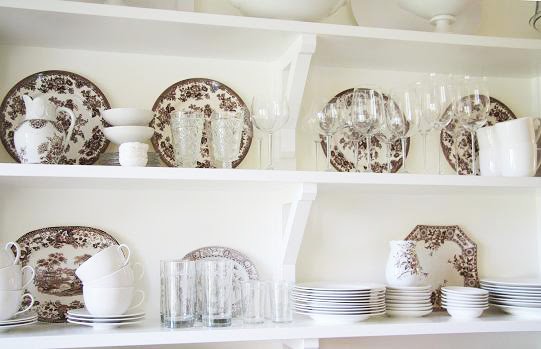
Transfer Ware
A House Plant

All-American Boy Birthday Party

Vintage Halloween Postcards

Best DIY Projects of 2012

Wood Slice Christmas Canvas

Celebrating 40 Years

Host a Cookie Decorating Party with Dollar General

Happy Christmas Evening to you all!

Get Organized!

Summer Love {Sponsor-style}


