My Creative Blog [Search results for The Nate Show]
Come Meet Nate with Us! {Giveaway}

Transformed Beverage Cart & Details {The Nate Show}
Nate Berkus: Take Three

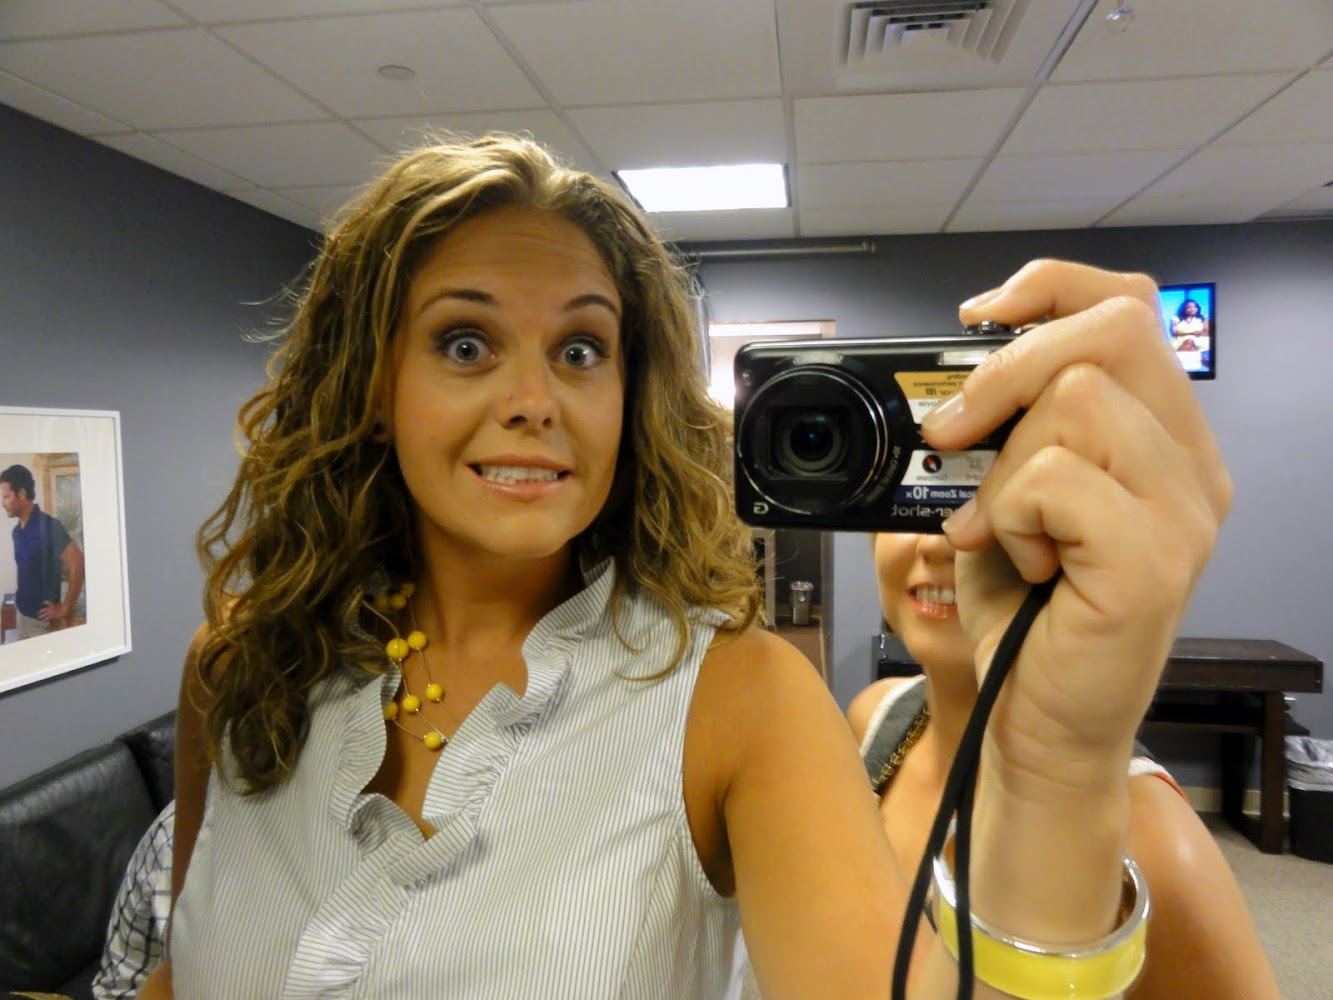
Backstage Pass {The Nate Show}

The Bench

Create Art from Anything {Nate Show Wall Panels}

Fabric as Art {The Nate Show Artwork}

A Big Day!

Farmhouse Table & Freebie Chairs

Staples Engineer Print Artwork {Garage Mudroom Makeover}
Hello World

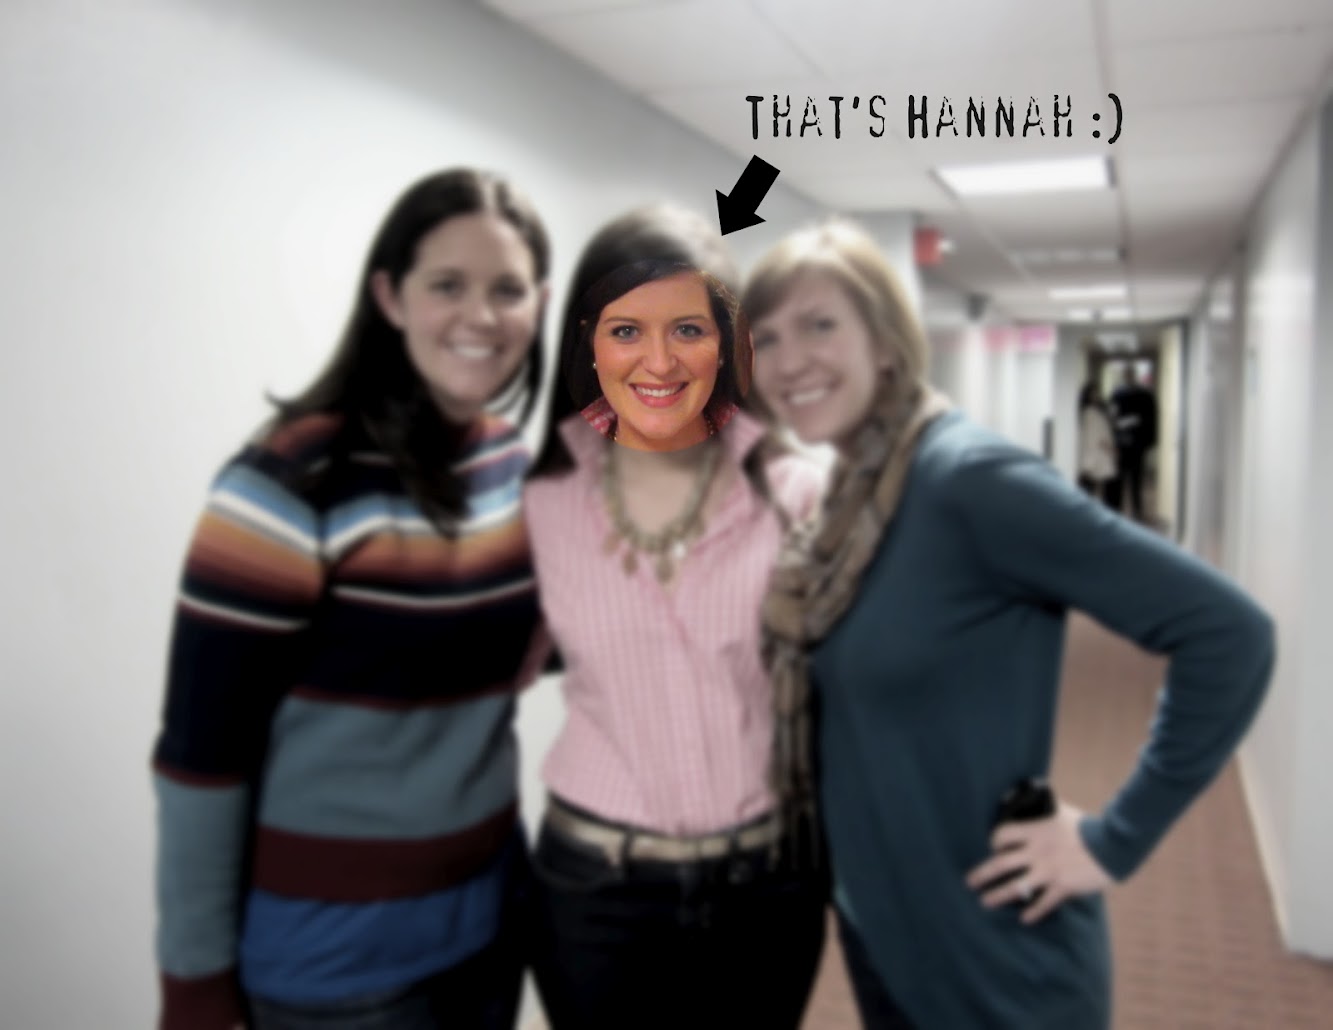
Adios Amigos Day 2 {Hannah Kate Flora}
Houndstooth Chair Makeover {The Nate Berkus Show}

Nate Berkus Show {Our Farewell Episode}
Reindeer Artwork {Nate Berkus Blast From the Past}

Nate's 12 Days of Holiday DIY's {Day 2}

Jessica's Christmas House Tour 2012

Nate's 12 Days of Holiday DIY's {Day 11: The Details}
The Nate Berkus Show {Sneak Peek}
Drop Cloth Window Treatments {Tutorial}


