My Creative Blog [Search results for Second Hand]
Creating Custom Artwork

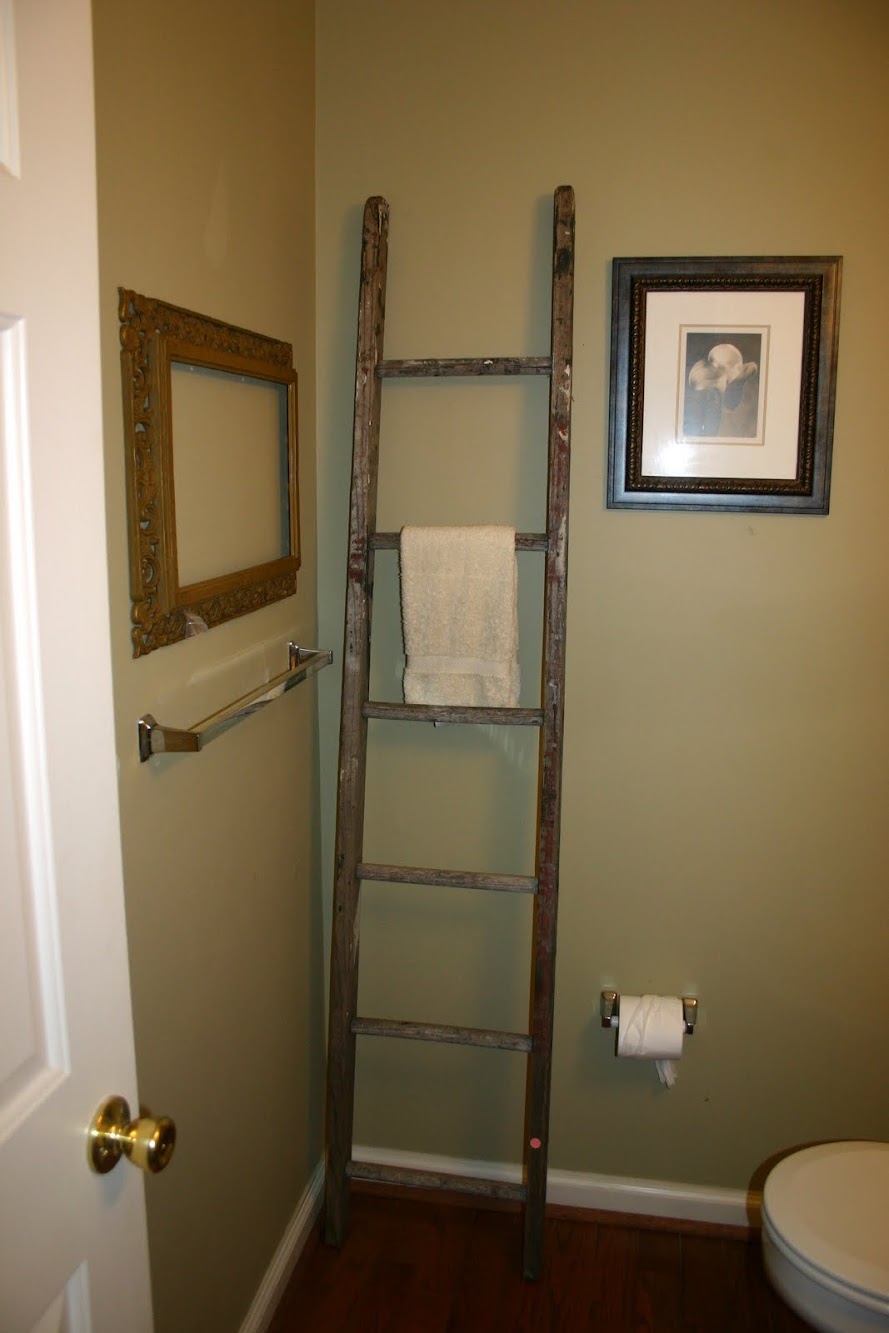
Fill your home with second hand

My Go-To Meal {Entertaining Part 2}

December top ten

Timeless country life
New stuff

Moving Right Along {Bathroom Redesign}
Anthro-Inspired Ikat Console {5 Foot 12 Creations}

October Sponsor Love

A bunch of Fun Stuff

A Garden Wall

Last Minute Mother's Day or Teacher Appreciation Gift Idea!

Birds on Vintage China Patterns

How to Grow a Container Potato Garden

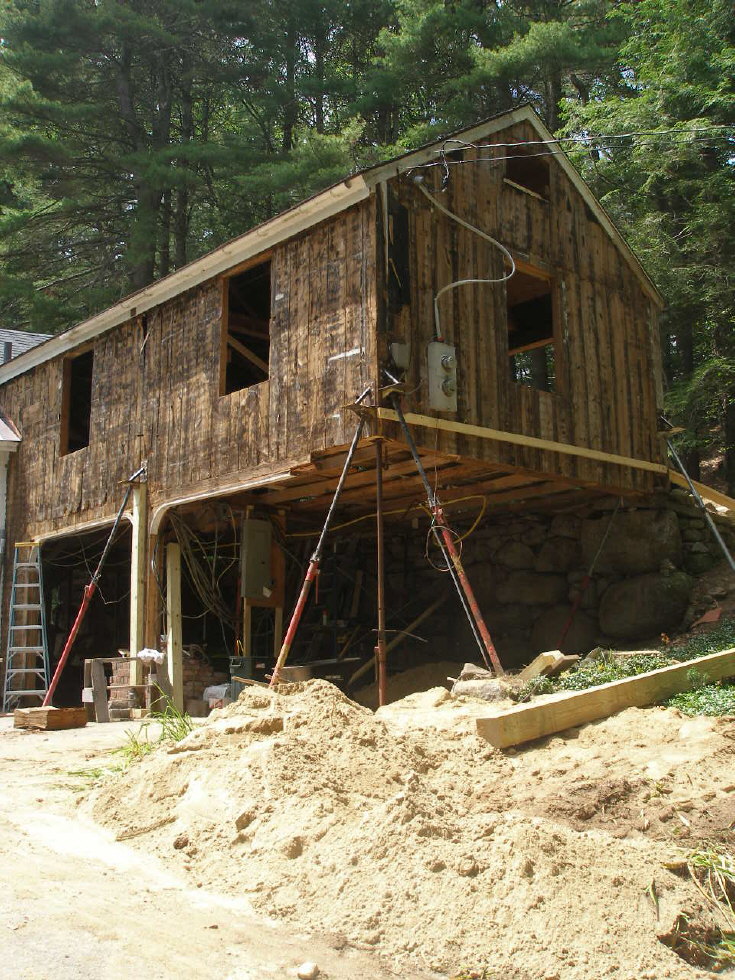
Barn Renovation Part 2: An Engineering Feat!
The Nursery

{Design it Forward}

East Coast Creative 10k Fan Giveaway!

Creating with the Stars: Link Up Winner {Round 2}

Fingerprint Artwork {Meaningful Art}


