My Creative Blog [Search results for Products We Love]
The Part-Time Blogger's Dilemma {Let's Be Honest}

InstaThis! {Giveaway}

Spring Must Haves
Top 11 Projects of 2011 {Jess' Recap}

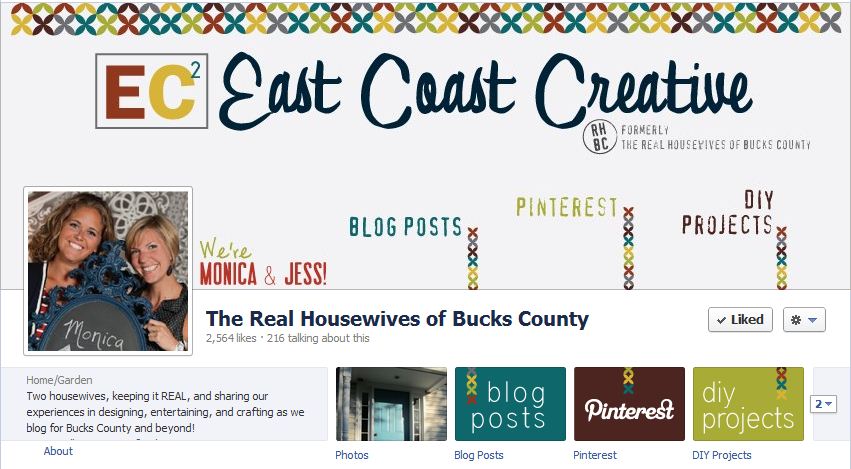
The New and Improved Real Housewives of Bucks County Blog!

Where to Buy your Holiday Project Supplies {Consumer Crafts}
Creating with the Stars on EC2!
DIY Console Table {A Pottery Barn Knock Off}

Green Painted Piano {Annie Sloan Chalk Paint}

EC2 Snail Mail {UPrinting Postcards}

Does anybody else love Coordinates?

A bunch of Fun Stuff

February Sponsor Love

Happy Blogiversary to Us!

These are a Few of our Favorite Things {Sponsor Spotlight}

Do You Like Us? And Mark your calendars!
Monster Mash Candy"Bowl" with Martha Stewart Crafts

Creating with the Stars 12 Contestants Announced!
.jpg)
Creating with the Stars Round 1 Winners Announced!
True Confessions of a Blogger {and a Giveaway}

