My Creative Blog [Search results for Oops]
Nate Berkus: Take Three

Dining Room Chairs- I Need Your Help!

Colorful Stenciled Accent Wall {Knock It Off}

Outdoor Furniture Upcycle

Creating with the Stars Round 4 Link Up
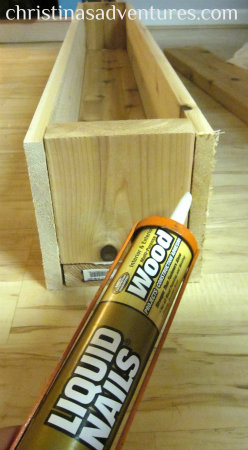
DIY Decorative Flower Trough {Christina's Adventures}
Teacher Love {B2S Day 3}

Top 11 Projects of 2011 {Jess' Recap}

How to Add {Awesome} House Numbers
At Long Last {Urban Outfitters Rug}

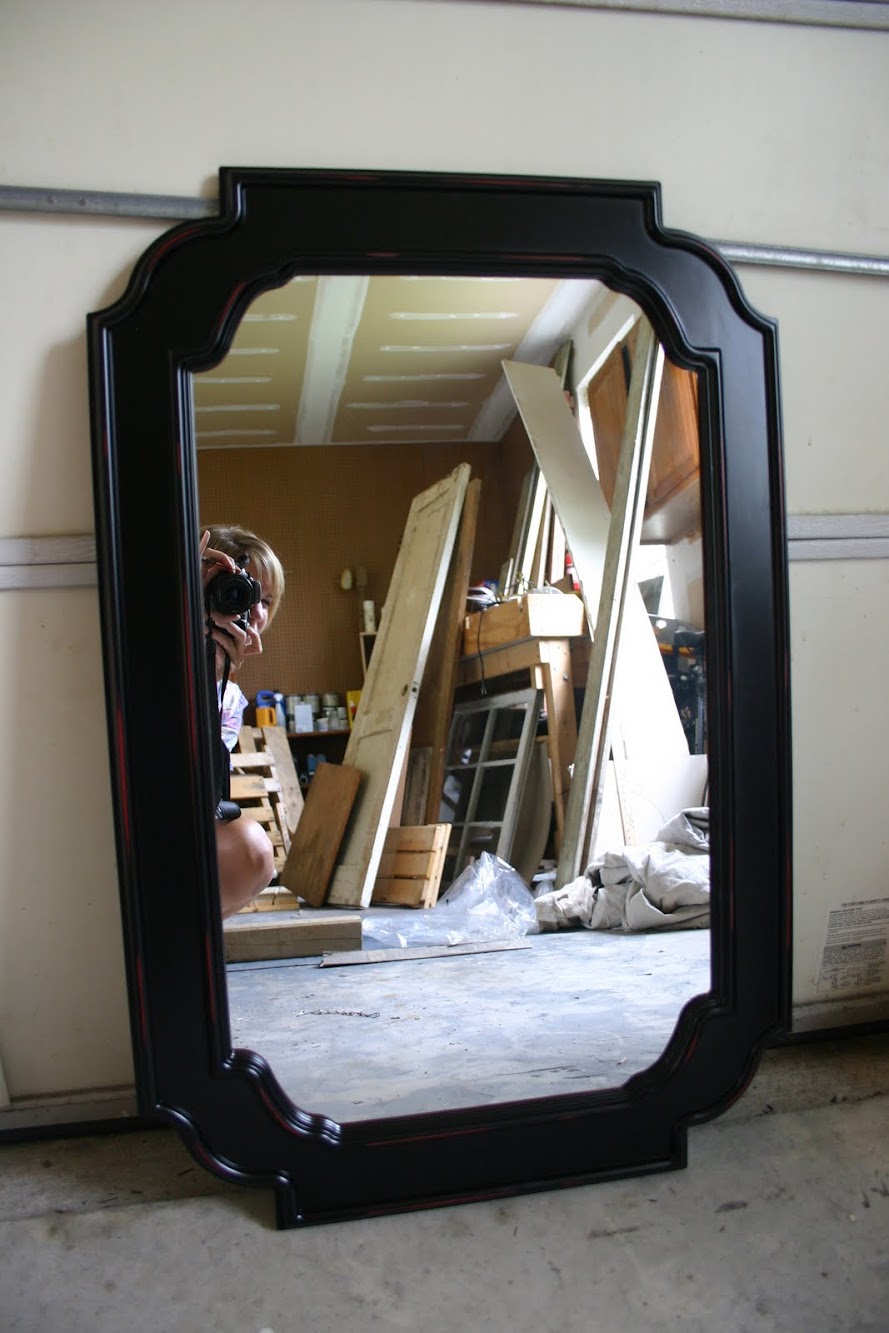
From an Oops! to a Yes!
Kitchen Renovation {Demolition Phase}

Nate Berkus Show {Our Farewell Episode}
Transformed Beverage Cart & Details {The Nate Show}
25+ Upcycle Ideas & Ikea Hacks

Side Table Makeover {Annie Sloan Chalk Paint}

Summer Mantle {Playroom Edition}

Fingerprint Artwork {Meaningful Art}

DIY Patio Update #2
Favorite Things Party Recap


