My Creative Blog [Search results for New Start]
New Couch and Chairs!

The Den Revisited

HGTVGardens: Everything a Girl's Gotta Know!

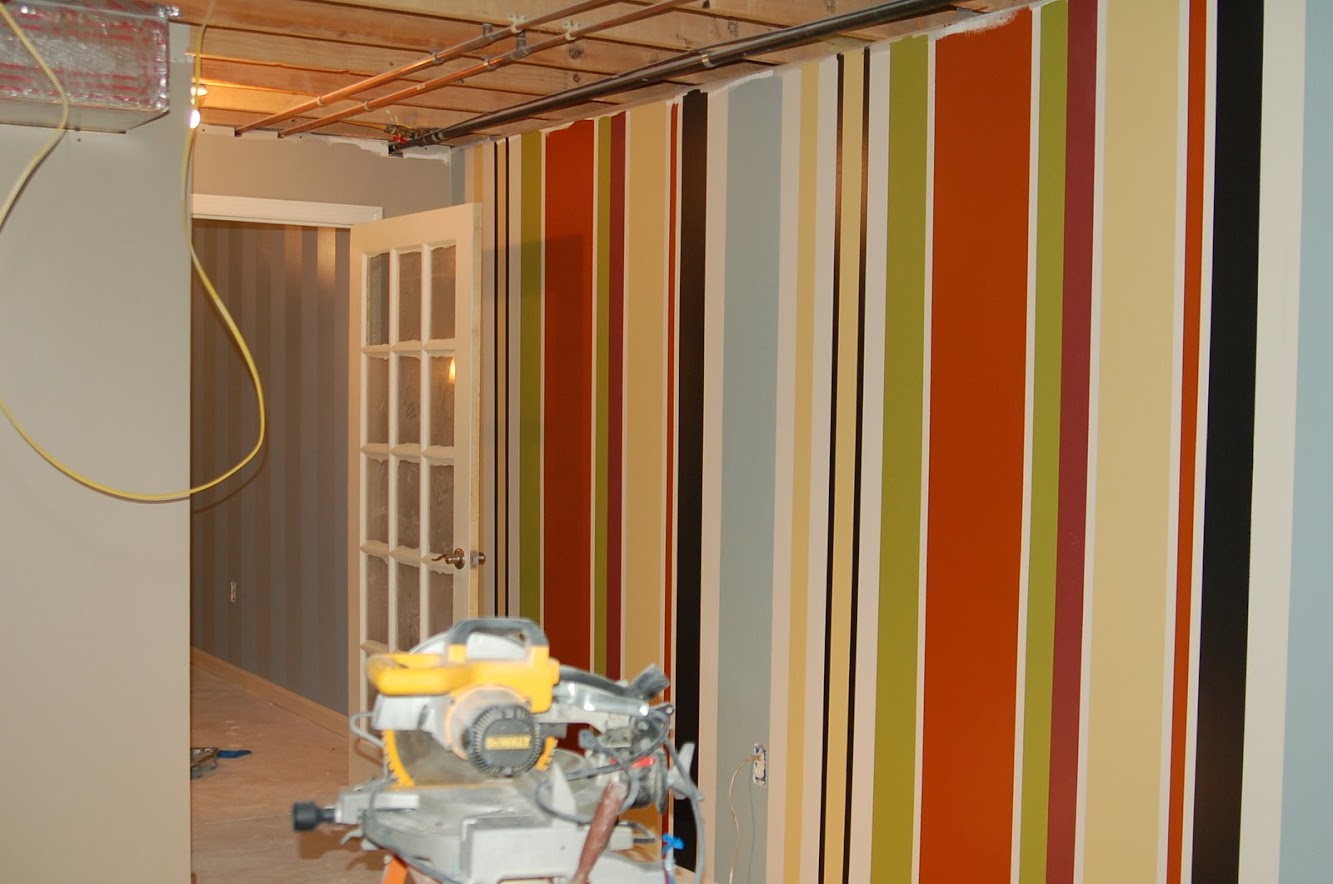
Journey to the Perfect Stripe
East Coast Creative 10k Fan Giveaway!

Exhausted, poor but happy!
Creative Pumpkin Decorating Ideas 2012

Risky Business…

Early Retirement & Leaps of Faith {Real Life}
Done…for now! {Kitchen Renovation Update}

Putting the Baby in the Basement

The Dining Room Revisited

SuperFab Room Redesign REVEAL {Guest Room}
Free Printable Art Round-Up

Get Organized!

Creating with the Stars on EC2!
Creating with the Stars Round 4 Voting {The Final Round!}
Green Thumb or All Thumbs?

The Worst Date Night Ever
This is How We Roll… {The Mangin Family}