My Creative Blog [Search results for Kitchen]
Kitchen Renovation: Part 1, Ideas
Colorful Kitchen Renovation {Knock It Off}

Kitchen Renovation: Before and After
Painted Kitchen Cabinets {Knock it Off Project}
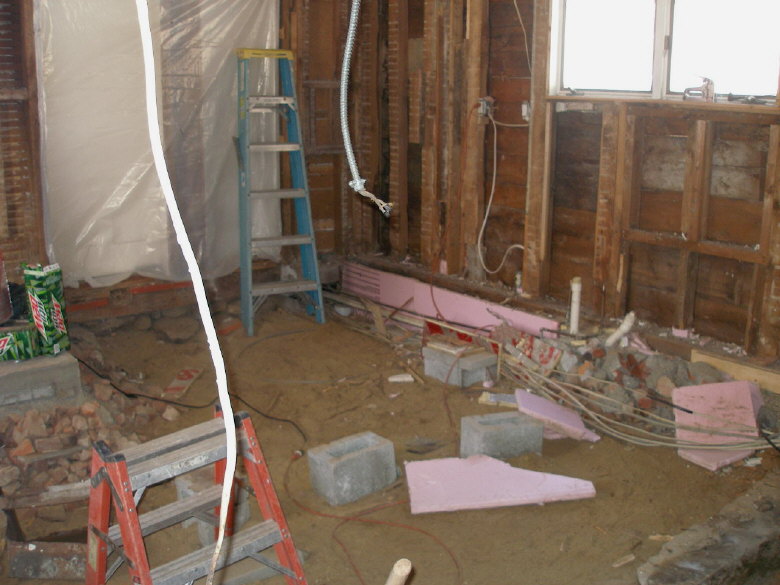
Kitchen Renovation {Demolition Phase}

Stencil Happiness {Royal Design Studio}

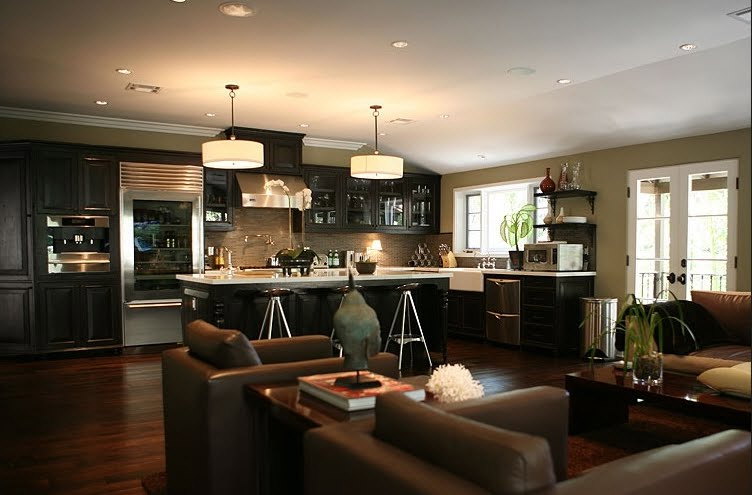
Flipping Out: Jeff Lewis Designs
Kitchen: Part Two

Creating with the Stars Round 1 Voting

Boring Kitchen No More! {Chevron Wall}
Done…for now! {Kitchen Renovation Update}
Another Perspective...

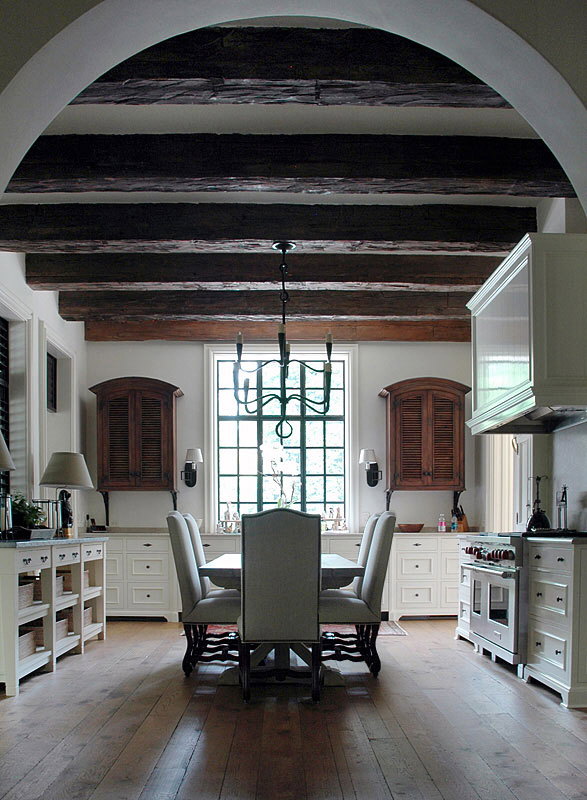
Kitchen Envy
Kitchen Renovation {Putting it Back Together}

White, Silver and Wood

A Garden Wall

Rugs, Rugs, Rugs

Top Projects 2012

A Step in the Right Direction {Kitchen Update}

chelsea gray in the kitchen

