My Creative Blog [Search results for Haven]
We're Going to Haven! (Blog Conference)

5 FREE Home Decor Projects {Free Stylin' Beth)

Make your own Cube Puzzle {Jamie from C.R.A.F.T}

Haven 2012 {Conference Recap}

DIY Photo Block Display {Shanty 2-Chic}
You're Invited! {Knock It Off Premiere}

Back again
Fab Find{s} Friday

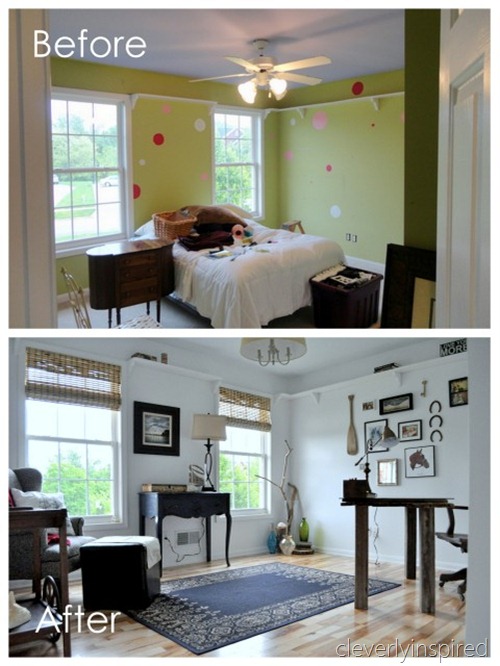
Repurposed Art into Bulletin Board {Cleverly Inspired}
Fab Find Friday {What We're Crushing on!}

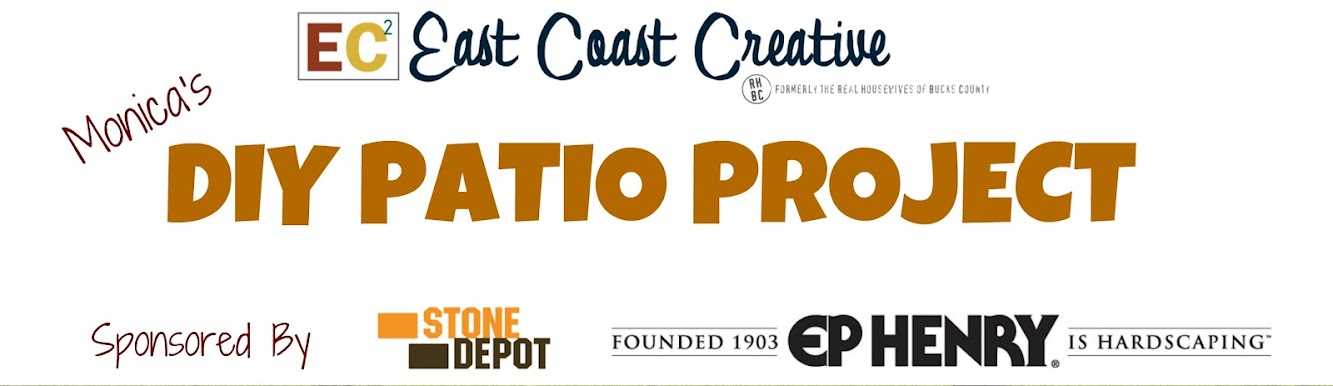
How to Build a Patio- Update # 4
How to Cut a Perfect Mohawk using Frog Tape!

Fab Find Friday {Contact Us- Help a Reader Out}

Do you Vista?

The {Bathroom} Game Plan

Formal Living Room Makeover {Knock It Off}

Refinished Dining Room Table {Furniture Makeover}

Board & Batten Love

Thoughts of Spring

Creating with the Stars- What blog STARS Would Rock Your World??


