My Creative Blog
[
Search results for Faux Canvas
]
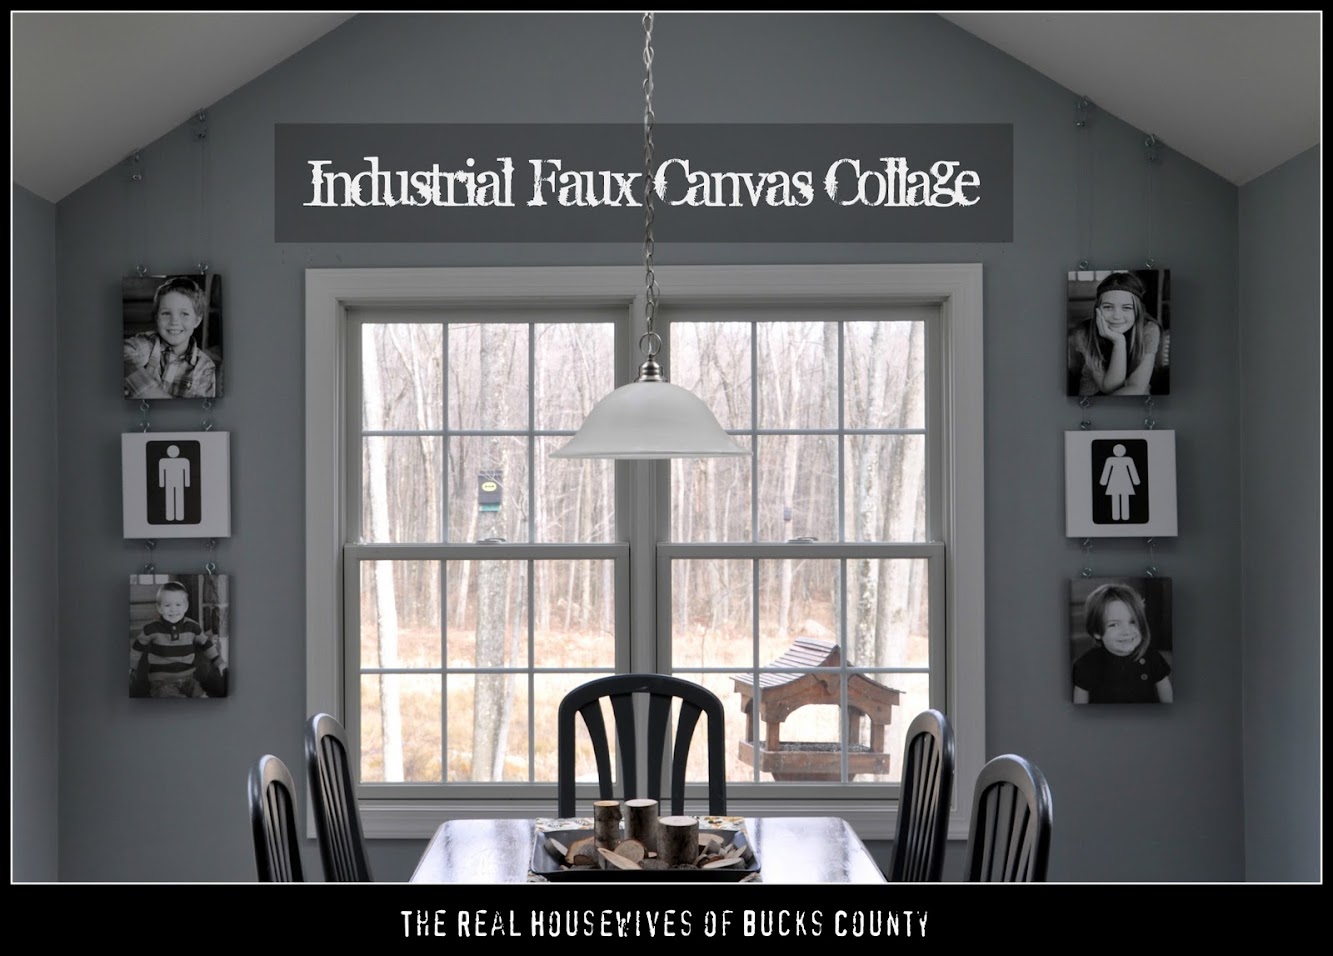
Industrial Faux Canvas Collage
Faux Gallery-Wrapped Canvases {Knock It Off DIY Project}
How to Paint a Mosaic Accent Wall {Bedroom Makeover}