My Creative Blog [Search results for Engineer print]
Staples Engineer Print Artwork {Garage Mudroom Makeover}

Frame your own HUGE Photo for Under $20!
Faux Gallery-Wrapped Canvases {Knock It Off DIY Project}

Fall Mantel 2013

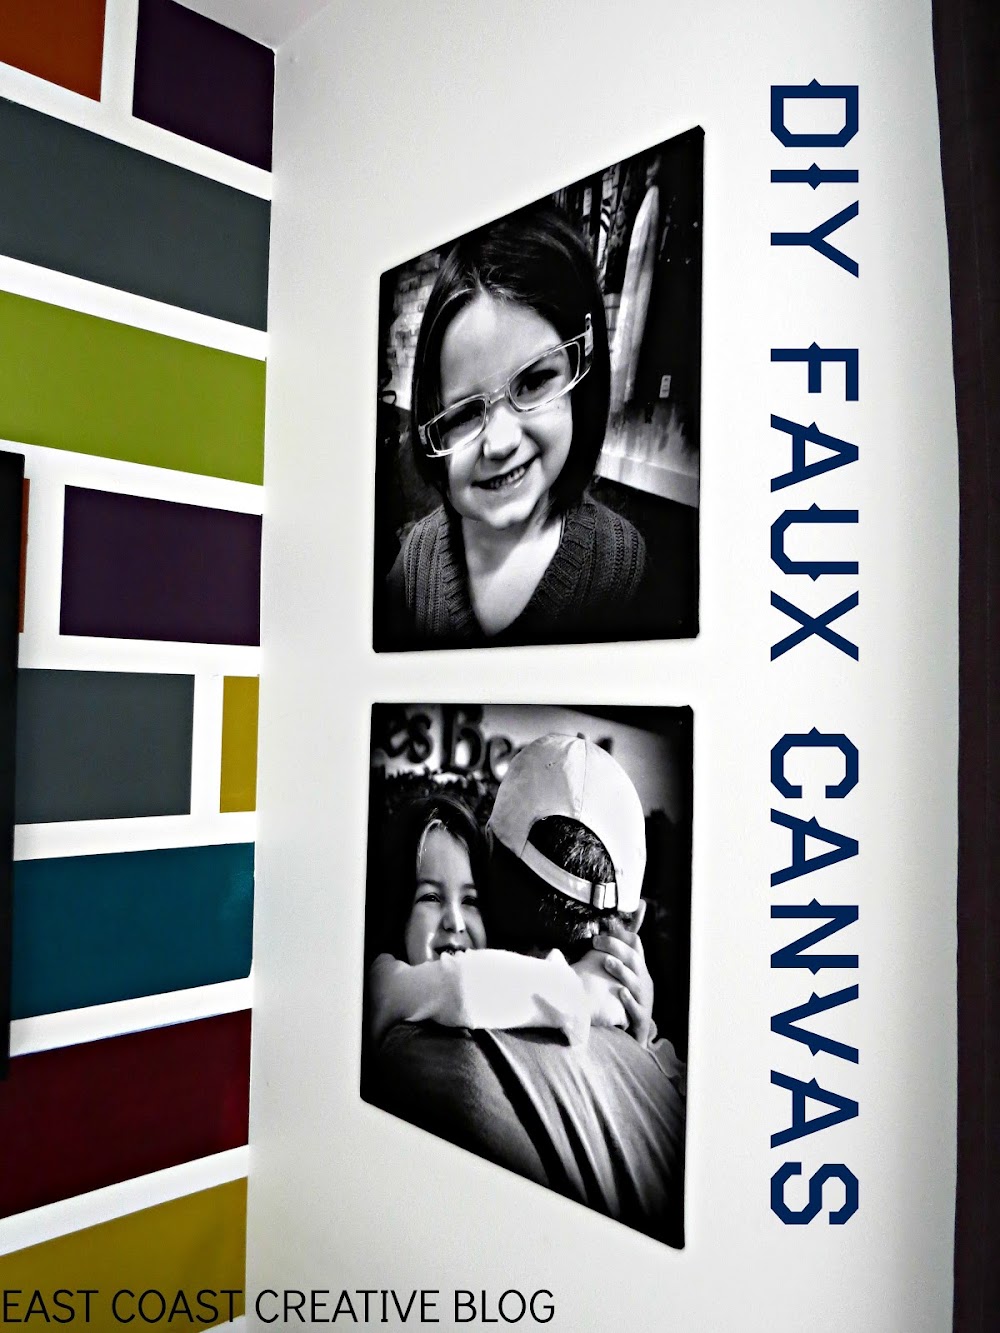
DIY Faux Canvases {Kira's Room Makeover}
Ginormous Family Art {With an Industrial Flare}
Fabric Thankful Tree Canvas


