My Creative Blog [Search results for Do it yourself]
Blog Award & Thank you...

The Honest Truth

DIY-FO SHO! {Bench Renovation}

Painted Wall Mural and Dresser {Love and Renovations}

West Elm-Inspired Wood Tile Dresser {Love & Renovations}

Frame your own HUGE Photo for Under $20!
Brass Fireplace Update

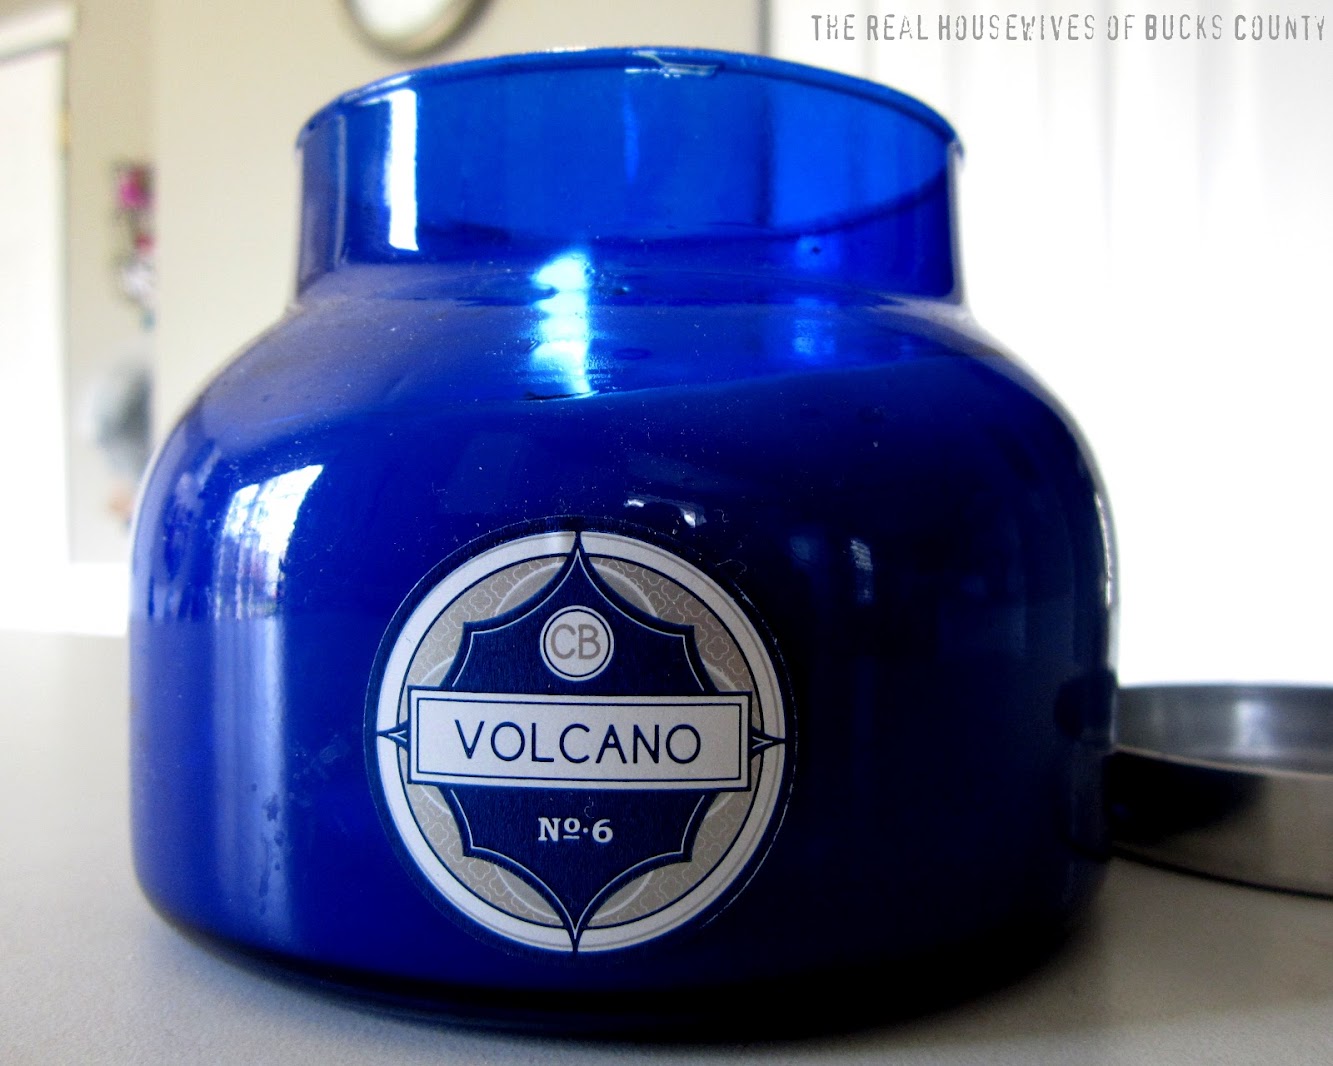
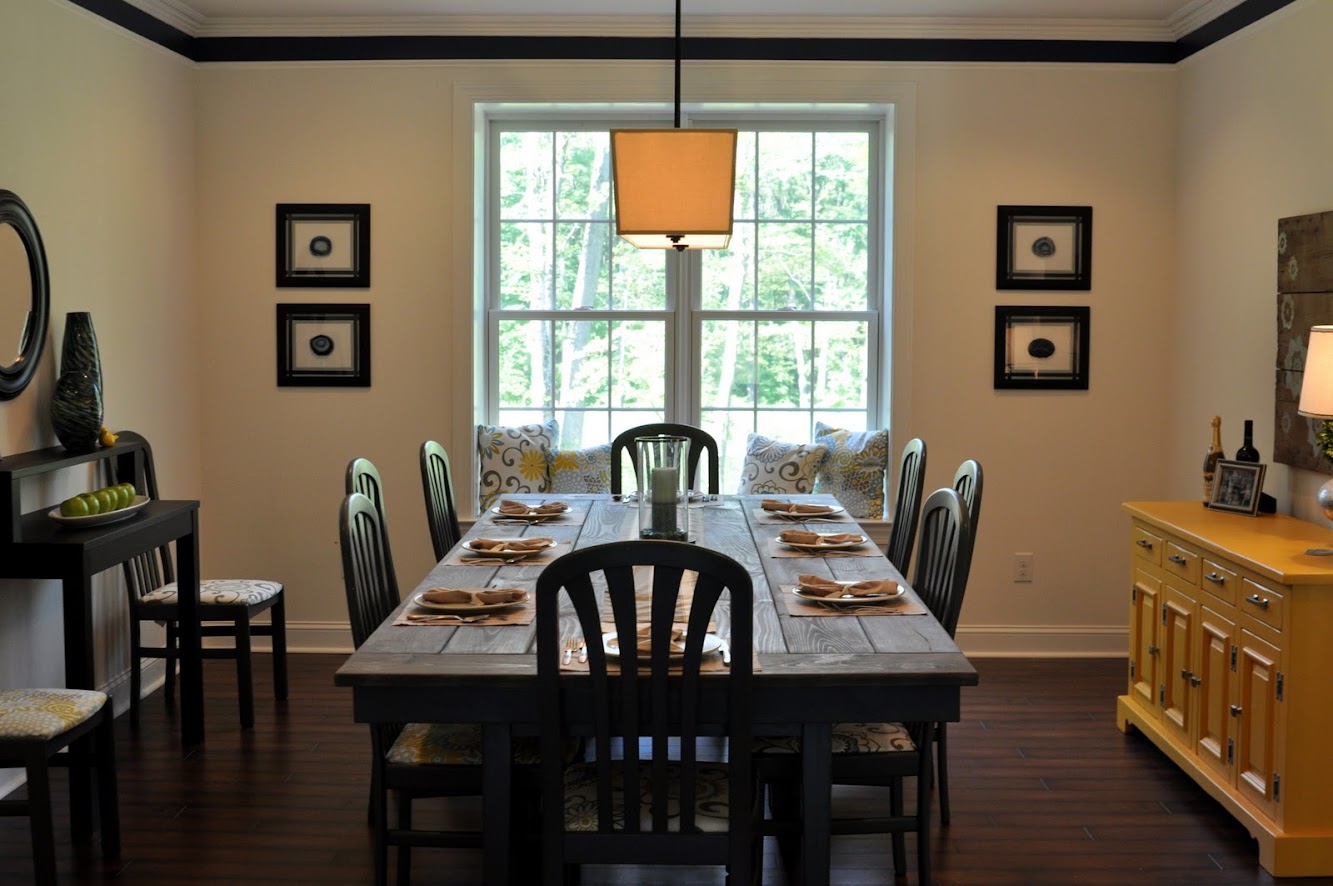
Who are the Real Housewives of Bucks County???

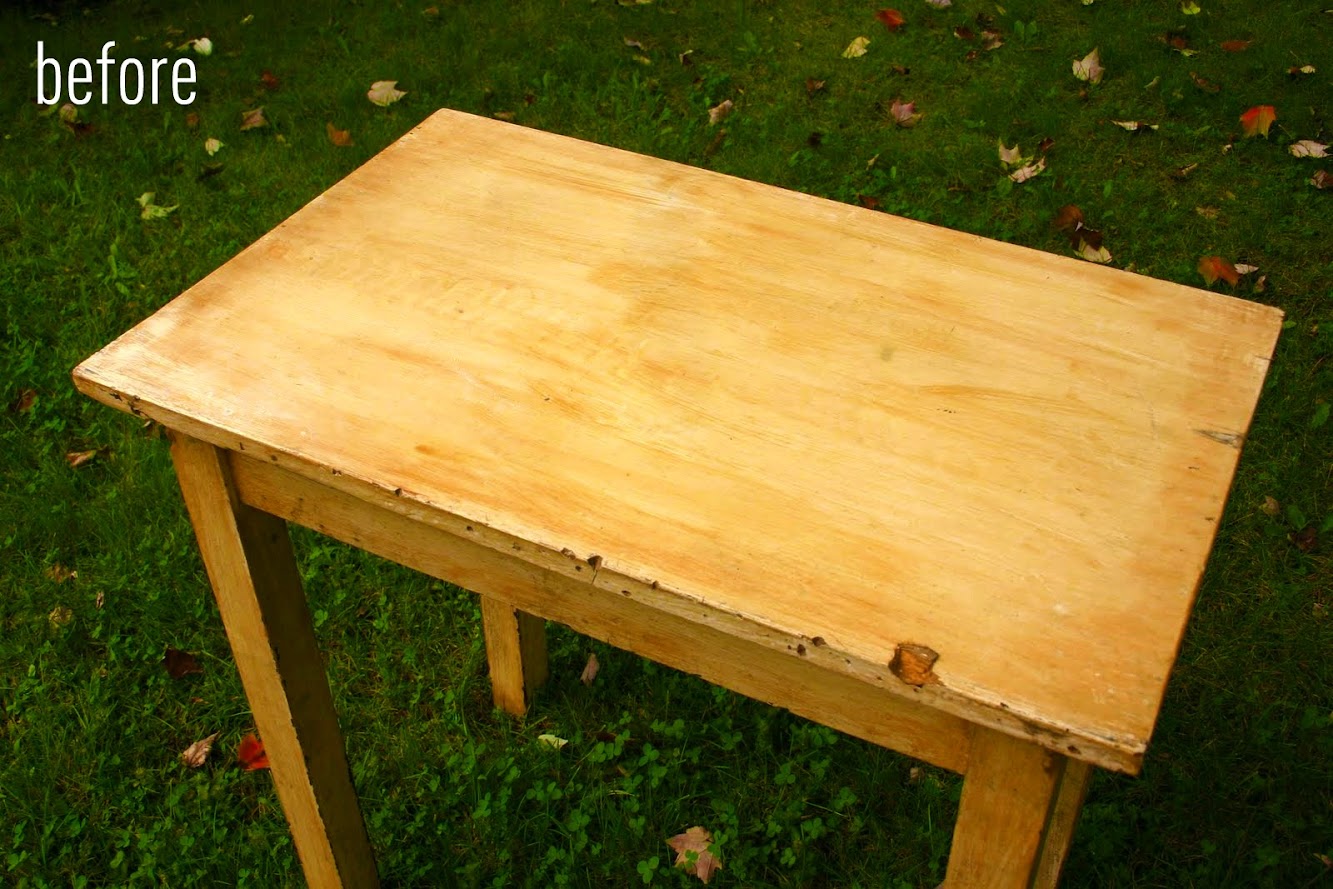
Antique Table Turned Vanity {Bathroom Redesign Update}
Swag Bag {Ladies Home Journal}
Advice for the Part-time-Blogger {Part-Time Bloggers Dilemma Part 2 }

Do it yourself

Fall Eats {Fall Lovers Series-Day 3}

Thanksgiving Scramble
The Nate Berkus Show {Sneak Peek}
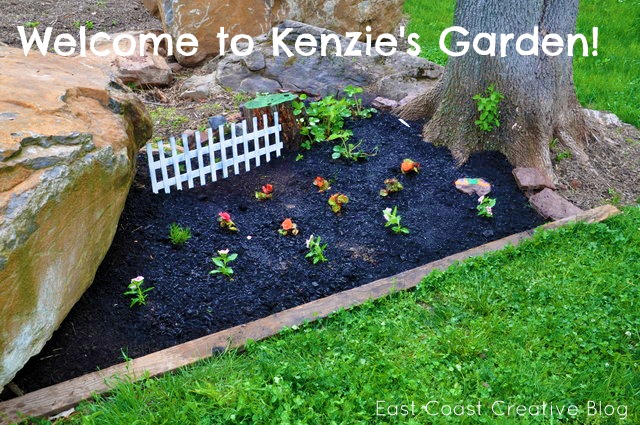
Gardening for Kids {Kenzie's Garden}
Favorite Things Party Recap
The Group Date

The Rock Gym
Fab Find Friday {Contact Us- Help a Reader Out}


