My Creative Blog [Search results for Children]
Infertility

{Be Intentional}

Remember this one?

Fab Find Friday
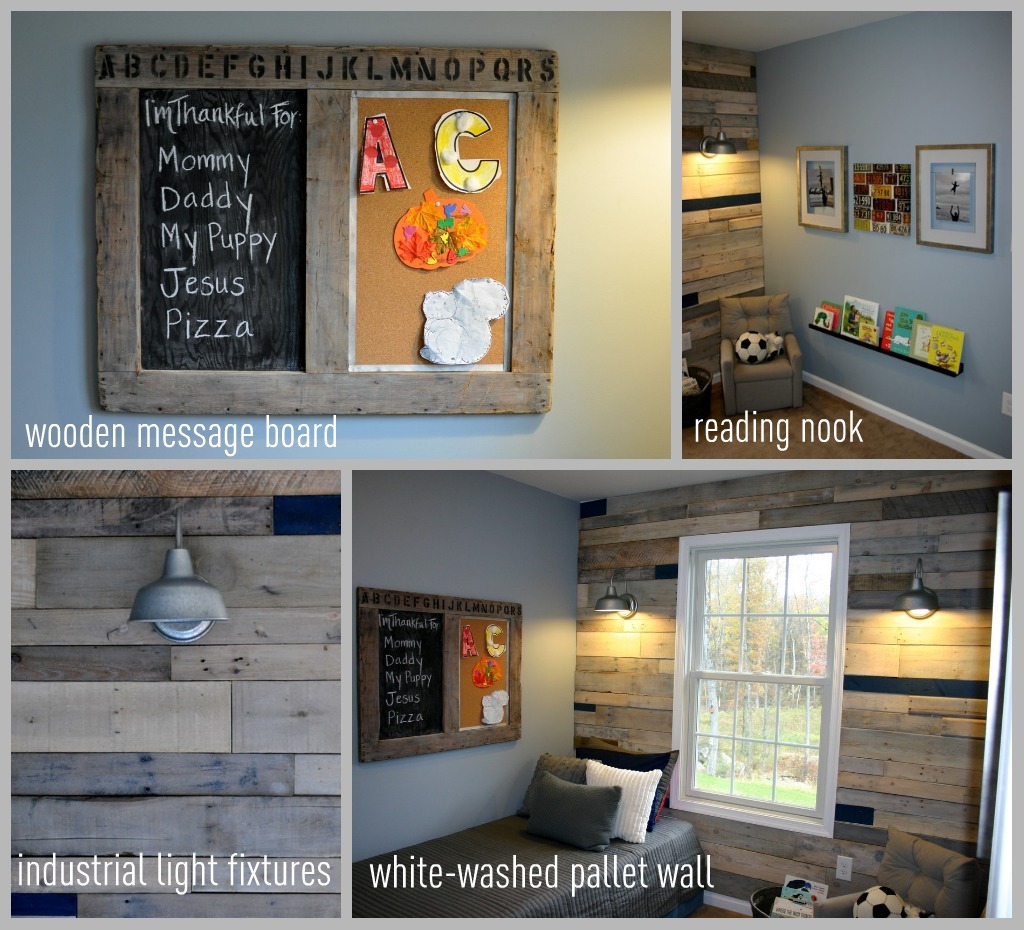
Kids Desk & Craft Area

H&M children autumn news

{Blossoming Business} Guest Blogger

ChillNorway Children

Loads of Color

Favorite Things Party

Canvases for children's room

4 Tips for Taking Fabulous Pics of your Kids {GIVEAWAY}

Vintage Halloween Postcards

Wooden Memo Board
I Was Once Broken... Jewelry Made From Broken Calendar Plates

Do you Vista?

Ladies Night Out DIY White Box Challenge!

Blog Reader Survey Results
Norwegian beanbag, for sure.

Pallet Possibilities


