My Creative Blog [Search results for Canvas People]
Free Canvas for You!

Fall Kickoff Giveaway! {FREE Canvas for You!}

Canvas for Valentines! {11x11 for only $11}

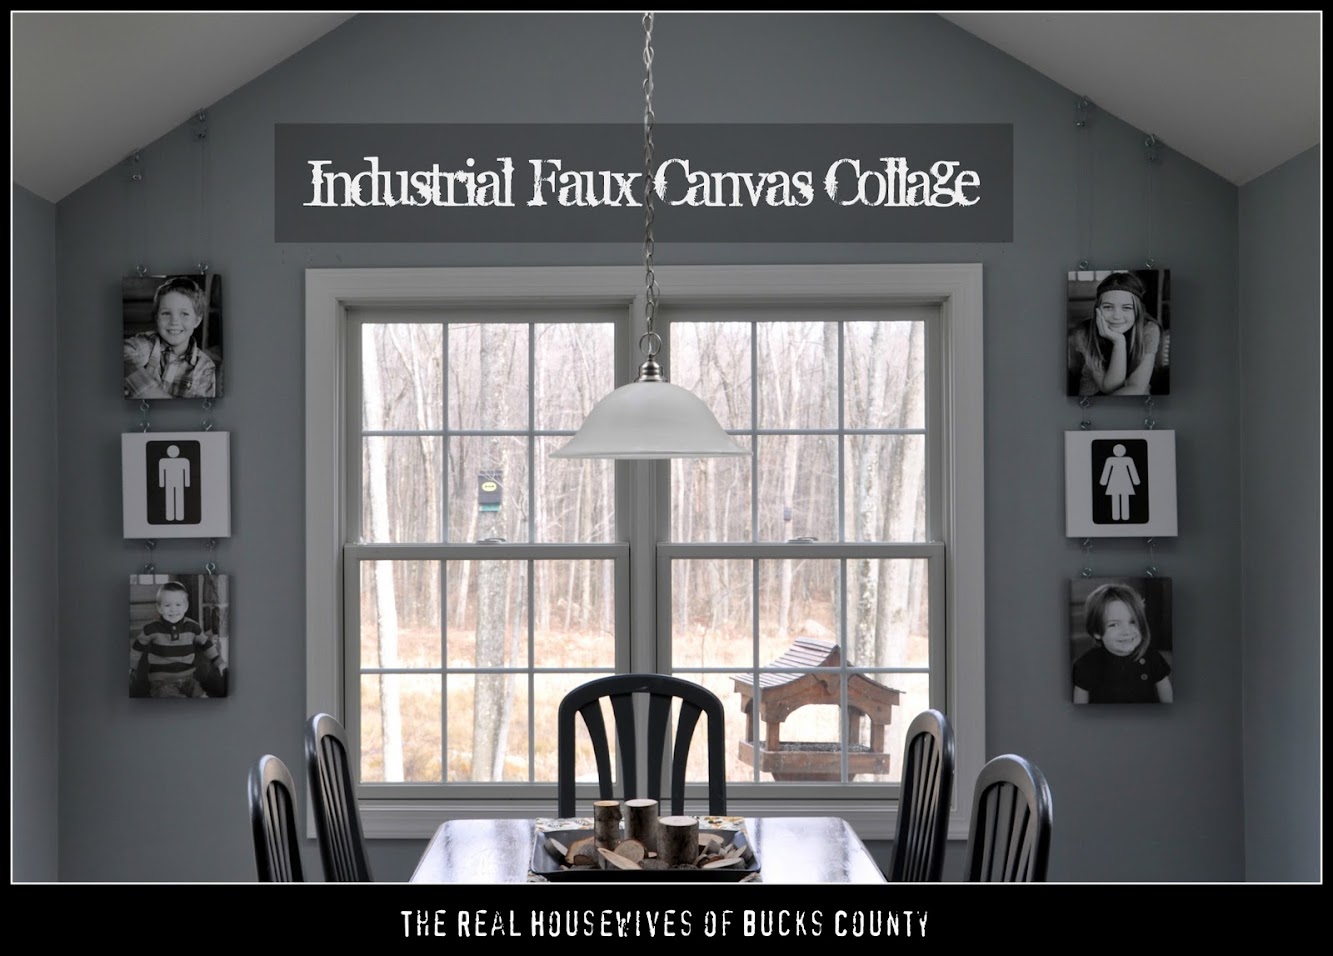
Industrial Faux Canvas Collage
October Sponsor Love
Fabric Thankful Tree Canvas

Summer Mantle {Playroom Edition}

A Favorite

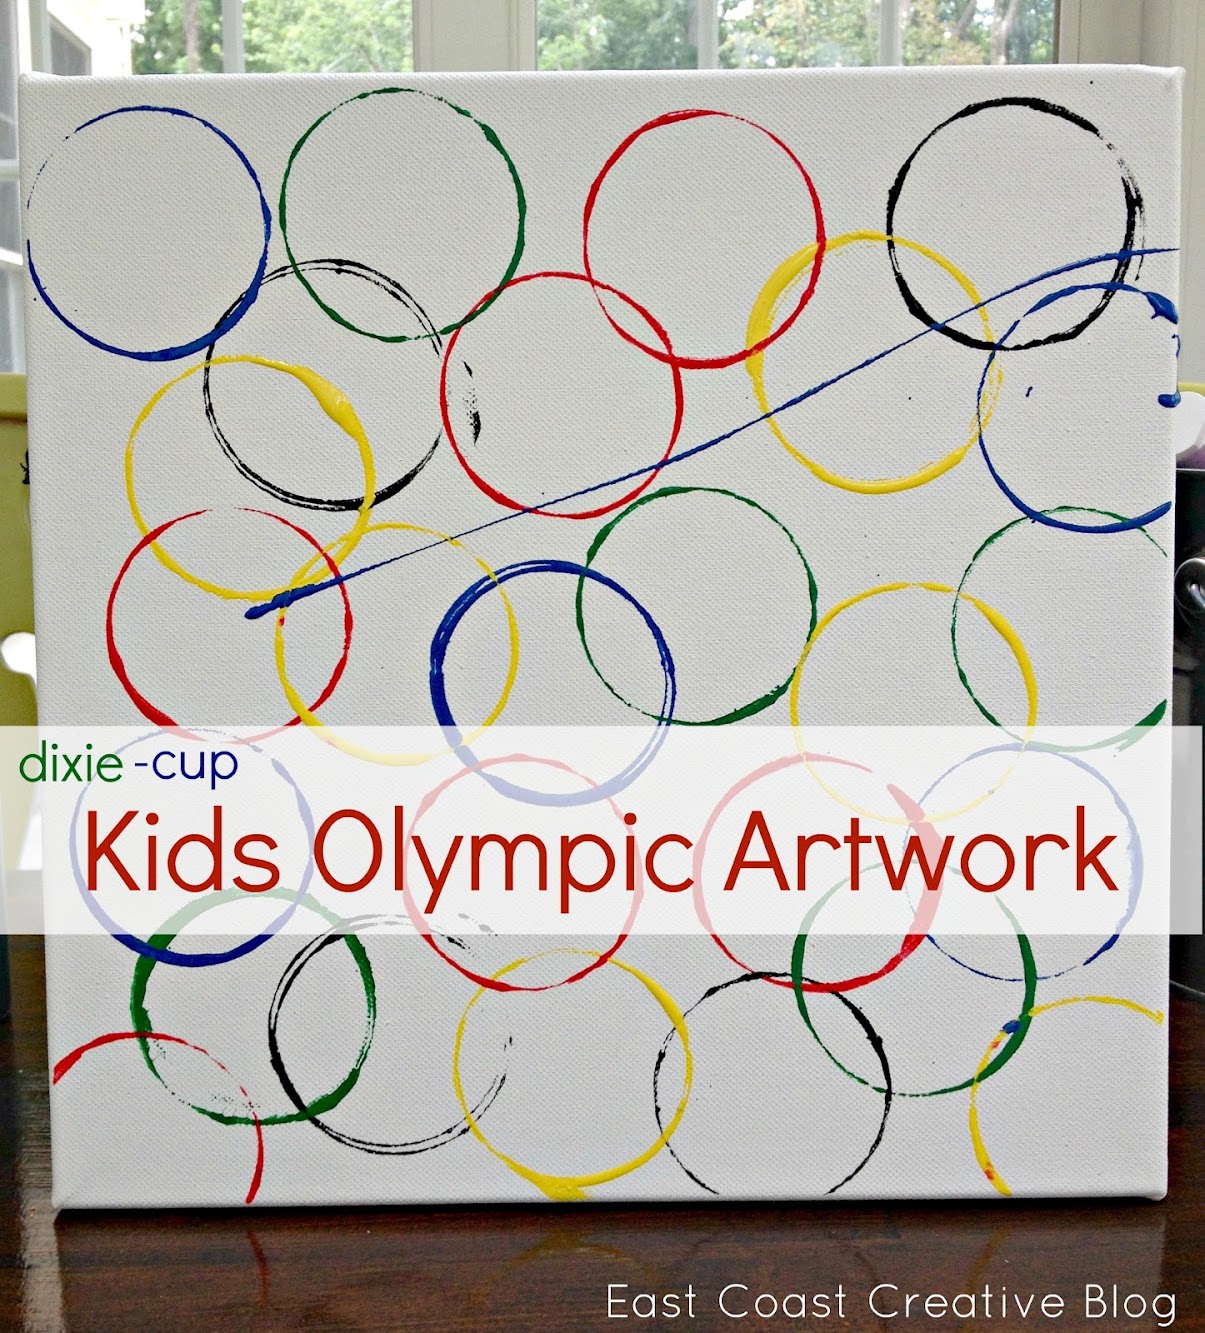
Olympic Crafts for Kids {2012 Olympic Games}
Fab Find Friday {Contact Us- Help a Reader Out}

Ladies Night Out White Box Challenge: The Details

February Sponsor Love
Celebrating 40 Years
