My Creative Blog [Search results for Building]
How to Build an Outdoor Sectional {Knock It Off}

Details: Mister man Built a little somethin'

The Royal Swedish Opera

DIY Photo Block Display {Shanty 2-Chic}
Custom Kids' Picnic Table {Knock It Off DIY Project}

Playhouse Loft Bed {Little Girl's Room}

Beeeautiful apartment for sale in Gothenburg!

Spring is FINALLY here! {The Home Depot Gardening Club}
The Sauna

Putting the Baby in the Basement

It's in the Details!

That boy sure is handy!

Moving along & Buttoning things up!

DIY Patio Update #2
Creating with the Stars Round 1 Voting

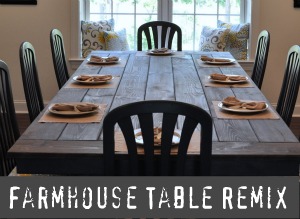
Farmhouse Table Remix {How to Build a Farmhouse Table}
Barn Renovation Part 3: The Journey Continues & Thank you

Nate's 12 Days of Holiday DIYs {Day 8: Pallet Wall Take 2}

{Be Intentional}

Pallet Possibilities


