My Creative Blog [Search results for Ana White]
How to Build an Outdoor Sectional {Knock It Off}

DIY Mudroom Lockers {Garage Mudroom Makeover}

Playhouse Loft Bed {Little Girl's Room}

Custom Kids' Picnic Table {Knock It Off DIY Project}

Buggies

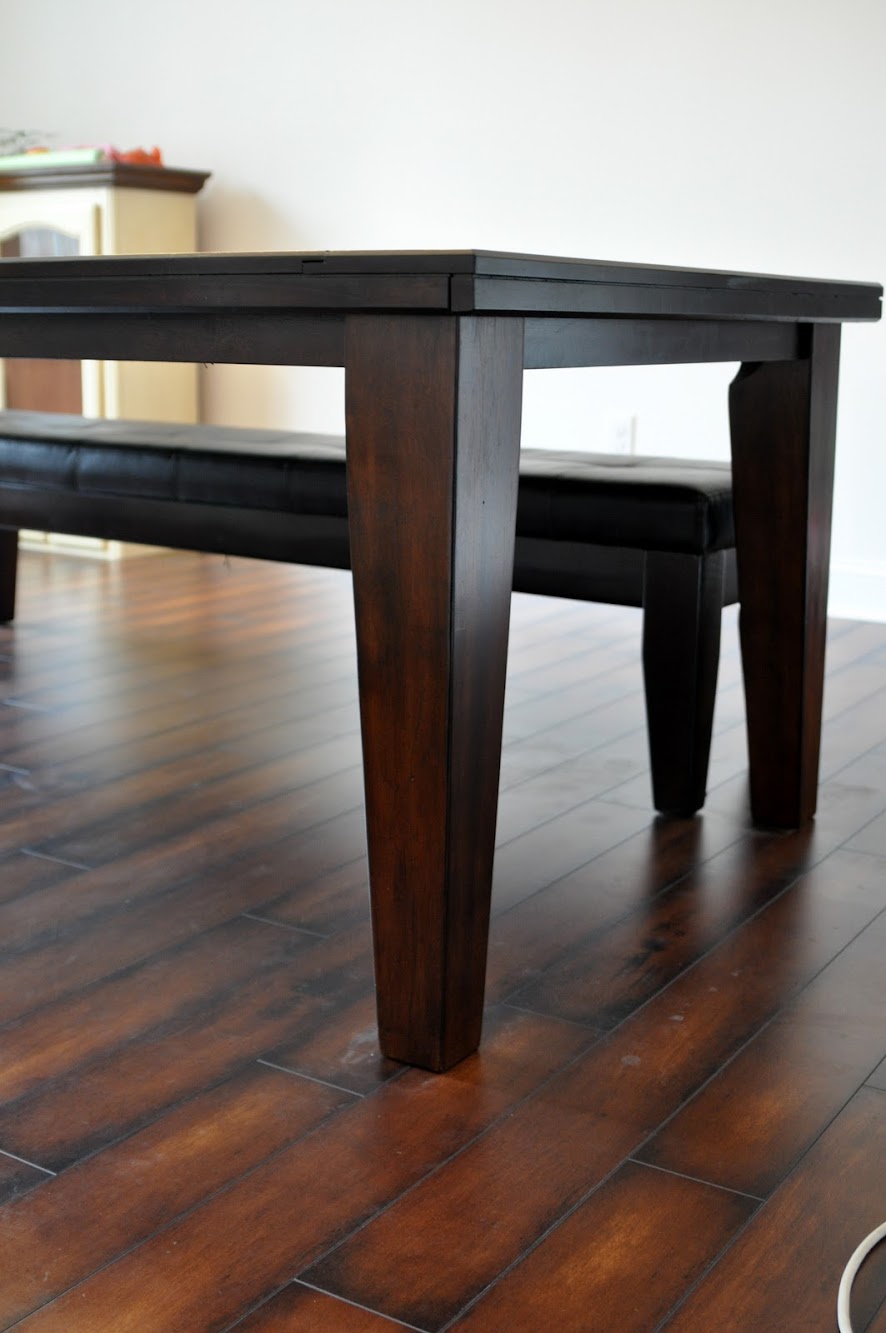
The Evolving House: Dining Room Table Conundrum
DIY Patio Reveal {It's Finally Here!}
Projects Not to Miss

Haven 2012 {Conference Recap}

11 DIY Christmas Gift Ideas

Fab Find Friday {What We're Crushing on!}

