My Creative Blog [Search results for vintage keys]
My Design Process For Working With Unique Elements: Vintage Keys

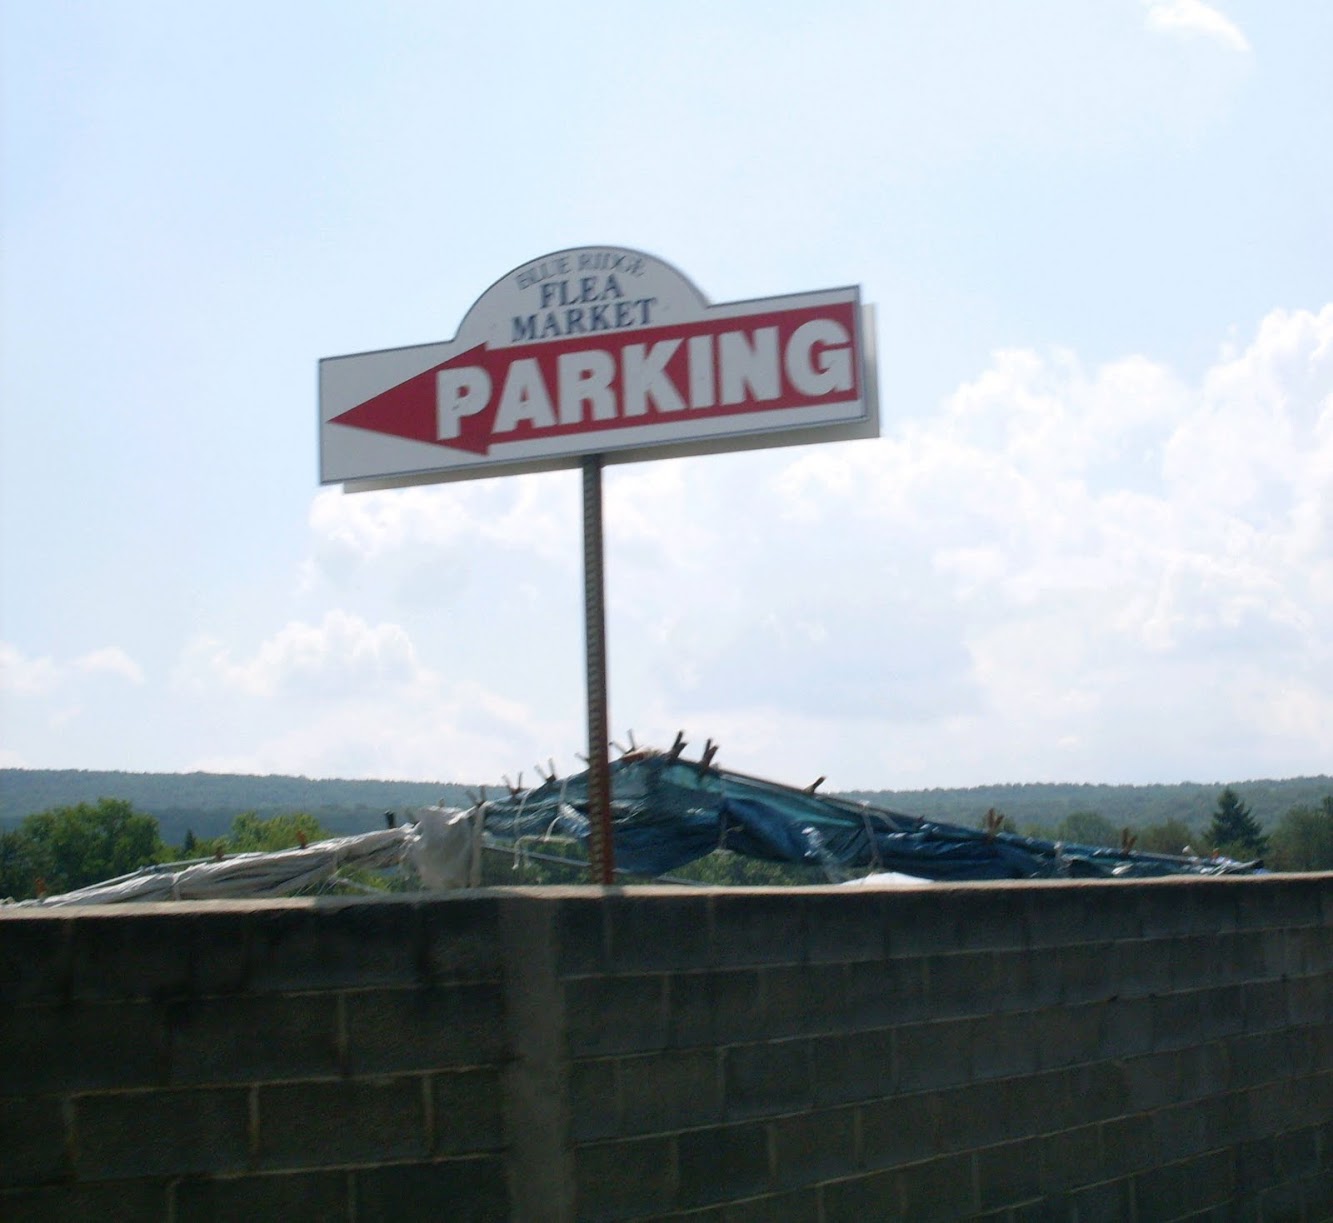
A Visit to Blue Ridge Flea Market
How To Make Necklaces With Vintage Keys

Hookers Needed!

12 Awesome Fabrics {Arrows, Stars, and Narwhals Oh My!}
