My Creative Blog [Search results for vintage]
Christmas at Vintage Kompagniet

Vintage Halloween Postcards

Vintage Monogram China Made Into Jewelry!

A Visit to Blue Ridge Flea Market

Classic, Timeless Style {FOSSIL Vintage Revivals Handbag GIVEAWAY!}
Birds on Vintage China Patterns

Design Icons {of the Blogosphere}

The {Bathroom} Game Plan

Cupcake!

Silver or Black Jewelry Finish? Which Do You Prefer?

Kid-Friendly Design: A Gallery Wall With Staples Engineer Prints

My Design Process For Working With Unique Elements: Vintage Keys

How to Make Domino Jewelry

Design Atelier Article {Giveaway!}

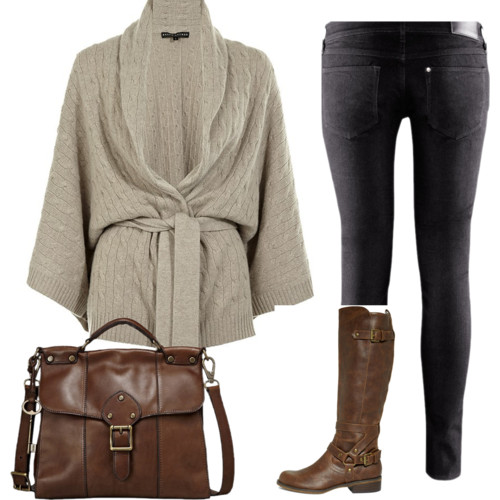
Vintage beauty

vintage christmas ornaments

How To Make Necklaces With Vintage Keys

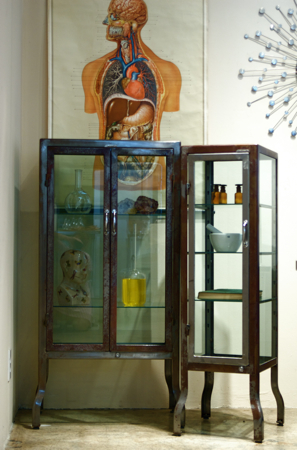
vintage stainless steel medical cabinets
gray and red...
Creating with the Stars- What blog STARS Would Rock Your World??


