My Creative Blog [Search results for tags]
How To Make Awesome Hang Tags

DIY Wooden Tag Ornaments

Do you Vista?
Doggy Style…

The Presence of Presents!

ByeBye Picnik… Hello PicMonkey!
Blogging 2 Better Summer Challenge

Nate's 12 Days of Holiday DIYs {Day 6 Ornament Recap}

Monster Mash Candy"Bowl" with Martha Stewart Crafts

Favorite Things Party

Favorite Things Party {Free Printable Invitation}

{Grow}

Fabric Thankful Tree Canvas

Favorite Things Party Recap
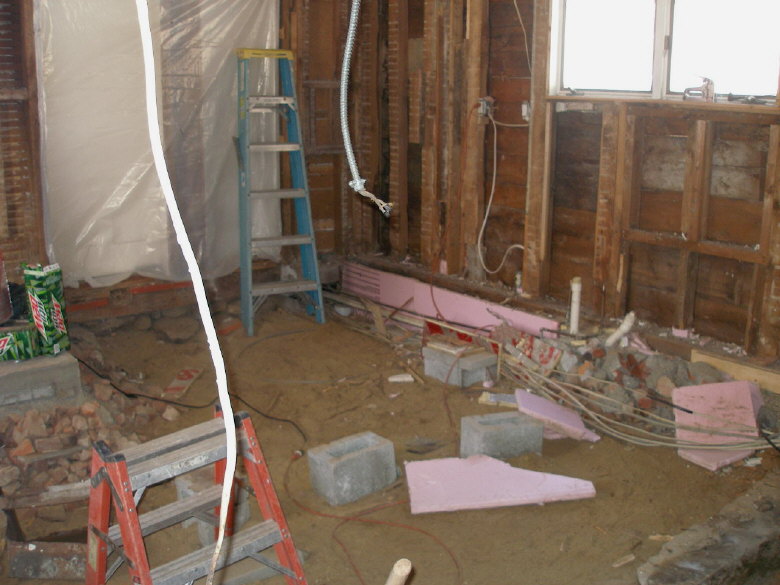
Kitchen Renovation: Before and After
11 DIY Christmas Gift Ideas


