My Creative Blog [Search results for recycled]
Dishfunctional Designs on Great Green Goods

How to Make Domino Jewelry

What exactly is Upcycling?

Powder Room Pick Me Up

Downstairs Bathroom Revisited

Hungry for Spring

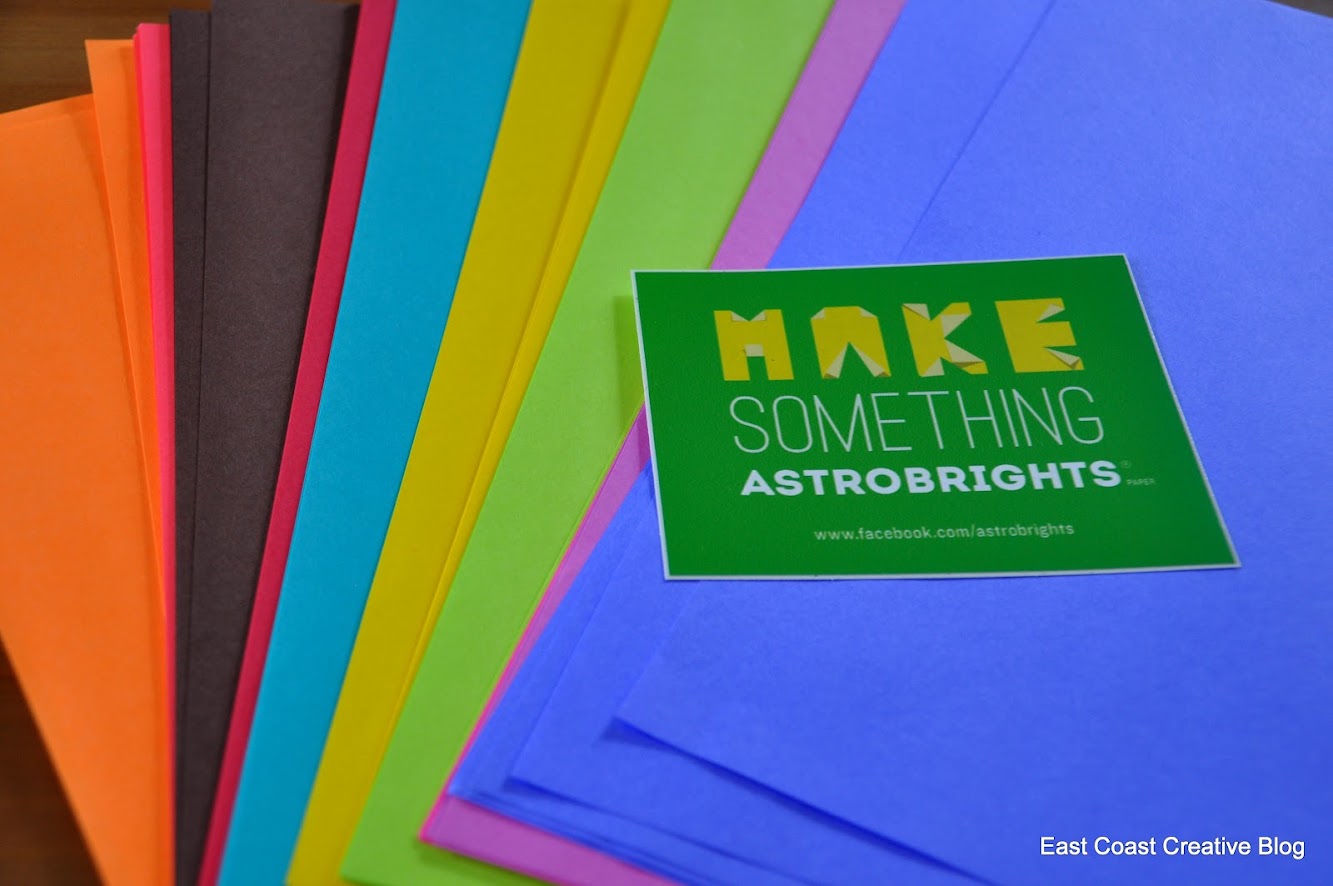
DIY Neon Locker Memo Board {Astro Brights}
The Sauna Turned Gym, etc.

Jessica's Christmas House Tour 2012

My Office

Holiday Your Way with Bed Bath & Beyond
Eco-friendly cottage makeover

Mirror Mirror on the Wall…