My Creative Blog [Search results for keys

  • A Visit to Blue Ridge Flea Market

    A Visit to Blue Ridge Flea Market

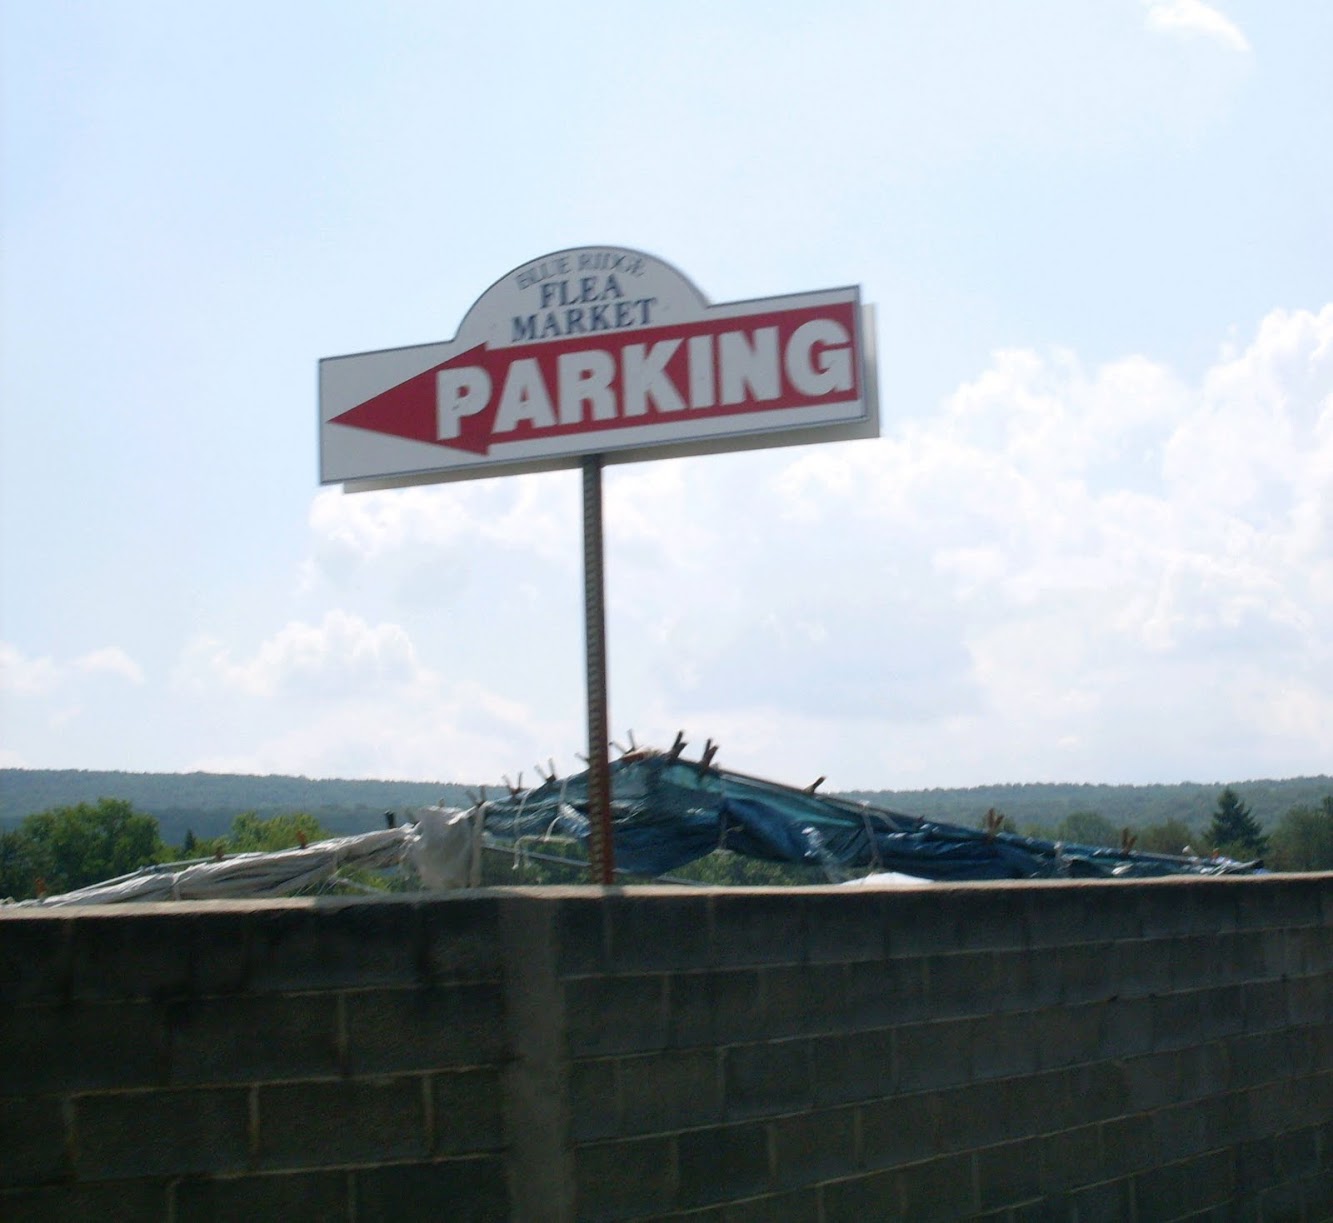
    My summer wouldn't be complete without a few visits to the Blue Ridge Flea Market in Saylorsburg, PA!
    This is one of my very favorite flea markets and one the best places in the Pocono area to shop for antiques and vintage treasures. It's about a thirty minute drive from my home, so I consider myself one lucky chick!
    Today the temperature was in the 90's but that wasn't going to hold me back. It had been a while since I had last been to this market and I was excited to discover some new goodies!

    The first two parking lots were full (as they always are) but way in the back grove parking area (which is the best place to park anyway because of its scattering of old shade trees) I was pleasantly surprised to find it empty of cars ' yay! ' it was going to be a good shopping day!

    Empty grove=more stuff for me!: -)

    Flea market ahead!

    One small view of a very large complex
    Of course the very first thing I came upon was two stacks of monogrammed vintage china. I had to laugh because just yesterday I blogged about this exact same china and mentioned how hard it is to find! Seven bowls, four plates, each with a beautiful floral rose design and bright capital letter K initial monogram. Their condition was new, and I knew they were from the 1940's. How much? I asked the man'$2 for all? SOLD!

    My first great find
    At that point I could've gone home a happy girl, but I was only five minutes into it. A short while later and up a few rows I spied two pretty, antique English transferware dinnerplates that closely resembled the Flow Blue patterns that I adore'How much?....$2 each or you can have them both for $3'SOLD! Cha-ching and woo hoo!

    My new lovelies

    I don't think this was an antique, but it was neat none the less: a decorative ship's figurehead or maidenhead complete with her very own treasure chest... Arrrgh

    My 5-year-old daughter wanted to drive this mini car home!
    Ahhh my favorite part... little boxes, on the hillside...

    little boxes full of....silverware! And boy, was it HOT to touch! Everything was sizzling from the sun.
    What? You can't find your keys? Here they are!

    When I got to this point it was seriously like: What to my wondering eyes should appear?....Keys! Hundreds and hundreds of glorious keys! Short keys, long keys, fat keys, skeleton keys, lots of rusty keyness!

    Ahhh, vintage chandelier crystals! These are super good for craftin'

    Various taxidermy oddities (note the bears on the roof of the van)
    A few handfuls of vintage silverplated flatware, antique skeleton keys and vintage chandelier crystals were among my best finds... all will be put to very good use in some new projects I have brewing for the upcoming holiday season!

    A few of my new keys and crystals

    Some of the vintage flatware I bought

    What do you think?

  • My Design Process For Working With Unique Elements: Vintage Keys

    My Design Process For Working With Unique Elements: Vintage Keys


    The keys I found at Blue Mountain Flea Market....waiting to be made into something beautiful
    MY DESIGN PROCESS FOR WORKING WITH UNIQUE ELEMENTS: VINTAGE KEYS (Part 1: Designing with Unique Elements)
    It's been a while since I've updated my blog so I thought I'd share with you what I did with the vintage keys that I found this past summer at the Blue Mountain flea market (Saylorsburg, PA). I knew these keys were going to upcycled into something special, and it was going to be some type of neck or wrist jewelry.
    Designing
    When I'm creating a new design I usually start out by first choosing the main elements/materials. For instance, I might come across some outstanding gemstone beads that really appeal to me and usually the wheels will start turning right away about what other kinds of stones or materials they might work well with in a design.
    Other times I'll be working with some unique object, as in this case, the keys, and then my design process is a little bit different. When designing around one special, unique element, that element is known as your focal element, or focus of your design'the first thing that attracts your eyes'and you build your design around that.
    My Design Process for Working With Unique Elements
    Here is how I go about my design process: I usually will keep the item close to me on my workbench, and although I'm not yet using them or designing with them, I'm looking at them a lot and at that point, I just let them sort of sit in my mind and usually within a day or two I have a pretty good idea of what other materials I want to use with them and what type of design I am going to make with them. At this point, I'm looking at the keys and studying things such as their color, shape, size and texture.
    When choosing my secondary materials in a design, I think about whether the materials will complement each other, and I also think about whether they will work together to make a whole'meaning, that when you look at the design, you experience a soothing aesthetic whole, as opposed to seeing something that is discordant, choppy, or awkward. Just like when you listen to a piece of music and you notice a wrong note ' well the same goes with design too ' you want your design to flow, and create a feeling of unity'sorta like music for your eyes.
    After my secondary materials are chosen I lay everything out, and often moving pieces around like a jigsaw puzzle, will work on the design until I feel it is organized the way I like, and only then will I begin to fabricate it- put it all together!
    Part 2: Fabrication of Necklaces Made with Antique Keys ('to follow soon)

    Anybody see my keys?

  • How To Make Necklaces With Vintage Keys

    How To Make Necklaces With Vintage Keys


    In my last blog post I discussed my basic design process for working with a unique focal element, in this case, some fantastic vintage & antique keys that I came across at a flea market last summer. I also discussed the basics of choosing complimentary materials such as beads, and the 'laying out,' or organization of the design. The following post will discuss the fabrication of those keys into a piece of unique, one of a kind piece of jewelry.
    Below are two styles of necklaces made with keys:
    Vertically Hung Key With Beaded Chain


    Horizontally Hung Key Necklace

    Materials List for both projects
    Vintage Keys
    WD-40 and paper towels to clean up your keys and remove rust
    Coordinating wire: Brass or copper work well. For the necklaces shown, I used Beadalon ColourCraft Permanently Colored Copper Wire in Brown (20 gauge) and Zebra Wire Colored Copper Wire in Brown in 18, 22 and 26 gauge
    Antique finish brass or copper chain (for horizontally hung necklace)
    Antique finish brass or copper jump rings (for horizontally hung necklace)
    Antique finish brass or copper clasps (toggle and or lobster-claw style)
    A variety of gemstone and glass beads
    Round nose pliers
    Flush-cut pliers
    Chain nose pliers
    *Aside from the keys, most items listed above are available through Fire Mountain Gems Jewelry Supply http://www.firemountaingems.com/

    FABRICATION

    If you find that your keys are a little rusty, spray them with WD-40 and clean well with paper towels. Because the keys I used were a nice, rusty brown, I decided to use brown colored copper wire for my necklaces. I liked the keys hung both vertically and horizontally so I decided to make both styles. Below are the instructions for both.
    Vertical Key Necklace:
    beaded chain technique with toggle clasp

    *For these necklace you will need to know how to make a basic wrapped loop. This is a simple technique that is basic to jewelry making. If you do not know how to make a wrapped loop, directions can be found here: http://www.firemountaingems.com/beading_howtos/beading_projects.asp?docid=652t


    Step 1. Cut a 2.5' piece of wire and connect one end to the hole in the top of the key with a basic wrapped loop. (For this style I used the 20 gauge wire)

    Detail of wrapped wire loops attached to key
    Step 2. Place a bead onto the other end of the wire and complete the end with another closed, wrapped loop.
    Step 3. Repeat your next section with another section of 2.5' wire, this time connecting one end of the wire to the previously finished beaded loop. Again, place a bead on the wire, and complete the unfinished wire end with another wrapped loop.
    Step 4. Continue repeating this 'wire, bead, loop' process until you have created one entire side of beaded chain in the length that you desire. (I made each side of my necklace approx. 10', for a total finished necklace length of 21' including key and clasp.)
    Step 5. Repeat steps one through four to create the other side of your beaded chain.
    Step 6. Attaching the toggle clasp: When you have finished your beaded chain in the length that you desire, attach your clasp. Using the same wrapped loop technique, attach the 'bar' part of the toggle clasp to one side of your beaded chain and the 'loop' part of the toggle clasp to the other side of your beaded chain. That's it! You are finished!

    Detail of toggle clasp attached with wire wrapped loops
    Directions for Horizontal Key Necklace:


    Step 1. Place key horizontally on table. Cut a 3' piece of wire and connect one end to the hole in the top of the key with a basic wrapped loop. (For this style I used the 20 gauge wire).
    Step 2. P lace a bead onto the other end of the wire and complete the end with another closed, wrapped loop.
    Step 3. Cut another 3' piece of wire and with a wrapped loop, connect one end to other, opposite end of the key, wrapping the wire around the body of the key to the inside of the key's teeth.
    Step 4. Place a bead onto the other end of the wire and complete the end with another closed, wrapped loop.

    Step 5. Continue this technique using 2.5' lengths of wire and beads, until you have the beaded look you want; I used two beads on one end of the key and four on the other end of the key. *Do NOT wrap the open end of the wire after your last bead.
    Step 6. Cut two lengths of chain (I used two 10' lengths of chain) and now making a loop in the wire after your last bead, thread the chain onto the loop and wrap the end. Repeat with other side. Your lengths of chain are now attached to each side of your necklace.
    Step 7. Attaching the clasp: At the end of each length of your chain you will attach your clasp. For this style necklace I used a lobster claw style clasp. Use a jump ring to attach the clasp to one side of your chain and complete the other side of your chain with another jump ring. You are finished!

    Lobster-claw style clasp

    A different color combination: Citrine and Honey Jade

    Pink Rhodonite gemstone beads
    If you have any questions, feel free to post them below! — Laura

  • Fabric as Art {The Nate Show Artwork}

    Fabric as Art {The Nate Show Artwork}

    We were really lucky to have had two major statement art pieces in our most recent Nate Show thrift store room makeover. Monica posted yesterday about the roofing material art using our Royal Design Studio stencil that I was absolutely 100% sure would be a fail confident would turn out amazing. Really, they were just so cool. But our other major piece of art was super easy and looked amazing above our dresser turned buffet.

    If you see a big frame, BUY IT! There are so many things you can do with them, and large frames are hard to come by, for sure. We couldn't believe our good luck when we came across this huge frame at Liberty Thrift Store. At 25 bucks, it was definitely a splurge, but a frame this size would cost you 3 times that much (or more) at Michael's, and we knew it would help fill the empty wall space in our on-set white room. This is what it looked like at the store:


    Eeeek!That thing was begging us to take it home and cover it up with fabric. I honestly can not EVER imagine hanging this scene up in my home (no offense to any of you who have something similar hanging on your walls!).

    We purchased the fabric at Joann's because, well, we loved it, but also because it played nicely off of that mustard yellow couch (which, quite honestly, we hated! But you work with what you have and it was the best option at the thrift store that day.) This project took a little more than a yard of fabric, spray adhesive, spray paint, stain, hot glue and craft paper. We also came across three of the same kind of frame, which we immediately snatched up so no one else could get their hands on them. I mean that literally. Another tip: if you find three frames that are exactly the same, BUY THEM! You won't be sorry. And make sure you look past their color, and the picture in the frame- that can all be easily changed!

    We started out by removing the picture and staining the frame a dark walnut. While that dried, we cut the fabric so there was about an inch or a little more extra all the way around. Then we sprayed the entire front of the existing picture with spray adhesive and gently laid the fabric down, making sure to smooth out the bubbles/wrinkles. If you're trying this with a frame, be sure to have an extra set of hands- it makes it so much easier! The extra fabric was stapled on the back side of the picture. In the meantime, we spraypainted the small frames in the same high gloss navy that we used on the dresser.

    We were able to salvage the mats from the old pictures in the small frames, which saved us loads of time. Woohoo for the small things! We then lined the back of the mats with craft paper so that we'd have a nice solid background to highlight our antique skeleton keys.

    I messed around with the layout of the keys for a loooooong time a few minutes before I settled on the perfect layout. Speaking of the keys…

    …aren't they awesome? We actually had these keys from a previous shopping excursion at Architectural Antiques and were thrilled to use them in this project. They added so much character to this somewhat modern piece of art! Architectural Antiques is just one of the best places to find cool, old stuff in Bucks County. (If you're local, you HAVE to go there.)

    From salvaged windows and doors, to old hardware and keys, to antique mantels and loads more, they have some incredible stuff! Anyway, we mounted the keys using our trusty hot glue done and voila! She was finished.

    Pretty sweet, right? We sure think so! (And so did Nate!; )

    jess

    *** Did you know that we share lots of other cool ideas over on our Facebook page? It's like little snippets of RHBC to get you through your day! So what are you waiting for? Go ahead and like us, we're going to post lots more Nate Show pics there later today!

  • Hookers Needed!

    Hookers Needed!

    I knew that would get your attention… and I just couldn't resist (Jess is most likely wanting to kill me right now!) [This is Jess, and yes, I'm red with embarrassment right now.] Today's we're talking about my need for hooks.
    I'm a scatterbrained mess. I'm always looking for my keys, sunglasses, Blackberry. A few weeks ago, I lost not one, but two sets of car keys and ended up stuck at the house while Eric went to work. I was beyond frustrated at Eric with myself.
    Then, I had an idea…

    I was going to make a place to keep my keys! I had just been to the Flea Market that Jess posted about, and had an empty gold frame.

    I'm not a fan of gold, so I whipped out some Valspar Black Satin spraypaint (I think I have about 15 colors of spraypaint on hand at all times).

    I also keep big boxes around to spraypaint on… I've painted the grass one too many times for the hub's liking.

    Once I told Eric what I was making, he was a happy camper!

    I ran to Lowe's while the paint was drying and grabbed three little hooks for less than $3.00 each.

    Oh Snap! The Keys didn't fit! Wait… a quick little turn of the frame and…

    Voila! Instant Key Hook{ers} that perfectly almost fit!

    Here's the view out our back door leading to the garage (thinking that I will remember to hang them up as I come in the door). The key hooks are really helping, but I will admidt at least once a week I hear,"Monica, there's only one set of keys on the hooks…" UGH… I'd be amazing with half a brain!

    And I've had a few requests for a tutorial on how to make this message board, so that will be coming soon!

    So, be honest… do you need any hook{er}s too?
    Linking up to:
    Sweet FloweretNifty Thrifty Tuesdays ~Coastal Charm Today's Creative Blog The Letter Cottage House of Grace ~ Twice Owned Tuesdays Hope Studio Tutorials and Tips Tuesday Tip Junkie The Herber Family A Soft Place Topsy Turvy
    Funky Polkadot Giraffe Vintage Pollyanna Little Birdie Told Me I Made This! Pink Hippo Party It's Sew for You
    Unwasted Homemaking My Garden of Eden Strictly Homemade

  • 12 Awesome Fabrics {Arrows, Stars, and Narwhals Oh My!}

    12 Awesome Fabrics {Arrows, Stars, and Narwhals Oh My!}

    During my piano painting project, I knew I had to have the PERFECT fabric for the bench seat. I love big fabric stores, but my taste tends to be a bit more specific and I'll admit it… quirky. Spoonflower is my favorite source to get just the right fabrics! It's where I ordered my chair fabric for my foyer way back when (man, that was over two years ago! Time flies when you're a blogger!) It took all of about 5 seconds for me to find a plethora of fabrics I loved on Spoonflower. I went with Chevron White Stripe Tile

    I love how it looks with the green piano and white keys!

    Since I loved so many of the cool, trendy fabrics, I thought a little fabric round-up was in order!

    #1 Bubblegum Triangles This one screams-"I'm tribal and I know it, but I really like the 80s too!" It comes in a lot of cool color varieties- I like the soft tans and pastels too!

    #2- Wonderful Narwhal I don't even think this needs a comment. Narwhal= Awesome. Enough said.

    #3-.a shot in water. I like how this takes a softer approach to the arrow craze. This is something I could so see in a room designed by Perfectly Imperfect

    #4- Animal Constellations- dark teal I love the animals in this fabric. The fox is probably my favorite. I would love to just frame it and hang it.

    #5- Vintage Cameras If you saw my knock off during CWTS, you may have noticed the huge camera art on the walls (post for that coming soon!). This fabric was obviously meant for me!

    #6- Tribal Arrows Navy Maxi Yes, I'm totally on the arrow bandwagon… I like to think I'm one of the drivers because I love it so much. So this bold fabric seemed just perfect for a spring and summer full of the trend. Wouldn't some outdoor pillows look awesome with this?

    #7,8,9,10 Modern Love Collection I love this entire collection. Some of my fabric choices above are seasonal or would be temporary, but theses could last a long time in the Mangin casa! I love having just a touch of quirkyness in every room, so the kangaroos are wicked cool. I like both chevrons (with and without feathers) and the modern graphic blue, would compliment them so nicely. If you're doing a space soon and needed an epic combo, here ya go!

    #11- Zigzag Herringbone This has a more refined, mature feel to it (something you'd find at Jess' house) but I love the grey, orange, and brown together! Fall is my favorite season (although summer can't get here soon enough) and I think this fabric just might make an appearance in a few projects this autumn!

    #12- hairpins Here's why I love it… A) it's quirky B) Bobby pin fabric ranks high on my awesome scale C) it's subtle enough that unless someone looked closely they wouldn't know just how cheeky your decor is.

    So there you have it folks… some awesomely fun, trendy, and quirky fabrics! Now it's your turn… which one on my list is your fav?

    Monica
  • Staples Engineer Print Artwork {Garage Mudroom Makeover}
    Staples Engineer Print Artwork {Garage Mudroom Makeover}

    We Interrupt this Post to Bring You Something HUGE!
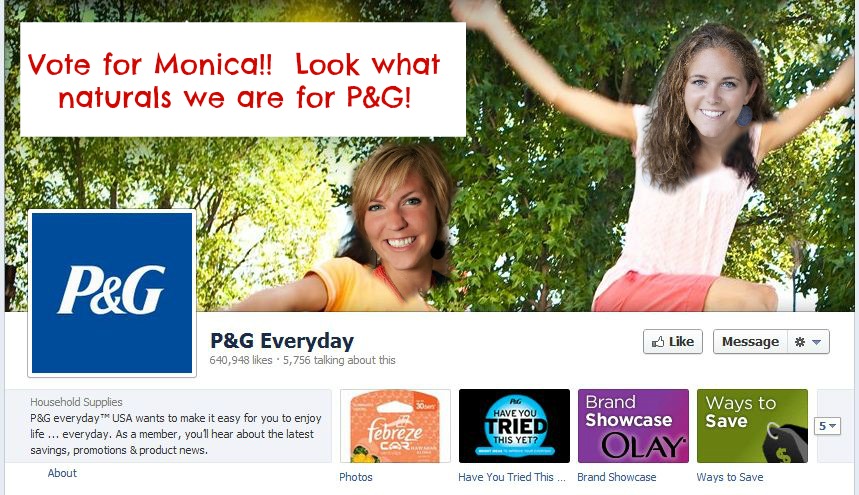
    We've had to keep this secret quiet for a while, but now we can dish. We were contacted by Proctor & Gamble about being the face of their home division. SCORE! The one catch… we're one of 4 bloggers in the running. Oh SNAP! So, today begins the voting on P&G's Facebook Page. We need you (and basically everyone you've ever met) to vote for Monica once a day now until October 4th. I know that the daily voting thing is a pain, but man, this opportunity would rock our world! So, pretty please, with a cherry on top- go vote for Monica (you'll even get to see our very cheesy entry video!)


    You can VOTE once a day for the next 15 Days!!

    Okay, now onto today's post. Thanks so much for voting!
    **************************************************************************

    Probably the part of my Garage Mudroom Makeover that I got the most questions and comments about was the huge artwork of my crew (or at least their bottom half!) Staples Engineer prints aren't anything new to our blog (we use them all the time!), but every time I fall a little more in love!

    Engineer Print Artwork

    If you missed the reveal of my makeover, you can check it out HERE. You can check out the Custom Painted Rug tutorial HERE

    Mudroom Elements

    On our final Nate Show episode, we used a really large wooden frame with some cool fabric and skeleton keys. All the furniture from the show was shipped back to us, so I knew months ago what I had in mind for it.

    I knew I wanted to frame a picture of my kiddos' feet and put it in the garage, I just had to wait until my garage was no longer a disaster! Once the mudroom makeover was underway, I immediate saw the perfect place for my artwork!

    Plain Wall

    I gave the Nate Show frame (originally purchased at a thrift store) a quick coat of spray paint using Valspar's New Avocado. I recently used the same color on some chairs and I'm a pretty big fan of it.

    painted frame

    Since we've done this kind of project a few times before I'm not going to go into the full tutorial, you can check out one tutorial HERE or the other HERE.
    I know a few of you have had questions about what kind of print to ask for at Staples etc… I went in and talked to our store and got the low down on some details for ya.

    I did make a few small tweaks this time around. Since the frame was empty, I needed to use foam core to mount my image and then staple it to the back of the frame.

    materials

    I sort of underestimated the size of the frame- it's huge! So I just mounted the left and right sides and left the middle… shhh, no one would ever know.

    Large print

    The process was really simple, and would have been even easier if I hadn't run out of foam core. I actually caught my finger in my heavy duty staple gun and a month later, my nail is still purple. Ugh. Although, it doesn't compare to slamming your finger in a car door and cutting off the top of it while taping a TV show for Nate… not that I know anyone who did that: )

    IMG_2678

    For $6.99 I'm over the moon excited about the impact that this art makes in my garage. I come in and out of this door a million times a day and it's pretty awesome to have something I love to look at.

    Before and After 2
    Engineer Print Artwork

    So, what do you think of my Shoe Artwork? Are you ready to try a Staples Engineering Print in your home?

  1. Just Contemporary — A love tribute to Jellicoe Road
  2. Just Contemporary Interview — MELINA MARCHETTA!!
  3. Just Contemporary Review — Harmonic Feedback by Tara Kelly
  4. Just Contemporary Interview with Tara Kelly!
  5. Just Contemporary Guest Review! Kate from Literary Explorations