My Creative Blog [Search results for jewelry]
How to Make Domino Jewelry

Jewelry Organizer {The Ugly Duckling House)
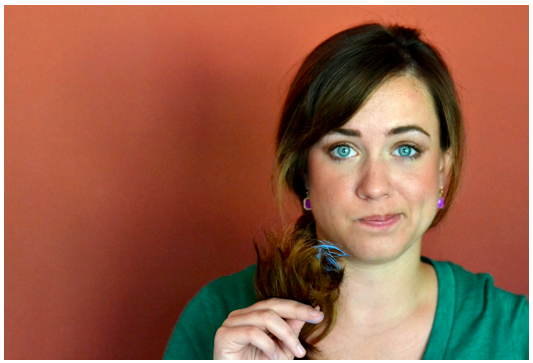
Adios Amigos Day 4 {Sew Dang Cute Crafts}
I Was Once Broken... Jewelry Made From Broken Calendar Plates

Vintage Monogram China Made Into Jewelry!

I Heart Fiesta & My Fiesta Hearts Me

Silver or Black Jewelry Finish? Which Do You Prefer?

Vintage Halloween Postcards

Limited Edition Designs

How To Make Necklaces With Vintage Keys

Birds on Vintage China Patterns

DIY Fabric Flower Bouquet {My Girlish Whims}

2nd Annual Worthwhile Evening {Giveaway!}

A Worthwhile Evening {Recap}

Dishfunctional Designs on Great Green Goods

Playing around with Spoons: Antique Silver Spoon Earrings

B2S Fashion

How To Make Awesome Hang Tags

Shabby Apple {Giveaway!}

Cupcake!


