My Creative Blog [Search results for gray paint colors]
Striped Hat Rack {DecoArt Glass Paint}

Creating with the Stars Round 3 Link Up Winner

Summer Porch Makeover

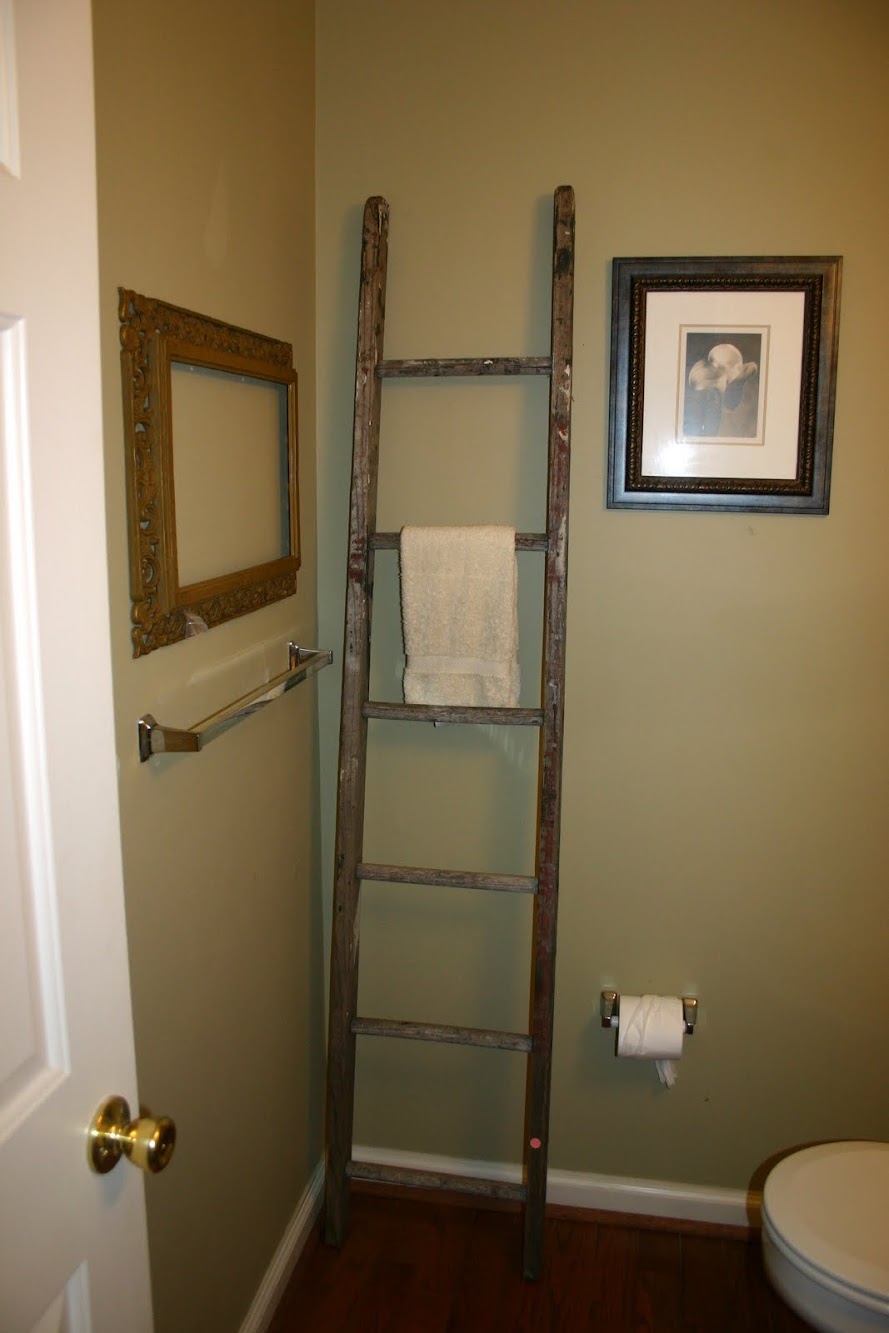
Moving Right Along {Bathroom Redesign}
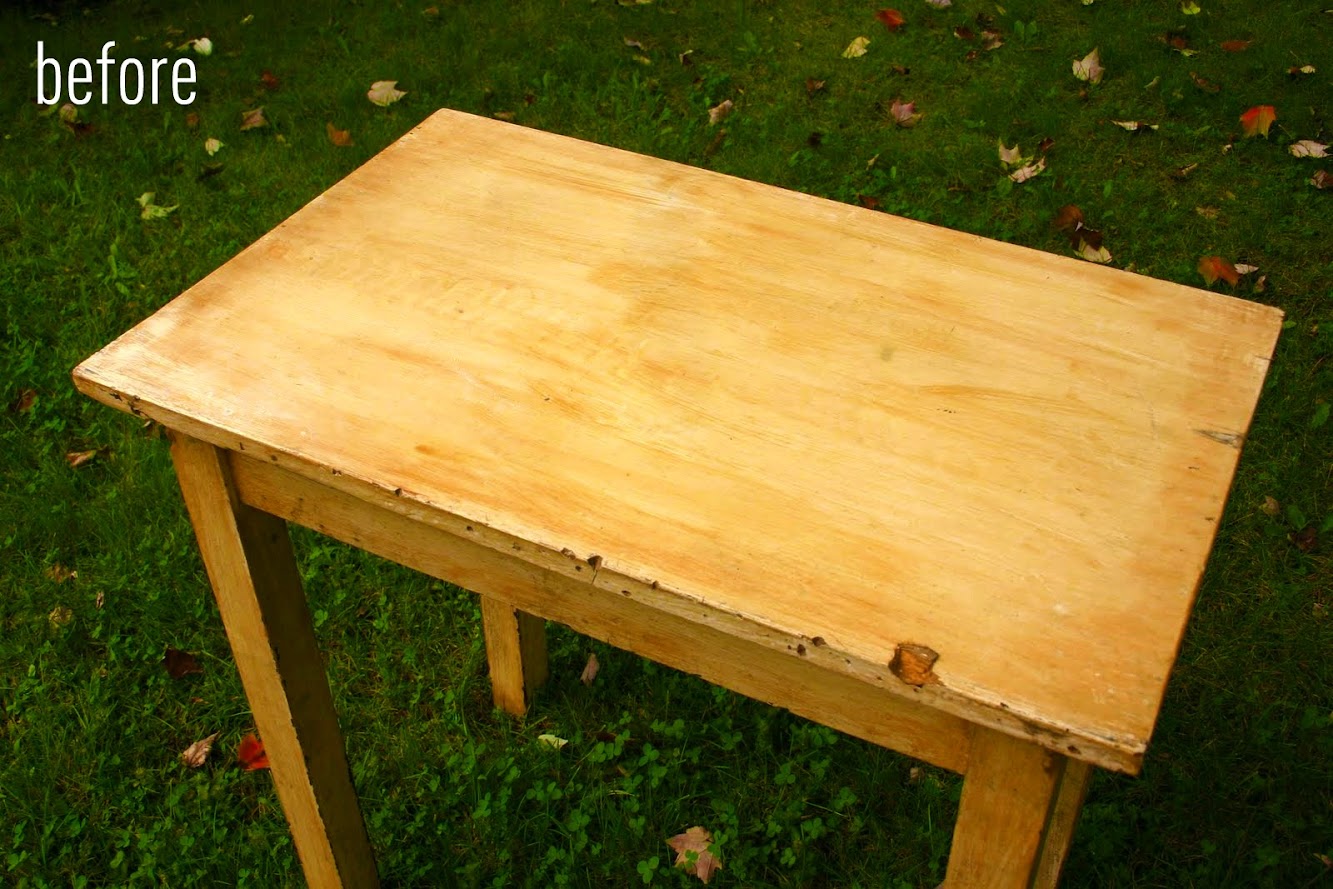
Antique Table Turned Vanity {Bathroom Redesign Update}
Slow & Steady {Bathroom Update}

Furniture is Here!

some serious beauty here...

Heirloom Pumpkins

Our Fireplace

