My Creative Blog [Search results for blogs I love]
Blog Award & Thank you...

The Anti-Wreath {Fall Lovers Series Day 1}

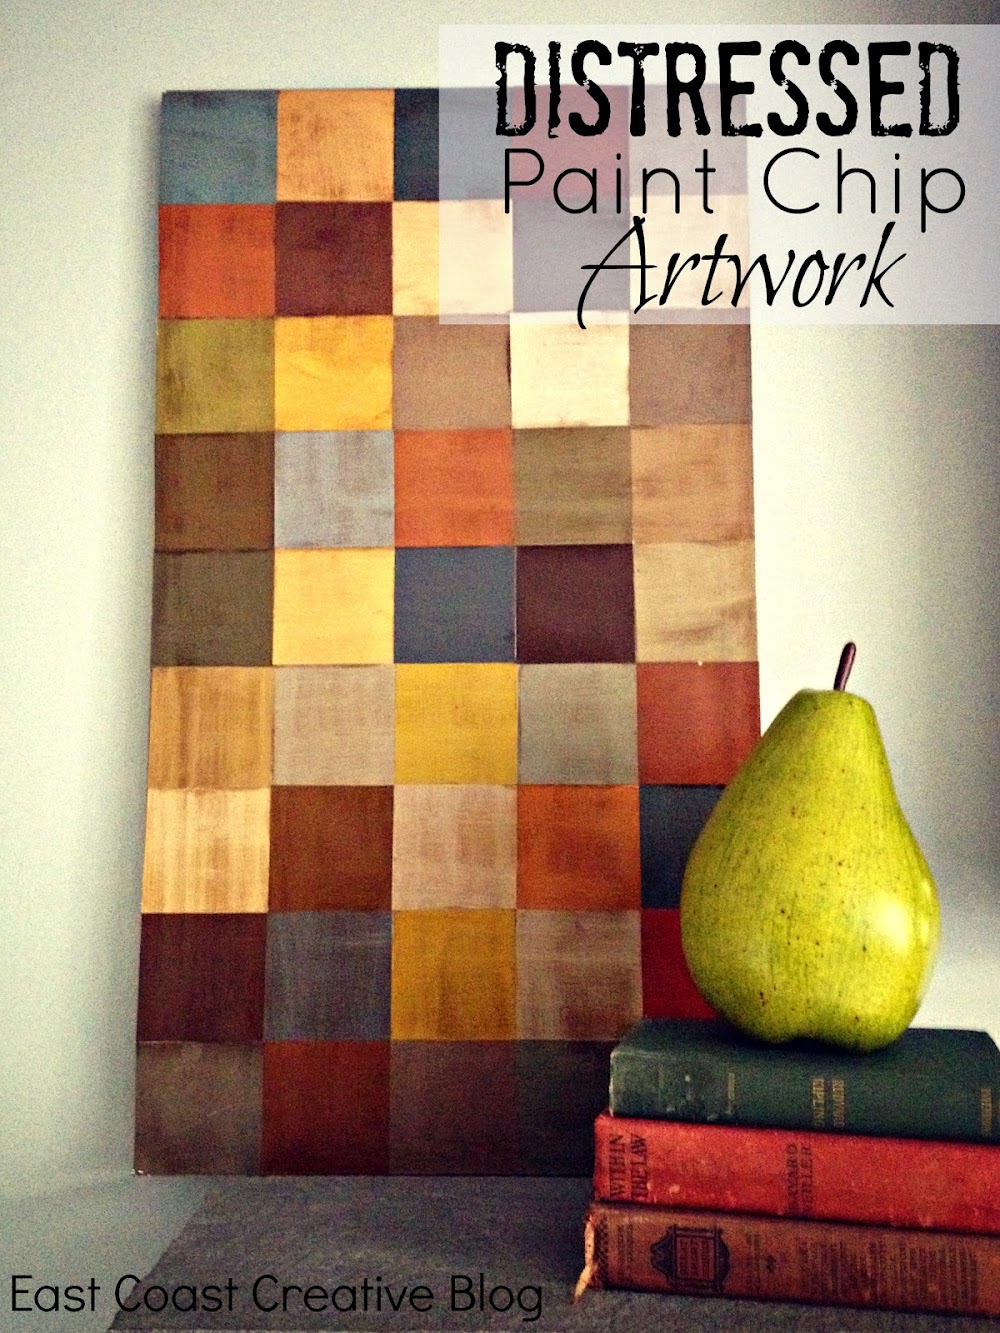
Paint Chip Wall Art
Who are the Real Housewives of Bucks County???

Boring Kitchen No More! {Chevron Wall}
Ginormous Family Art {With an Industrial Flare}
Pallet Possibilities

Going Green {Granny Frames Gallery Walls}

Design Icons {of the Blogosphere}

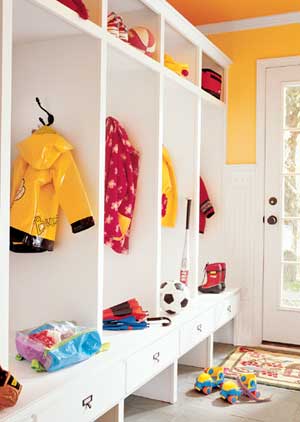
Mudroom Tour
Countdown to Christmas

Adios Amigos Day 1 {Infarrantly Creative}

Make Homework Happy {B2S Day 2}

Do You Like Us? And Mark your calendars!

Summer Sponsor Spotlight

Barn Sale Treasure! {DIY Chalkboard Mirror}

The Worst Date Night Ever

Haven 2012 {Conference Recap}

Projects Not to Miss

House Snooping {Oxford, Maryland Vacation}


